Introduction
If you’ve ever needed to scan a document, you know how frustrating the process can be. Traditional scanners can be bulky and expensive, and the process of scanning, saving, and emailing documents can take up valuable time. With smartphones becoming more and more advanced, it’s no surprise that there are now powerful document scanning capabilities built right into your iPhone. In this guide, we’ll show you how to use your phone to scan documents quickly and easily.
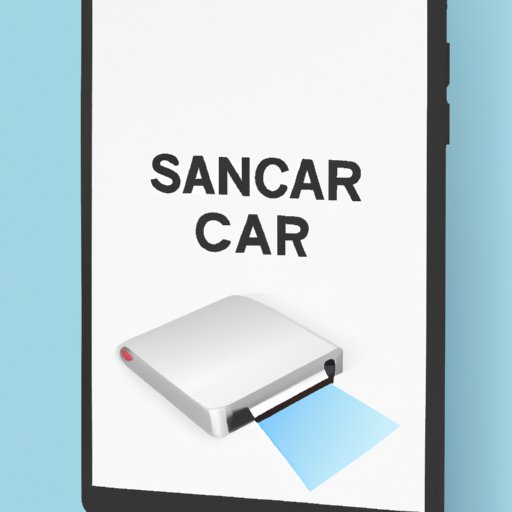
Step-by-Step Guide
We understand that it can be tough to learn a new skill, so we’ve provided a step-by-step guide to help you get started. Here’s how you can scan a document on your iPhone:
- Open the Notes app on your iPhone
- Create a new note by tapping the ‘New Note’ button
- Tap the camera icon and select the ‘Scan Documents’ option
- Position your phone’s camera over the document and wait for the scanner to auto-detect it
- Adjust the edges of the scan if necessary, then tap ‘Keep Scan’
- You can add additional pages to the scan if needed, or simply tap ‘Save’
It’s important to note that there are a few things you can do to ensure your scan comes out as clearly as possible. It’s best to scan in a well-lit area, and to ensure that the document is flat and isn’t too wrinkled. Make sure you hold your phone directly over the document, and ensure that none of the document is cut off. With these tips in mind, you should be able to scan documents with ease.
Video Tutorial
For those who prefer watching a visual tutorial, we’ve created a short video that demonstrates the process of scanning documents on your iPhone. Check it out below to see just how easy it can be.
This video highlights some of the key features of the iPhone’s document scanning capabilities, including the ability to adjust the edges of your scan and the ability to add multi-page documents to a single note.
App Reviews
While the Notes app is a great option for simple scanning tasks, there are also a variety of scanning apps available on the App Store that can help you make even more of your phone’s scanning capabilities. Here are some of our top picks:
- Scanner Pro: This app is great for scanning larger documents or documents where you need more control over the image. It offers advanced editing options and the ability to fax or email scanned documents directly from the app.
- CamScanner: With CamScanner, you can scan documents quickly and easily, but also use it as a document manager and OCR (Optical Character Recognition) tool to extract text from images or scanned documents. It even offers cloud storage options for effortless document sharing.
- Evernote Scannable: If you’re already an Evernote user, this app is a no-brainer. It’s great for scanning multiple documents at once, and also offers automatic organization and sharing options through the Evernote platform.
You may want to try out a few different apps to see which one works best for your specific needs. It’s worth noting that some of these apps may require a subscription or may have limited functionality on the free version, but are all useful options for anyone looking for more features than the Notes app can offer.
Creative Uses
Document scanning on your iPhone isn’t just limited to paperwork or old receipts. There are a variety of creative uses for this technology that you may not have considered. Here are just a few:
- Artwork: Scanning art can be a great way to share your creations with others. With the iPhone’s scanning capabilities, you can scan your artwork and share it with your followers on social media or create high-quality prints for sale.
- Product returns: Scanning receipts can make it easier to keep track of items you’ve purchased, which can be especially helpful when it comes to product returns. You can save a scan of your receipt when you buy an item to make it easier to find later.
- Travel documents: Scanning your passport, boarding passes, and other travel documents can help you keep track of everything you need while on-the-go. Having digital copies of these documents can also make it easy to email them to airlines, hotels, or rental car companies.
These are just a few examples of the creative ways you can use your iPhone’s scanning capabilities. With a little imagination, there are endless possibilities.
Comparison to Other Devices
While the iPhone’s scanning capabilities are certainly impressive, it’s always helpful to compare them to other devices on the market. Here’s how the iPhone’s document scanning stacks up:
- Traditional scanners: When compared to traditional scanners, the iPhone’s scanning capabilities certainly have their merits. Document scanners can be bulky and expensive, while your iPhone is portable and you likely already have it with you. However, traditional scanners may have higher resolution capabilities and may be a better option for those scanning images or artwork.
- Other smartphones: While most smartphones offer some form of document scanning, the iPhone’s capabilities are some of the most advanced on the market. Some Android apps offer similar functionality, but there are fewer apps available overall, which may limit your options.
Ultimately, it’s up to you to decide which device or method works best for your specific needs. However, the iPhone’s document scanning capabilities are certainly worth exploring.
Accessibility Features
Finally, it’s important to note that the iPhone’s document scanning capabilities also include a variety of accessibility features. For those who are visually impaired or who have other disabilities or special needs, these features can be incredibly helpful. Here are a few accessibility features you can use:
- VoiceOver: VoiceOver is a screen reader that reads aloud text on the screen, making it easier for visually impaired users to navigate their device. This is especially helpful when it comes to scanning documents, as the scanner can read aloud the text on the page to ensure accuracy.
- Zoom: Zoom allows you to zoom in on specific parts of your screen, which can be helpful for those who need a larger display to see what they’re scanning. It can also be helpful for those with hand tremors or other movement disorders that make it difficult to hold the phone steady.
- Dictation: If you have difficulty typing on your phone, you can use dictation to scan documents. Simply hold down the microphone button on your keyboard and speak aloud what you want to type.
These are just a few of the accessibility features available on the iPhone. Be sure to explore your device’s accessibility options to see what features can help make scanning documents easier.
Conclusion
Document scanning on your iPhone is a powerful tool that can make your life easier. Whether you’re using the Notes app for simple scans or exploring more advanced scanning apps and creative uses, there are endless possibilities. We hope this guide has been helpful in showing you just how easy it can be to scan documents on your iPhone.