Introduction
Drywall, also known as gypsum board or plasterboard, is a popular building material due to its affordability and ease of installation. It’s used to create walls and ceilings in homes and apartments, and it’s easy to cut and shape to fit any space. While drywall is durable, it can become damaged over time due to general wear and tear, moisture, or accidental impact. This article offers a comprehensive guide to repairing drywall, including common problems, necessary tools, and step-by-step instructions for DIY repair.
Step-by-Step Guide
Before beginning any drywall repair project, it’s essential to gather the necessary tools and materials. Common tools include a drywall saw, putty knife, sandpaper, and joint compound. For small repairs, self-adhesive mesh tape can help to reinforce the repaired area. For larger repairs, new pieces of drywall may be necessary. Once you have all necessary tools, follow these steps:
- Assess the damage – determine the size of the damaged area and the type of repair necessary
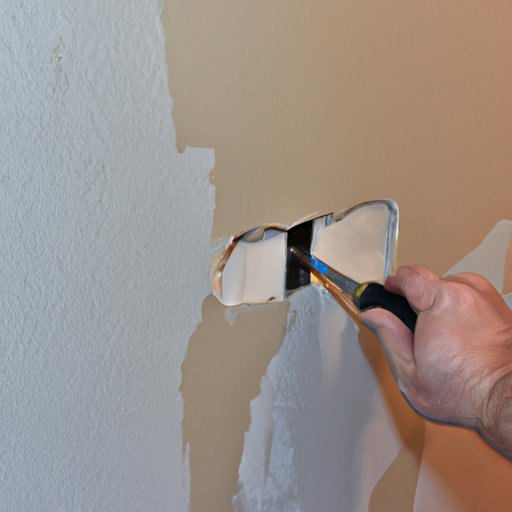
- Cut away any loose or damaged pieces of drywall
- Apply self-adhesive mesh tape over the damaged area for small repairs, or cut a new piece of drywall to fit the hole for larger repairs
- Apply joint compound to the repaired area and allow it to dry
- Sand the repaired area and apply additional layers of joint compound as necessary until the repair is level with the surrounding wall
- Allow the joint compound to dry completely before priming and painting the repaired area
By following these steps and using the appropriate materials, it’s possible to repair drywall and restore the appearance of a damaged wall or ceiling.
Common Drywall Problems and Solutions
Drywall damage can come in many forms, including holes, cracks, and water damage. Depending on the size and scope of the damage, different tools and materials may be necessary for repair. Some common drywall problems and their solutions include:
- Holes: For small holes, self-adhesive mesh tape and joint compound can be used. For larger holes, cut a new piece of drywall to fit the hole and secure it in place with screws or adhesive.
- Cracks: Apply joint compound to the crack and use a putty knife to smooth it out. Sand the area once the joint compound has dried and apply a second coat if necessary.
- Water damage: Cut away any water-damaged area and allow the area to dry completely. Apply a stain-blocking primer before applying joint compound and painting the repaired area.
Materials and Tools Needed for Repair
In addition to the tools mentioned in the step-by-step guide, other materials and tools necessary for drywall repair include:
- Drywall screws or adhesive
- Sanding block or sponge
- Stud finder
- Utility knife
- Dust mask and safety glasses
These materials can be purchased at most hardware stores or home improvement centers. It’s important to choose high-quality materials to ensure a successful repair.
DIY vs Professional Drywall Repair
While it’s possible to repair drywall independently, some homeowners may prefer to hire a professional for larger repairs or if they lack experience with home repair. Professional drywall repair services can be costly, but they may offer benefits such as faster repair times and access to professional-grade tools and materials. However, for small repairs or those with some experience with DIY home repair, it’s possible to successfully repair drywall independently.
Tips for Successful DIY Drywall Repair
For those attempting DIY drywall repair, some tips for a successful repair include:
- Start with small repairs before attempting larger repairs
- Allow joint compound to dry completely before sanding or applying additional coats
- Prime the repaired area before painting to ensure an even finish
- Apply joint compound in thin layers for a smoother finish
- Use a sanding sponge or block to ensure a smooth, even surface
By following these tips and taking the time to complete each step properly, homeowners can achieve a successful DIY drywall repair.
Maintenance Tips to Prevent Future Damage
There are several things homeowners can do to prevent future drywall damage, including:
- Avoiding hanging heavy objects on drywall
- Using picture-hanging hooks or anchors rather than nails or screws
- Reducing moisture in the home with proper ventilation and the use of a dehumidifier
- Repairing any plumbing issues to prevent water damage
- Avoiding excessive moisture in the bathroom by using exhaust fans and wiping down showers and tubs after use
By taking these preventative measures, homeowners can avoid costly drywall repairs in the future.
Conclusion
Drywall repair can be a daunting task, but with the right tools and materials, it’s possible to achieve a successful DIY repair. By assessing the damage and following a step-by-step guide, homeowners can restore their walls and ceilings to their original appearance. It’s important to take preventative measures to avoid future damage and save time and money on costly repairs. With a little effort, anyone can become skilled at drywall repair and take pride in maintaining their home.
