Introduction
Are you tired of making paper airplanes that barely fly? Do you want to learn how to make one that soars across the room with ease? Look no further than this guide to making the best paper airplane. In this article, you’ll get step-by-step folding instructions, tips for better design, and an explanation of the physics and aerodynamics of paper planes. You’ll also learn how to experiment with different papers and troubleshoot common problems. And if that’s not enough, we’ll even include some fun games and challenges to try with your paper airplane creations. So grab some paper and let’s get started!
Basic Paper Airplane Folding Instructions
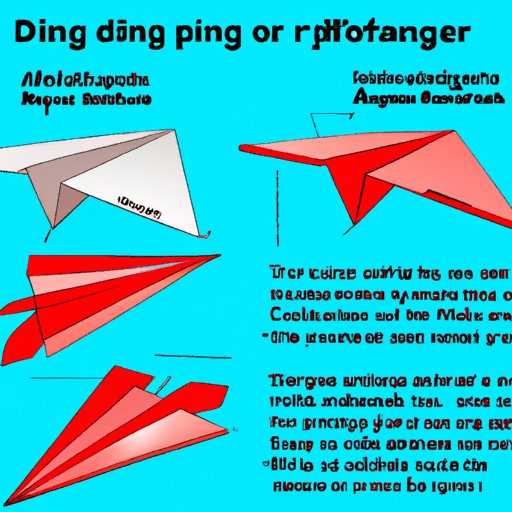
The first step in making a paper airplane is to fold a basic design. Here’s a step-by-step guide:
- Start with a rectangular sheet of paper. A standard 8.5 x 11 inch sheet will work well.
- Fold the paper in half lengthwise (hot dog style) and crease the fold.
- Open the paper back up and fold the top corners in towards the center crease. The corners should meet at the middle, creating a point at the top of the paper. Crease the folds.
- Fold the top of the paper down so that the point created in step 3 is now at the bottom of the paper. Crease the fold.
- Fold the paper in half along the original center crease (hot dog style). Crease the fold.
- Fold down the wings along the lines created by the corners in step 3. Crease the folds.
- Your paper airplane is now complete!
For best results, make sure you’re using a flat surface to fold on and that your creases are as neat and precise as possible.
Variations on the Basic Design
If you want to take your paper airplanes to the next level, there are many variations you can try. One popular option is adding flaps to the wings to help with lift. To do this, simply fold down a small section of the wing at an angle.
Another option is to experiment with different wing shapes or tweaks to the design for better performance. For example, some people add a small vertical stabilizer to the back of the plane to help with balance.
There are also many other airplane designs you can try, such as the dart or the glider. Each design has its own benefits and drawbacks, so it’s worth experimenting to find what works best for you.
Principles of Aerodynamics and Physics
While making a paper airplane may seem like a simple craft, there is actually a lot of science behind it. Understanding the principles of aerodynamics and physics can help you design a paper airplane that flies farther and faster.
At its core, a paper airplane stays in the air thanks to lift, which is created by the wings. The shape of the wings is what determines how much lift is generated. As the airplane moves through the air, the shape of the wings allows it to stay aloft.
The principles of physics also come into play, as the weight of the paper airplane affects how it flies. The center of gravity is an important factor, as too much weight towards the front can cause the plane to nose dive. Making sure your paper airplane is properly balanced is key to getting the best flight.
Simple diagrams can help provide a clearer understanding of these concepts:

Experimenting with Different Types of Paper
The type of paper you use can also affect how your paper airplane performs. Experimenting with different types of paper can help you find the perfect material for your design.
Thicker paper may provide more stability, while thinner paper will be lighter and travel farther. You can also try using paper with different textures or weights to see how they affect your airplane.
When experimenting with paper, it’s important to keep in mind that the size of the paper will also affect the flight. A smaller plane will generally fly farther, while a larger plane may be more stable.
Troubleshooting Common Problems
Even with the best design and materials, there are still common problems that can occur when making paper airplanes. Here are some tips for identifying and fixing these issues:
- If your paper airplane nosedives, it may be too front-heavy. Try redistributing the weight towards the back of the plane.
- If your airplane isn’t flying very far, it may be too heavy overall. Experiment with lighter weight paper or streamline your design.
- If your wings are too floppy, they may need additional support. Small pieces of tape or extra folds can help stiffen them up.
A little bit of troubleshooting can go a long way towards getting your paper airplane to fly just right.
Fun Paper Airplane Games and Challenges
Once you’ve mastered the art of making paper airplanes, there are plenty of fun games and challenges you can try with your creations. Here are a few ideas:
- Distance contest: see who can make their airplane fly the farthest.
- Airtime contest: time how long each airplane stays in the air.
- Obstacle course: set up a course of hoops or other obstacles for your airplanes to fly through.
- Battleships: set up targets and try to knock them down with your paper airplanes.
The possibilities are endless, so get creative and have fun!
Conclusion
By following the tips and tricks outlined in this guide, you can become a paper airplane master in no time. From basic folding instructions to advanced design concepts, there are many ways to improve your paper airplane skills. Remember to experiment with different papers, troubleshoot common problems, and try out fun games and challenges. Who knows – you may even discover your own unique design that becomes the envy of all your friends.
