Introduction
If you’re like most people, drawing a volleyball may seem daunting. Where do you start? How do you make it look three-dimensional? What about the colors? Don’t worry – drawing a volleyball is not as difficult as it seems. In this article, we’ll cover different methods that will guide you through drawing a volleyball step-by-step, using visual aids, comparative techniques, video tutorials, topographic method, gesture method, reference tips, and color techniques.
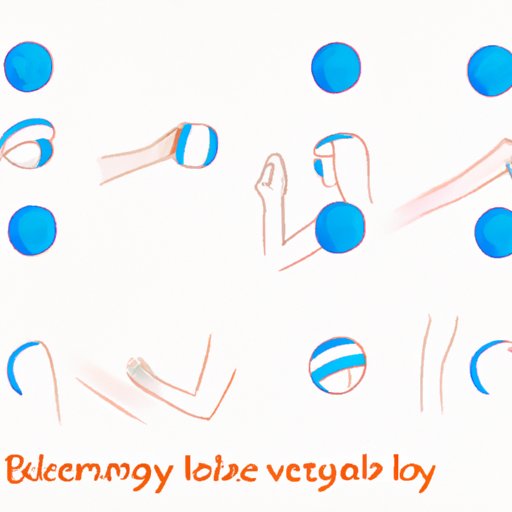
Step-by-step Method
The easiest way to draw a volleyball is to break it down into a series of simple steps. Start by sketching a circle on your paper. This circle will be the outline of our volleyball. Next, draw a horizontal line across the center of the circle. This line represents the equator of the volleyball. Now draw a vertical line intersecting the center of the equator line. This line represents the axis of the volleyball.
Next, draw two curved lines starting from the top of the circle, and ending at the center of the equator line. These lines will create the shape of the volleyball’s panels. Then, repeat this process for the bottom of the volleyball. Once you’ve sketched these details, add the small bumps on the panels by drawing small curved lines.
The final step is erasing unnecessary lines and coloring in your volleyball. Connect the bumps with a curved line on the left and right sides of the panel. Repeat this process for all the panels. And there you have it – a volleyball!
Comparative Method
If you’re still struggling with the step-by-step method, try the comparative method. Think of the volleyball as a basketball with different features. The panels of the volleyball resemble the basketball, but the volleyball is slightly more oval and has smaller bumps.
Sketch a basketball, then adjust the shape to fit the volleyball. The size and shape of the panels should be smaller and more rounded than those on the basketball. Add the bumps on the panels to round out the volleyball. With this technique, you’ll have an easier time envisioning the volleyball’s overall shape.
Video Tutorial Method
If you prefer learning visually, the video tutorial method may be the best fit for you. With this technique, you’ll find a detailed video tutorial that shows the drawing process in real-time. Choose a video that provides spoken or text instructions that guide you through each step.
This method allows you to follow along at your own pace, pausing and rewinding whenever necessary. Make sure to select a video that fits your learning style and go step-by-step through the process.
Topographic Method
The topographic method breaks down the volleyball into its 3-dimensional features. The volleyball has two poles, an equator, and a series of panels and bumps. Consider all these features when drawing. Focus on each element separately and try to create depth within each element. For example, make the equator line slightly thicker and darker than the other lines. Add shading to create depth on the panels and bumps.
Sketch out the shape of the volleyball using a series of curves to create its roundness. Then, add its features gradually while paying attention to depth, texture, and contrast in each element. Topographic method creates a realistic rendition of a 3D volleyball by focusing on each feature and adding depth.
Gesture Method
With the gesture method, you focus on the movement and energy of the volleyball. Sketch the basic gesture in a loose, freeform style. Create a curved line representing the general shape of the volleyball. Add concise lines to represent the panels and their bumps. Remember to create varying line weight to create depth, with some lines thicker than others.
Once you have the basic gesture on paper, start refining the sketch. Add more lines and details to create depth in the panels and equator line. This approach creates an organic and energetic illustration of the volleyball.
Reference Method
For accuracy, use reference images of real-life volleyballs. You can easily find images online or take your own photos. Use these images as a reference, paying attention to details such as panel size and curve. Observe and analyze the details of the image and apply those details to your sketches.
The reference method helps you focus on accuracy and realism. By observing the real-life volleyball, you’ll be able to sketch a more accurate illustration of the volleyball compared to other techniques.
Colorful Method
After you sketch out the volleyball, it’s time to add some color. Create a light source on your paper to determine where the highlights and shadows should fall. Consider the ball’s texture and materials when choosing the colors. In general, highlight colors should be lighter, while shadow colors should be darker.
Apply the colors with varying intensity depending on the depth of each panel. Less intense coloring on the raised portions of each panel and more intense coloring on the lower portions.
Conclusion
In conclusion, drawing a volleyball does not have to be a daunting task. Whether you prefer step-by-step visuals, video tutorials, comparative techniques, or any of the other methods discussed, practice each and find your favorites.