Introduction
Regularly checking the oil in your car is essential to keep it running smoothly and increase its longevity. Ignoring oil levels can do irreparable damage to your engine and lead to expensive repair costs. Ideally, you should check your car’s oil at least once a month. In this article, we will share five simple steps for checking your oil and provide you with essential oil maintenance tips.
5 Simple Steps to Check the Oil in Your Car Like a Pro
Here are five quick and easy steps to check your car’s oil:
- Make sure your car is on level ground before checking the oil.
- Turn off the engine and let it cool down for a few minutes.
- Open the hood of your car and locate the dipstick, which usually has a yellow or red handle.
- Pull out the dipstick and wipe it clean with a rag.
- Reinsert the dipstick, wait a moment and then pull it out again. Check the oil level by taking a look at the end of the stick. If the oil level is between the minimum and maximum marks, it’s at the right level. If it’s below minimum, you need to add more oil.
It’s essential to keep an eye on the quality of your oil, as well as the level. If the oil is dark or gritty, it might be an indication of engine wear, and it’s time to change it. Also, make sure to check the oil more frequently if you drive in extreme weather conditions.
The Importance of Checking Your Car’s Oil and How to Do It
Your car’s oil is the lifeblood of your vehicle, and checking it is crucial for ensuring its reliable performance. Engine oil reduces friction and prevents wear and tear on the engine. Without it, your engine can overheat and breakdown.
Checking your car’s oil is an easy process, and you don’t need to be a mechanic to do it. Here’s how you can check your oil in more detail:
- Warm up your engine by driving it for a few minutes before checking the oil.
- Locate the dipstick and remove it.
- Wipe the dipstick clean and reinsert it.
- Remove the dipstick again and check the oil level.
- Ensure the oil is between the marks on the dipstick. If not, you need to add more oil.
DIY Maintenance: How to Check Your Car’s Oil in Less Than 10 Minutes
For those looking to do basic car maintenance themselves, checking your oil can be an easy task. Here are some simple instructions:
- Park your car on level ground and allow the engine to cool down for a few minutes.
- Pop open the hood and locate the oil dipstick.
- Remove the dipstick, and using a clean cloth or rag, wipe it clean.
- Reinsert the dipstick until it’s firmly back in place. Then pull it out to check the oil level.
- Check the oil level and quality. If either of these needs attention, consult a mechanic for repair or oil change.
Common Mistakes to Avoid When Checking Your Car’s Oil
Checking your oil is a straightforward process, but many people make mistakes. Here are some common errors to avoid:
- Checking oil while the engine is running: this can lead to inaccurate readings and put you at risk of injury.
- Not wiping off the dipstick: if you don’t wipe it clean, you can’t read it correctly.
- Not checking the oil level at different intervals: checking the oil level at different times can identify any significant changes or drops in oil levels.
- Using the wrong type of oil: using synthetic oils can lead to premature engine wear and breakdown.
- Overfilling or underfilling the oil: too much or too little oil can cause damage to the engine.
The Ultimate Guide to Checking and Changing Your Car’s Oil
This guide is for those who want a more comprehensive maintenance process:
- Check your engine’s manual to determine the type and viscosity of oil your car requires.
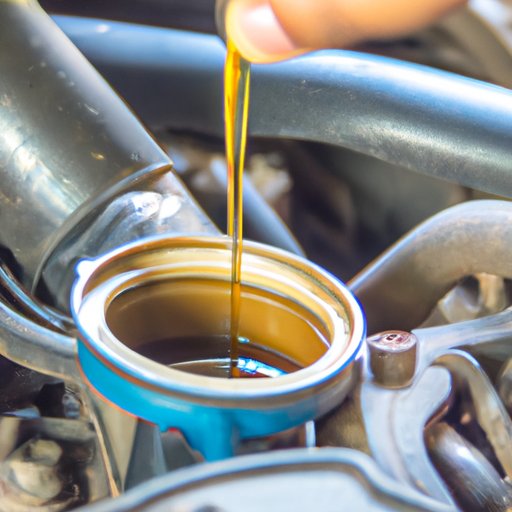
- Purchase the right oil, as specified in your owner’s manual, and have the necessary tools, like a funnel, oil filter wrench, and oil drain pan.
- Warm up your engine for a few minutes before changing the oil.
- Jack up your car and use jack stands to ensure the car’s stability. Always use appropriate safety measures when working on your car.
- Place an oil drain pan under the car and remove the oil drain bolt.
- Once the old oil has drained, remove the old oil filter and replace it with a new one.
- Delete the oil drain bolt and add the new oil. Check the owner’s manual for the right amount of oil required.
- Start the engine and check the oil pressure warning light.
Conclusion
Checking your car’s oil is essential to keep it running smoothly. The tips and instructions provided above make oil maintenance easy, even for DIY newbies. The best time to check your oil prevents irreparable engine damage and saves on expensive repair bills.