Introduction
Have you ever captured a moment with your camera that you were looking forward to seeing, only to find that the picture you took was blurry? Whether it was a beautiful landscape or a perfect portrait, blurry pictures can be frustrating and disappointing. But don’t worry – blurry photos can be fixed with the right techniques and knowledge. In this article, we’ll explore the most common reasons why your camera may be taking blurry pictures, and provide helpful tips to help you take sharper, clearer photos.
Clearing Up the Confusion: Understanding the Reasons Your Camera is Taking Blurry Pictures
Before we can dive into how to fix blurry photos, it’s important to understand what causes blurry images in the first place. Here are the most common reasons your camera may be taking blurry pictures:
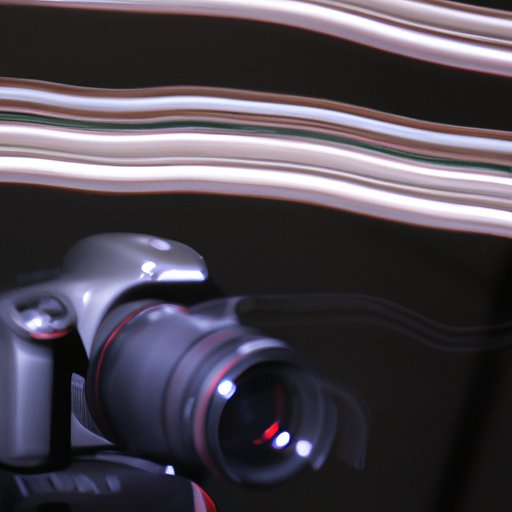
Blurry images due to camera shake
One of the most common causes of blurry photos is camera shake. This occurs when the camera moves slightly while the shutter is open, causing the photo to become blurry. Camera shake can be caused by several things, including holding the camera improperly, taking a photo in low light conditions, or using a slow shutter speed.
Blurry images due to focus issues
Another common cause of blurry pictures is incorrect focus. If your camera focuses on the wrong part of the image, or is unable to focus properly, the resulting photo may be blurry. This can be caused by a number of factors, including low light conditions, using the wrong autofocus setting, or simply not adjusting the focus manually when necessary.
Blurry images due to motion blur
Motion blur occurs when the subject you’re photographing is moving too fast for the camera’s shutter speed, causing the photo to become blurred. Motion blur can be used as an artistic effect, but it’s not ideal when you’re trying to capture a sharp, clear image. This is a common issue when photographing sports, wildlife, or other fast-moving subjects.
Blurry images due to poor lighting
Low light conditions can also cause blurry photos, as the camera’s sensor may struggle to capture the image properly. In some cases, the camera may adjust the shutter speed or ISO to compensate for low light, resulting in a blurry image. This can be an issue when taking photos indoors, in dimly lit rooms, or during nighttime photography.
Blurry images due to a dirty lens
Finally, a dirty lens can also cause blurry pictures. Dust, fingerprints, or smudges on the lens can interfere with the camera’s ability to capture a clear image. This issue is easy to fix and often overlooked, but it can make a huge difference in the quality of your photos.
5 Common Reasons Your Camera is Blurry and How to Fix Them
Now that we know the most common reasons for blurry photos, let’s explore how to fix them:
Problem 1: Camera shake
If your pictures are blurry due to camera shake, the easiest solution is to use a tripod or stabilize your camera. A tripod is a stand that holds your camera steady, preventing camera shake. If you don’t have a tripod, you can stabilize your camera by holding it close to your body and taking a deep breath before pressing the shutter button. This will help minimize any movement in your body that may cause camera shake.
Problem 2: Incorrect focus
If your camera is focusing on the wrong part of the image or is struggling to focus, adjust the focus settings or use manual focus. Many cameras allow you to choose between different autofocus modes, such as single point focus or continuous focus, depending on the subject you’re photographing. You can also adjust the focus manually by using the lens ring or the focus magnifier feature on your camera.
Problem 3: Motion blur
To avoid motion blur, you can increase your shutter speed or use a faster lens. This will allow your camera to capture the subject more quickly, preventing motion blur. If you’re using a slower shutter speed, try using a tripod or stabilizing your camera to prevent camera shake, which can also cause motion blur.
Problem 4: Poor lighting
If your photos are blurry due to poor lighting, you can use additional lighting sources or adjust your camera settings. Adding a flash or using a higher ISO can help brighten up the image and make it easier for the camera to capture a clear photo. You can also adjust the shutter speed or aperture to allow more light into the camera, but beware that this may also affect the depth of field or the sharpness of the image.
Problem 5: Dirty lens
If you notice that your photos are consistently blurry, check your lens for dirt or smudges. Use a microfiber cloth to gently clean the lens and remove any fingerprints or dust. This should improve the clarity of your images significantly.
Troubleshooting: Why Your Camera Photos are Coming Out Blurry
If you’re still experiencing blurry images, there may be specific issues with your camera that need to be addressed. Here are some common issues and solutions:
Issue: AF sensor is dirty or damaged
Solution: Clean the AF sensor with a soft brush or take your camera to a professional for repair.
Issue: Lens is loose or damaged
Solution: Tighten the lens or take your camera to a professional for repair.
Issue: Software or firmware is outdated
Solution: Update your camera’s software or firmware to address any bugs or issues that may be causing blurry photos.
Additional tips for addressing blurry pictures:
- Hold the camera steady with both hands
- Breathe deeply and exhale slowly before taking the shot
- Use burst mode to capture multiple shots in quick succession
- Experiment with different camera settings and modes to find the best settings for your situation
Dealing with Blurry Photos: Tips for Getting Sharp Shots Every Time
Getting sharp, clear photos takes practice, patience, and the right techniques. Here are some tips for avoiding blurry photos:
Techniques for avoiding blur:
- Use a tripod or stabilize your camera
- Avoid using a slow shutter speed
- Adjust your focus settings based on your subject and shooting conditions
- Use additional lighting sources to brighten up your photos
Recommendations for getting sharper images:
- Invest in a good lens with a wide aperture for low-light conditions
- Shoot in RAW format to capture more detail and information
- Edit your photos carefully to sharpen and enhance the details
- Practice, practice, practice!
Preventing Blurry Photos: A Beginner’s Guide to Camera Settings and Techniques
If you’re new to photography, it can be overwhelming to try to navigate all of the different camera settings and techniques. Here’s a brief overview of some of the most common camera settings you’ll need to know:
- Shutter speed: Controls how long the shutter stays open when taking a photo. A faster shutter speed will capture fast-moving subjects without blur.
- Aperture: Determines how much light enters the camera. A wide aperture (lower f-stop number) will create a shallow depth of field and blur the background.
- ISO: Controls the camera’s sensitivity to light. A higher ISO can capture photos in low light, but may also create noise or grain.
- Focus: Determines where the camera is focusing in the image. You can choose between different autofocus settings, or adjust the focus manually.
By understanding these basic settings, you can begin to experiment with different techniques and start taking sharper photos.
Blurry Camera Blues: How to Diagnose and Fix the Problem
If you’re still experiencing blurry photos despite trying different techniques and settings, here are some additional solutions to common camera issues:
- Make sure your lens is properly attached and tightened
- Check your camera’s battery level – a low battery can cause slower autofocus or slower shutter speeds
- Use a remote shutter release or a self-timer to minimize camera shake
- Clean your camera’s sensor with a sensor cleaning kit or take it to a professional for cleaning
By troubleshooting these issues, you can hopefully pinpoint the cause of your blurry photos and address them.
Say Goodbye to Blurry Shots: Simple Solutions for Sharp, Crisp Photos
Getting sharp, clear photos may take some practice and experimentation, but with the right techniques and knowledge, it’s definitely possible. Here are our final tips and solutions for taking sharp, crisp photos:
- Use a tripod or stabilize your camera for sharp, steady shots
- Adjust your focus and shutter speed based on your subject and shooting conditions
- Invest in a good quality lens with a wide aperture for low-light conditions
- Check your camera’s lens for dirt, dust, or smudges before shooting
- Practice taking photos regularly to improve your skills and technique
Conclusion
In conclusion, blurry photos can be frustrating, but with the right techniques and knowledge, they can be fixed. By understanding the common causes of blurry pictures and troubleshooting common camera issues, you can start taking sharp, clear photos every time.