I. Introduction
Linear inequalities are an important concept in mathematics that help us understand relationships between variables. In this article, we will explore the graph of the linear inequality 6x-2y>10. We will break down the steps and calculations involved in solving this inequality, as well as provide real-world examples to help you understand its practical applications. Our goal is to help you gain confidence in graphing linear inequalities and mastering this important mathematical concept.
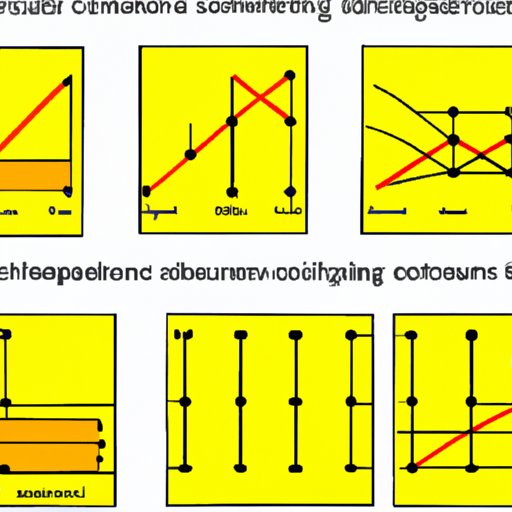
II. Understanding the Basics of Linear Inequalities: Solving for the Graph of 6x – 2y > 10
Before we dive into graphing the linear inequality 6x-2y>10, it’s important to understand what a linear inequality is. A linear inequality is similar to a linear equation, except that instead of an equals sign, we use one of four inequality symbols: <, >, ≤, or ≥.
To solve for the graph of 6x – 2y > 10, we need to isolate y by subtracting 6x and dividing by -2, which gives us y < -3x + 5. This equation represents the boundary line between the two regions created by the inequality.
To graph the inequality, we need to determine which side of the line the solution lies. We can do this by selecting a test point not on the line, plugging it into the equation, and solving for y. If the solution is true, the region containing the test point is the solution. If it is false, the other region is the solution.
To graph 6x – 2y > 10, we will use the boundary line of y = -3x + 5 and select the origin (0,0) as the test point. Plugging in the values, we get 0 > 10, which is false. Therefore, the solution lies on the other side of the boundary line, which is below it.
This creates a shaded region that represents the solution to the inequality.
For practice, try solving and graphing the linear inequality 3x + 2y < 12.
III. Visualizing Linear Inequalities with 6x – 2y < 10: An Introduction
The linear inequality 6x – 2y < 10 is another important concept to understand. To visualize this inequality, we need to graph the boundary line of y = 3x - 5 and select a test point not on the line, such as the origin (0,0).
Plugging in the values, we get 0 < 10, which is true. Therefore, the solution lies above the boundary line, creating a shaded region that represents the solution. Graphing this inequality helps us better understand the relationships between variables and can provide insight into real-world problems such as budget constraints or production capabilities.
IV. Graphing Linear Inequalities: An Easy Guide for Solving 6x – 2y ≥ 10
To graph the linear inequality 6x – 2y ≥ 10, we first need to isolate y by subtracting 6x and dividing by -2. This gives us y ≤ -3x + 5. We then graph the boundary line of y = -3x + 5 and select a test point not on the line, such as the origin (0,0).
Plugging in the values, we get 0 ≤ 10, which is true. Therefore, the solution lies below the boundary line, creating a shaded region that represents the solution. To better understand this concept, we can look at real-world examples such as supply and demand curves or cost-benefit analyses.
V. Solving Linear Inequalities: Defining the Graph of 6x – 2y ≤ 10
The linear inequality 6x – 2y ≤ 10 is solved in a similar way to the previous examples. We first isolate y by subtracting 6x and dividing by -2, which gives us y ≥ -3x + 5. We then graph the boundary line of y = -3x + 5 and select a test point not on the line, such as the origin (0,0).
Plugging in the values, we get 0 ≥ 10, which is false. Therefore, the solution lies above the boundary line, creating a shaded region that represents the solution. Understanding how to solve and graph linear inequalities can help us better understand concepts such as resource allocation or cost-effectiveness.
VI. Linear Inequalities 101: How to Graph 6x – 2y ≥ 10 in Three Simple Steps
Graphing the linear inequality 6x – 2y ≥ 10 can be broken down into three simple steps. First, we isolate y by subtracting 6x and dividing by -2, which gives us y ≤ -3x + 5. Next, we graph the boundary line of y = -3x + 5. Finally, we select a test point not on the line, such as the origin (0,0), and plug in the values to see which side of the boundary line represents the solution.
Using examples and practicing these skills can help build proficiency in graphing linear inequalities and understanding their practical applications.
VII. Mastering Graphing for Linear Inequalities: Solving 6x – 2y < 10 Like a Pro
To master the process of graphing linear inequalities, it’s important to understand the steps involved and practice regularly. Some tips and tricks for success include understanding how to identify the boundary line and selecting the appropriate test point, practicing graphing on both sides of the boundary line, and checking your work by plugging in values to ensure they are true.
Common mistakes to avoid when graphing linear inequalities include forgetting to reverse the inequality symbol when multiplying or dividing by a negative number and selecting a test point on the boundary line.
Continued practice can lead to confidence and mastery in graphing linear inequalities, which can be a valuable tool for understanding real-world problems and relationships between variables.
VIII. The Art of Graphing Linear Inequalities: Solving 6x – 2y > 10 with Confidence
Graphing the linear inequality 6x – 2y > 10 can be approached with confidence by understanding the steps involved and practicing regularly. Confidence-building techniques include breaking down the problem into smaller steps, practicing with a partner or tutor, and using real-world examples to better understand the practical applications of linear inequalities.
Practicing with a variety of linear inequalities, such as those involving fractional or negative coefficients, can help build proficiency and confidence in graphing these important mathematical concepts.
IX. Conclusion
Understanding linear inequalities and how to graph them is a fundamental concept in mathematics. By breaking down the steps involved and providing real-world examples, we hope to have helped you gain confidence in graphing linear inequalities and mastering this important mathematical concept.
We encourage readers to continue practicing and exploring linear inequalities, as well as seeking out additional resources for further reading and practice.