Introduction
Have you ever spent time creating an intricate design and designing it onto your apparel, but it doesn’t stick? One of the most frustrating things about using an iron-on vinyl is figuring out which side goes down. Don’t worry; you’re not alone. In this article, we’ll guide you through this confusion and ensure that you achieve a perfect iron-on every time.
Iron-On Vinyl: The Ultimate Guide to Get it Right Every Time
Iron-on vinyl, also known as heat transfer vinyl, is a process used to transfer designs onto fabrics using heat. The vinyl comes in rolls or sheets in various colors and patterns to choose from. They are commonly used to personalize t-shirts, cushion covers, tote bags, and many more.
The benefits of using iron-on vinyl are the ease of application and affordability. You don’t have to be an artist or spend a lot of money to have a unique design on your apparel. Iron-on vinyl comes in different finishes, including glitter, foil, matte, and glossy, that can add some extra shine to the designs.
However, getting the perfect iron-on every time takes some practice and patience. Here are some steps to achieving a seamless and professional look:
Required Materials
Ensure you have all the materials before starting your project. You will need:
- Iron-on vinyl
- A Cutting Machine
- A Weeding Tool
- Garment of your choice
- An Iron
- A Thin Piece of Cloth
Preparation of Surface
Before applying the iron-on vinyl, you need to ensure the surface is clean and smooth. The vinyl adheres better to fabrics with no creases or bumps. Start by washing and drying the garment you intend to apply the vinyl on. Avoid using fabric softeners or any other chemicals as they might affect the adhesive.
Steps to Apply Iron-On Vinyl
Once you have your design and materials ready, follow the steps below to apply iron-on vinyl:
- Create your design on the cutting machine.
- Weed the excess vinyl from the design using the weeding tool.
- Place your design on the surface you wish to apply it to.
- Iron over the carrier sheet with the iron. Apply gentle pressure and make sure to cover the whole design.
- Once you finish ironing, remove the carrier sheet slowly and carefully.
Vinyl Iron-Ons: Tips and Tricks for Perfect Application and Placement
Besides following the above steps, perfecting application and placement of iron-on vinyl can take some time. Here are some tips for achieving excellent results:
Placement Techniques
Placement is crucial when applying iron-on vinyl to achieve a seamless design. Before applying, test the placement by laying the vinyl onto the garment and checking for symmetry. Use a ruler or tailor’s measuring tape for accuracy.
Design Consideration
When designing your vinyl, take note of the iron-on vinyl’s limitations. Avoid intricate designs with tiny pieces that can be difficult to weed. The smaller the design, the more challenging it can be to apply.
Different pressing techniques
Some iron-on vinyl requires a warm peel technique while others require a cool peel technique. Always read the manufacturer’s instructions before pressing to ensure you follow their recommended technique.
Caring for Iron-On Vinyl
After applying iron-on vinyl, ensure you turn the garment inside out before washing it. Use cold water and a mild detergent to prevent color fading. Avoid bleach and fabric softeners when cleaning the garment or drying it in a dryer.
The Infamous Iron-On Vinyl Dilemma Solved
One of the most common questions when it comes to iron-on vinyl is figuring out which side goes down. It’s essential to place the vinyl in the right direction, or else you may end up with a reversed image.
Solutions to the Dilemma
It’s essential to note that the shiny or glossy side touching when you cut is the transfer tape. Don’t use sticky transfer tape when creating the design. When weeding the design, peel the excess material off from the transfer tape side. The side that remains is what you’ll press onto your garment, hence the right side.
Different types of Iron-On Vinyl
There are different types of iron-on vinyl, namely standard iron-on, glitter, foil, sport flex, holographic, patterned, and printable. They all come with different instructions, which you need to follow to achieve the perfect iron-on. Therefore, always read the manufacturer’s instructions before starting your project.
Iron-On Vinyl: Sorting the Mystery of Which Side Goes Down
Explanation of Which side goes down
The right side is the side that has the vinyl attached. If you are unsure, carefully lift the vinyl to check. The carrier sheet has a shiny side and a dull side. The shiny side usually faces down onto the vinyl, while the dull side faces up.
Addressing Common Myths
One common myth is that you can use a transfer sheet to make iron-on vinyl stick. This is not true, and you might get unwanted results. Only use the carrier sheet provided on the vinyl roll.
Explanation of “Carrier Sheet”
The carrier sheet is a transparent adhesive sheet that holds the vinyl in place and protects it from damage during storage. When applying the vinyl, the carrier sheet also works as a transfer layer between the iron and the vinyl design.
Personalize Your Projects with Ease: A Guide to Iron-On Vinyl for Beginners
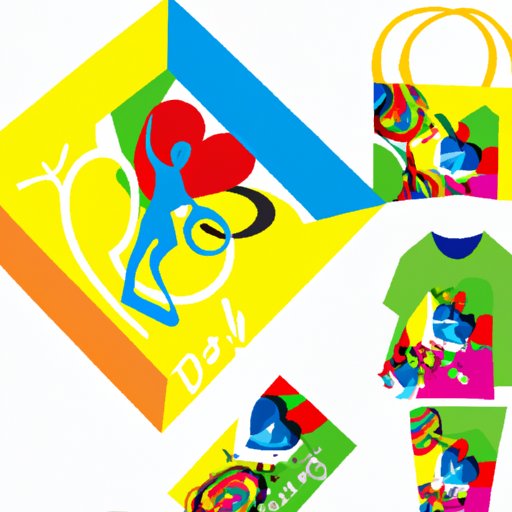
Iron-on vinyl is an excellent way to personalize your projects. It allows you to create unique designs on various fabrics quickly and affordably. Here are some beginner-friendly projects to kick-start your creativity:
- Personalized T-shirts
- Tote Bags
- Cushion Covers
- Hats
- Baby Onesies
Start small, and as you become more comfortable, you can create more complicated designs!
Explain the importance of Creativity
With iron-on vinyl, the sky is the limit when it comes to creativity. You can create your designs, choose from a variety of colors and patterns, and apply them to your projects. It’s an easy way to show off your style and personality by customizing clothing, accessories and home décor.
Conclusion
In conclusion, iron-on vinyl is a cost-effective way to personalize your projects. Knowing which side goes down when applying iron-on vinyl is crucial to achieving a seamless design. Follow the manufacturer’s instructions, and always test your placement before applying to achieve excellent results. Most importantly, have fun and let your creativity flow!
Call-to-Action
Now that you know how to solve the mystery of which side goes down, it’s time to get started on your iron-on vinyl projects.