I. Introduction
Are you renovating your home and looking for a safer electrical system? A GFCI outlet is a great addition to any home, but mistakenly wiring can lead to a dangerous outcome. In this article, we will provide a step-by-step guide on how to wire a GFCI outlet, including common mistakes, safety tips, and the benefits of installing a GFCI outlet in your home.
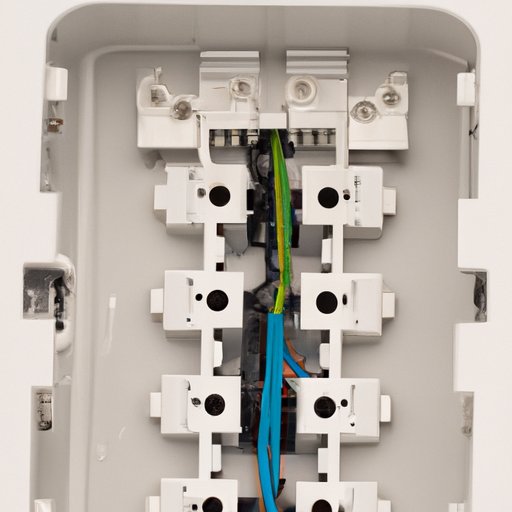
II. Step-by-Step Guide
Before starting, gather the necessary tools, including wire cutters, wire strippers, pliers, a voltage tester, and a screwdriver. Turn off the power to the electrical box and remove the cover plate. Next, remove the old outlet and attach the black wire to the “hot” brass screw and the white wire to the silver screw, followed by attaching the ground wire to the green screw. Then, connect the wires to the GFCI outlet, pushing the wires into their corresponding slots and tightening the screws to secure them. Finally, reset the GFCI outlet and turn the power back on, testing the outlet with a voltage tester.
III. Video Tutorial
For a more visual guide, watch our video tutorial, which also includes a voiceover for a clear explanation of each step. Our video covers the tools needed, how to install the GFCI outlet, and tips for testing the outlet before use.
IV. Common Mistakes
One of the most common mistakes when wiring a GFCI outlet is connecting the wires to the wrong terminals. This can lead to an unsafe electrical system. Another mistake is wiring the outlet to the load terminal instead of the line terminal, which results in the GFCI not working correctly. To avoid these mistakes, ensure you read the instructions carefully and test the outlet before use. If you run into any issues, we provide detailed explanations on how to fix each mistake.
V. Safety Tips
When working with electricity, safety should be a top priority. Ensure the power is turned off to the electrical box before starting, test the wires to confirm there is no electrical current, and wear protective gear, such as rubber gloves and safety glasses, to prevent injury. Additionally, do not touch any live wires and keep the work area dry.
VI. Tools Needed
Gathering the necessary tools beforehand can make the wiring process smoother. Wire cutters, wire strippers, pliers, a voltage tester, and a screwdriver are necessary for installing the GFCI outlet. We provide detailed explanations on how to use each tool and tips on when and why each tool is necessary.
VII. Benefits of GFCI Outlets
GFCI outlets continuously monitor the flow of electricity and can quickly shut off the power if there is a fault in the circuit, making them safer to have in your home. They protect from electrical shocks and prevent electrocution. Additionally, GFCI outlets are required by code in specific locations, such as near water sources. Overall, the benefits of installing a GFCI outlet in your home are numerous.
VIII. When to Call a Professional
Electrical work can be dangerous and, in some cases, requires a professional electrician. If you are unsure about wiring a GFCI outlet, or if the electrical box is not up to code, it is best to call a professional. They have the necessary training and expertise to ensure the wiring is safe and up to code. We provide tips on how to find a reliable professional and the potential dangers of doing it yourself.
IX. Conclusion
Wiring a GFCI outlet can be a daunting task, but by following our step-by-step guide and implementing our safety tips, you can complete a safe electrical system. We encourage readers to stay informed and up to date with electrical safety practices to prevent injury or danger. Remember always to turn off the power, test the wires, wear protective gear, and never work with live wires.