Introduction
Keeping our teeth and gums clean is essential for maintaining good oral health. While traditional flossing can be effective, it can also be difficult to reach certain areas of the mouth. That’s where a Waterpik comes in – a device that uses powerful yet gentle water pressure to remove bacteria, plaque, and debris from hard-to-reach areas. In this article, we’ll provide a step-by-step guide on how to use a Waterpik for superior oral hygiene.
Step-by-Step Guide
Using a Waterpik is easy, especially with our step-by-step guide:
Filling the Reservoir
First, fill the reservoir with warm water. You can also add mouthwash or other solutions for added oral hygiene benefits.
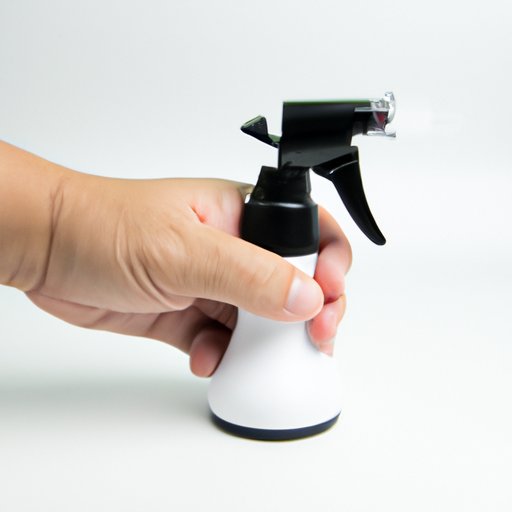
Selecting the Right Tip
Next, select the right tip for your needs. There are various types of tips, including traditional tips for general cleaning, orthodontic tips for braces, and periodontal tips for deep cleaning.
Adjusting the Settings
Adjust the settings according to your comfort level. You can start on a low pressure setting and gradually increase if needed. Be careful not to use too much pressure, as it can damage your gums or cause discomfort.
Using the Waterpik to Clean Different Areas of the Mouth
Finally, use the Waterpik to clean different areas of your mouth, including between your teeth, along the gum line, and around braces or other dental work. Hold the tip at a 90-degree angle to your teeth and gums, and move it in a circular or back-and-forth motion.
Benefits of Using a Waterpik
Using a Waterpik has many benefits over traditional flossing:
Superior Cleaning
The powerful yet gentle water pressure can remove bacteria, plaque, and debris from even the hardest-to-reach areas of the mouth. This can result in a cleaner mouth and less chance of developing cavities or gum disease.
Better Oral Hygiene
Using a Waterpik as part of your daily oral hygiene routine can lead to better overall oral health. It can also improve bad breath and promote a healthier mouth.
Scientifically Proven
Studies have shown that using a Waterpik is more effective at removing plaque and reducing bleeding and inflammation compared to traditional flossing.
Common Mistakes to Avoid
While using a Waterpik is easy, there are some common mistakes to avoid:
Using Too Much Pressure
Using too much pressure can damage your gums or cause discomfort. It’s important to start on a low pressure setting and gradually increase if needed.
Failing to Clean the Unit Properly
After use, it’s important to clean the Waterpik properly to avoid bacteria buildup or other issues that could affect its functionality.
Using the Wrong Tip
Using the wrong tip can lead to ineffective cleaning or damage to dental work such as braces. Ensure you choose the right tip for your needs.
Tips and Tricks
Here are some helpful tips and tricks for using a Waterpik:
Starting on a Lower Setting
Starting on a lower setting and gradually increasing can help avoid discomfort or damage to your gums.
Using Warm Water
Using warm water can make the experience more comfortable, especially for those with sensitivity.
Using the Waterpik in Conjunction with Traditional Flossing or Brushing
Using a Waterpik in addition to traditional flossing or brushing can provide even better oral hygiene benefits.
Maintenance and Cleaning
Proper maintenance and cleaning of your Waterpik is essential for optimal functionality and to avoid bacteria buildup. Here are some tips:
Cleaning Schedule
Clean your Waterpik after each use, and deep clean it once a week to avoid bacteria buildup. Follow the instructions in the user manual for deep cleaning solutions to use.
Storage
After use, ensure that you store the unit in a cool, dry place. Avoid storing it in direct sunlight or heat.
Conclusion
A Waterpik can be an excellent addition to your oral hygiene routine. By following our step-by-step guide and avoiding common mistakes, you can experience the benefits of superior cleaning and better oral hygiene.