Introduction
Caulk guns are an essential tool in any DIY enthusiast’s toolkit. They are used for sealing up gaps and joints around windows, doors, baseboards, and even your bathtub. There are several types of caulking guns available, including manual, pneumatic, and battery-powered ones. However, using a caulk gun for the first time might be daunting for beginners. In this article, we will provide a comprehensive step-by-step guide that will take you through the process of using a caulking gun from start to finish.
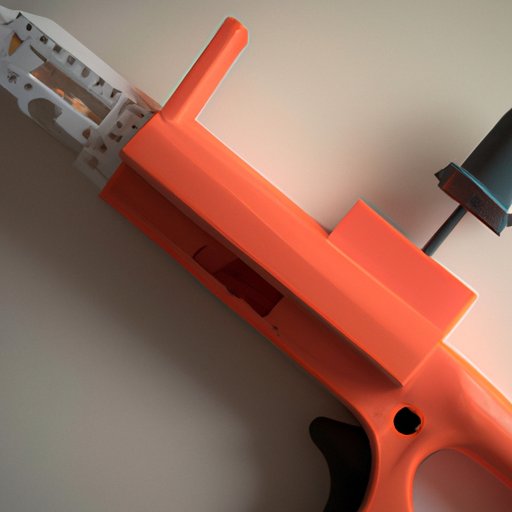
Step-by-Step Guide
The first step is to load the caulk gun with the cartridge. Most caulk guns come with a puncturing tool on the end of the gun. This tool helps to puncture the foil seal on the cartridge and allows the caulk to be dispensed. To get the best results, ensure that you load the cartridge evenly and insert it firmly into the caulking gun.
The next step is to cut the cartridge tip. Most cartridges come with a standardized tip size, but not all applications need the same size. You can cut the tip to your desired size using a knife or scissors. A precise cut ensures that the caulk dispenses evenly and precisely where it’s needed.
Next, apply the caulk on the surface that you wish to seal. Squeeze the caulking gun gently and move it at a steady pace. A good rule of thumb is to move the gun at a 45-degree angle with the tip resting firmly on the surface. You can also use masking tape to ensure a straight line or protect surrounding surfaces.
Finally, smooth the caulk using your finger, a caulking tool, or a wet sponge. The caulking tool allows you to remove any excess caulk quickly. A wet finger or sponge eliminates any bumps or lumps and allows for an even finish. Before moving to the next section, let the caulk dry for the recommended amount of time.
Uses and Applications
Caulking guns are highly versatile, and applications include sealing cracks around window and door frames, filling gaps between baseboards and floors, and even sealing cracks in the bathtub and tiles. The technique used to apply the caulk depends on what you want to achieve. A bead of caulk along the seam can be enough, or you may need to press caulk into the seam to ensure a proper seal. Additionally, you should hold the caulking gun at a 45-degree angle and move it steadily to ensure an even application.
Common Mistakes
One common mistake that people make is applying too much caulk in one pass. Doing so can lead to sagging and a messy appearance. Instead, try to move the gun steadily, dispensing the caulk slowly and continuously. Another mistake is not smoothing out the caulk once it’s applied. Make sure to smooth it out using the tools mentioned earlier to obtain a professional finish.
Types of Caulking Guns
Manual caulking guns are the most affordable, easy to use, and widely available ones. Pneumatic caulking guns use compressed air to dispense the caulk and are perfect for larger jobs as they increase both speed and efficiency. Battery-powered caulking guns require less effort to operate and can handle many jobs. However, be ready for the higher cost. Choose the type of caulking gun depending on the intended application.
Product Reviews and Buyer’s Guide
When choosing a caulking gun, it is essential to consider its quality, materials, ease of use, and cost. The top-rated caulk guns available on the market include the Newborn 930-GTD Drip-Free Smooth Hex Rod Cradle Caulking Gun, Milwaukee Electric Tool9192-20 Caulk Gun, and the Ryobi P310G 18v Pistol Grip Variable Discharge Rate Power Caulk among others. Depending on your intended applications, choose a caulk gun that matches your needs and budget.
Conclusion
Caulking is a skill that every DIY enthusiast needs to master. A caulking gun comes in handy and can make your job more manageable. The above guide assists you in loading the caulk, dispense it, and smooth it to a professional finish. Remember to select the type of caulking gun that best suits your needs and budget, and you will have a successful DIY project.