Introduction
Are you intimidated by the prospect of tying a bow tie? Many people struggle with it, but fear not: we’re here to make it easy for you. Bow ties are an essential accessory for formal occasions, and they can add flair and personality to any outfit. The purpose of this article is to provide you with a step-by-step guide, infographic, historical context, different styles, and video tutorial to help you tie a bow tie effortlessly.
Step-by-Step Guide
To tie a bow tie, you will need a bow tie itself and a mirror. Follow these steps:
- Pull up the collar of your shirt and drape the bow tie around your neck with one end longer than the other.
- Take the longer end and cross it over the shorter end.
- Loop the longer end around and behind the shorter end.
- Bring the longer end across the front and up through the loop around your neck.
- Tie a loose knot with the longer end over the shorter end.
- Fold the shorter end in half to create a loop.
- Hold the bow tie with your left hand and use your right hand to create a bow with the longer end.
- Place the bow over the center of the knot.
- Tuck the longer end behind the knot and adjust the bow by pulling on the loops and straightening the edges.
It’s important to note that the left side of the bow tie is typically longer than the right side. This will allow you to make the bow more symmetrical and properly adjusted to your neck.
Here’s an illustration to help you visualize the process:

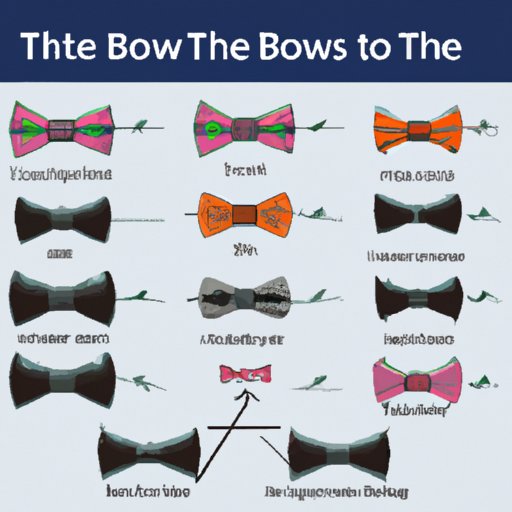
Infographic
For a more creative and visually appealing way to learn how to tie a bow tie, check out our infographic below. It outlines the steps clearly and is bound to make the process more engaging and memorable for you.

Feel free to save the infographic for future reference or share it with a friend who could use some help tying their own bow tie.
Historical Perspective
The bow tie has a long and fascinating history that dates back to the 17th century. It was originally worn by Croatian mercenaries who used a scarf to hold together the opening of their shirts. The French upper class soon adopted the look and made it a symbol of high fashion.
In the 19th century, the bow tie became popularized in America, often worn by politicians and academics. It continued to evolve as more materials, colors, and patterns became available. Today, it remains an important accessory in fashion, popularized by celebrities and valued for its versatility.
There are several popular bow tie knots, including the Butterfly, Batwing, and Classic. Here’s how to tie the Butterfly knot:
- Create a simple knot by crossing the longer end of the bow tie over the shorter end.
- Create a loop with the longer end, holding it near the knot.
- Take the shorter end and create a bow by folding it into two loops.
- Place the bow over the knot and tuck it behind the loop you created earlier with the longer end.
- Pinch the center of the bow and adjust the loops until you’re satisfied with the look.
Similarly, the Batwing knot is created by using a thinner bow tie that will create a narrow but elongated knot. The Classic or Four in Hand knot is a simpler knot that is often used for less formal attire. Experiment with different knots to find the style that works best for you.
Different Styles of Bow Ties
Bow ties come in different styles, from classic to modern, and there are different ways to tie each one. Here are some popular styles:
- The Classic Bow Tie: a simple but timeless style that works well with any formal outfit. It is tied with the Four in Hand knot.
- The Butterfly Bow Tie: a larger bow that is perfect for occasions that require a more flamboyant look. It is tied with the Butterfly knot.
- The Diamond Point Bow Tie: a smaller bow with pointed ends that give the wearer a refined look. It is tied with the Batwing knot.
- The Batwing Bow Tie: a thinner bow that is great for a semi-formal look. It is tied with the Batwing knot that creates a narrow but elongated knot.
Bow ties can be worn with suits, tuxedos, blazers, and even with more casual outfits. They are a versatile accessory that can add personality to any look.
Video Tutorial
If you prefer a more visual way to learn how to tie a bow tie, check out our detailed video tutorial below. It demonstrates the steps clearly and will give you a better sense of how to position the bow tie, form the loops and knot, and adjust the tie for a better fit.
Feel free to follow along with the video and experiment with different styles on your own.
Conclusion
Tying a bow tie doesn’t have to be difficult or intimidating. Whether you prefer step-by-step instructions, an infographic, a historical perspective, different styles, or a video tutorial, we’ve got you covered. We hope this article has been helpful in guiding you through the process and giving you the confidence to rock a bow tie at your next formal event.
If you’ve successfully tied a bow tie with our help, we’d love to hear from you.