Introduction
Whether you are an outdoor enthusiast, a boating enthusiast, or a DIY hobbyist, knowing how to tie a bowline knot is a crucial skill. However, even though the knot is simple, many people struggle to tie it correctly. The bowline knot is versatile, reliable, and an essential knot for various applications. The purpose of this article is to provide a step-by-step guide on how to tie the bowline knot, common mistakes to avoid, practical applications for the knot, variations of the knot, and the history behind the knot.
Step-by-Step Guide
The bowline knot is relatively easy to tie, especially if you follow these simple, clear instructions:
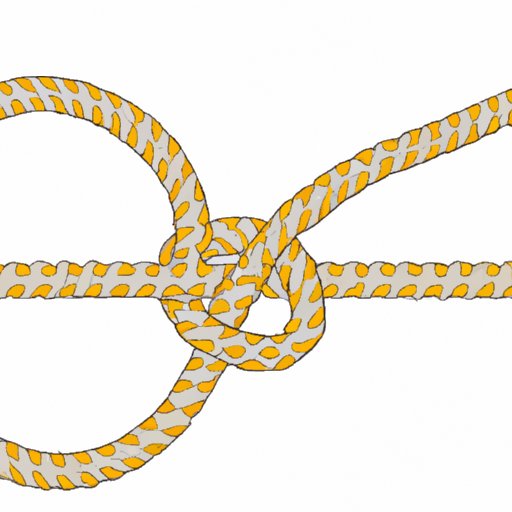
1. Create a small loop on the working end of the rope by bending it back over itself, leaving enough of a gap to work with. The free end of the line should rest over the standing end.
2. Take the free end of the rope and pass it up through the loop.
3. Move the free end of the rope behind the standing end, then back down through the loop. The free end of the rope will go over the standing end and emerge on the side of the rope that is next to the working end loop.
4. Gently pull the standing end and free end to tighten the knot, making sure that the loop you started with remains open or creates a large fixed loop that will not slip.
Here are some illustrations to guide you:

Common Mistakes
The most common mistakes that people make when tying a bowline knot include forgetting to leave enough working end rope to form the loop, tying a slip knot instead of a fixed loop, and incorrectly passing the free end of the rope through the loop. To avoid these mistakes, remember to leave enough working end, double-check the knot before tightening, and practice the steps until they become second nature.
Practical Applications
The bowline knot has a wide range of uses across various activities and industries, including camping, hiking, boating, rescue operations, and construction. The knot is useful in these scenarios because of its strength, reliability, and the fact that it can be quickly untied even after being under pressure. Here are some illustrated examples of how you can use the bowline knot in practical applications:

Knot Variations
There are various variations of the bowline knot, including the double bowline, Yosemite bowline, or the French bowline. The double bowline adds an extra loop to the standard bowline, increasing its strength and making it useful for climbing or rescues. The Yosemite bowline adds an additional loop around the standing end, ensuring that the knot doesn’t slip under heavy loads. The French bowline uses a figure-eight construction to create a loop, making it ideal for rappelling or rock climbing. Each variation has unique characteristics that make it well suited for specific scenarios. Here is an illustration of each variant:

History of Knot
The bowline knot is one of the oldest and most widely used knots in history. Its origins can be traced back to Ancient Egyptian times, where it was used in the construction of the pyramids. The knot has also been utilized in sailing, where it was used to secure the sails and rigging. The knot’s versatility and strength have made it a popular knot in various industries throughout history.
Conclusion
Learning how to tie a bowline knot is a valuable skill that will come in handy in various practical applications. By following our step-by-step guide, you can master the art of tying the bowline knot and avoid common mistakes. The knot’s versatility and strength make it an indispensable tool in various industries, while its rich history adds a touch of nostalgia to the knot. We encourage our readers to practice tying the knot until it becomes second nature, as it may someday save a life or make a DIY project much easier.