I. Introduction
Tying a bow with ribbon can be a daunting task for many people. It’s a common problem that people encounter, whether they are gift wrapping, decorating their home, or accessorizing their clothing. However, knowing how to tie a bow with ribbon is a useful skill that can impress others and add a special touch to any occasion. In this article, we will provide a step-by-step guide on how to tie a bow with ribbon, as well as some tips and tricks to achieve the perfect bow shape. We will also introduce unique bow designs and explore different uses for ribbons.
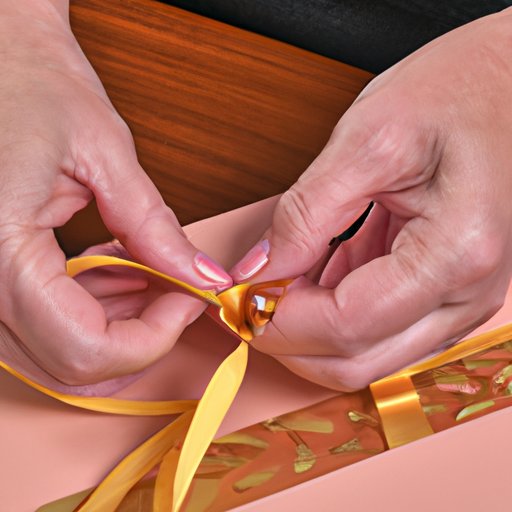
II. Step-by-Step Guide
To tie a bow with ribbon, follow these easy steps below:
- Choose your ribbon. For beginners, it’s best to start with a ribbon that’s at least 0.5 inches wide and made of a stiff material like grosgrain or satin.
- Cut a piece of ribbon to your desired length. The length will depend on the size of the bow you want to create.
- Make a loop with one end of the ribbon, with the tail facing down.
- Make a similar loop with the other end of the ribbon, with the tail overlapping the previous loop.
- Tie the two loops together with a knot by threading one loop over the other and pulling it tight.
- Adjust the loops and tails to achieve the desired shape. Take your time and be patient with the process to get the perfect shape.
Refer to the images or diagrams below to see the visual representation of each step.
III. Video Tutorial
For those who prefer seeing the process in action, we recommend watching a video tutorial on how to tie a bow with ribbon. Check out this video tutorial by Paper Mart: https://www.youtube.com/watch?v=gErSlNguo8Y
The video covers similar steps to what we described above but also includes some unique tips and tricks. For example, the video demonstrates how to layer multiple loops to create a fuller bow, and how to use a separate piece of ribbon to tie around the center of the bow for a more polished look.
IV. Tips and Tricks
To achieve the perfect bow shape, try the following tips and tricks:
- Hold the ribbon tight as you make each loop to prevent it from slipping or twisting.
- Avoid pulling the ribbon tails too tight or too loose as it affects the shape of the bow.
- Use a twist tie or a piece of wire to secure the center of the bow as you adjust the shape of the loops and tails.
- For a different look, try using a double-sided ribbon or a patterned ribbon.
- Practice tying bows with ribbon on different surfaces and objects to master the technique.
V. Unique Bow Designs
Aside from the traditional bow, there are many unique designs that you can create with ribbon. Below are a few examples:
- Rosette bow: This design features multiple loops that are twisted together to create a rosette-shaped bow. Follow this tutorial to learn how to make a rosette bow: https://youtu.be/kOz1QOmbyes
- Pom-pom bow: This design features loops that are fanned out and trimmed to create a pom-pom shape. Follow this tutorial to learn how to make a pom-pom bow: https://www.youtube.com/watch?v=JE8P51Drgd8
- Layered bow: This design features multiple ribbon layers that are tied together to create a fuller bow. Follow this tutorial to learn how to make a layered bow: https://www.youtube.com/watch?v=3SvW90IoQRE
Refer to the images or diagrams below to see the visual representation of each design.
VI. Different Uses for Ribbons
Ribbons are not just for tying bows – they are versatile decorative elements that can be used in many ways. Below are some ideas:
- Gift wrapping decorations: Tie ribbons around gift boxes, bags, or jars to add a decorative touch.
- Hair accessories: Use ribbons to tie around ponytails, braids, or buns for a cute hair accessory.
- Clothing embellishments: Add a ribbon as a belt, a bow tie, or a strap to your clothing for a unique embellishment.
- Home decor: Use ribbons to decorate wreaths, floral arrangements, or curtains.
- Party decorations: Hang ribbons vertically or horizontally for a festive backdrop, or tie them around balloons for a party decoration.
The possibilities are endless – feel free to experiment with different colors, textures, and patterns to create unique designs.
VII. Conclusion
Now that you know how to tie a bow with ribbon and some additional tips and trick, you are ready to use your newfound skills to decorate and personalize any occasion. Don’t be afraid to experiment with unique designs and different uses for ribbons beyond tying bows. Remember to take your time and be patient with the process to achieve the perfect shape.