Introduction
Taking a screenshot is one of the most useful things you can learn to do on your computer. From reporting errors to creating visuals for presentations and tutorials, taking a screenshot is an essential skill that can make your life a lot easier. In this article, we’ll explore everything you need to know about taking a screenshot on a PC, including step-by-step instructions, different methods, key benefits, a comparison of different screenshot tools, a video tutorial, and an infographic guide.
Step-by-Step Guide
Taking a screenshot on a PC is a simple process that can be done using different methods. The most common methods are using the Windows snipping tool, keyboard shortcuts, and third-party software.
Using the Windows Snipping Tool
The Windows snipping tool is a built-in app that allows you to take screenshots of any part of your screen and save them as an image. Here’s how to use it:
1. Click the Start menu and type “snipping tool” in the search bar.
2. Click the Snipping Tool app to open it.
3. Click “New” to start a new snip.
4. Use your mouse or touchpad to select the area of the screen you want to capture.
5. Click “Save As” to save the screenshot to your computer.
Using Keyboard Shortcuts
Keyboard shortcuts are combinations of keys that allow you to perform specific tasks quickly. Here are some keyboard shortcuts you can use to take a screenshot:
– To capture the entire screen, press the “Print Screen” button on your keyboard. The screenshot will be copied to your clipboard, which you can then paste into an image editing app.
– To capture the active window, press “Alt” + “Print Screen”. The screenshot will be copied to your clipboard.
– To capture a specific area of the screen, press “Windows” + “Shift” + “S” to bring up the snipping tool. Use your mouse or touchpad to select the area of the screen you want to capture. The screenshot will be copied to your clipboard.
Using Third-Party Software
Third-party software like Snagit, Greenshot, and Lightshot offer more advanced features for taking and editing screenshots. Here’s how to use Snagit:
1. Download and install Snagit.
2. Open the app and click “Capture.”
3. Select the area of the screen you want to capture.
4. Edit the screenshot using the tools provided in Snagit.
5. Save the screenshot to your computer.
Highlighting Key Benefits of Taking a Screenshot
Taking a screenshot can be beneficial in various ways. Here are some benefits:
Documentation
Taking a screenshot can help you document important information like receipts, emails, order confirmations, and more. This can be helpful when you need to provide proof of purchase or review past transactions.
Reporting Errors/Bugs
If you encounter an error or bug while using an app or software, taking a screenshot can help you report the issue to the developers. This will provide them with valuable information that they can use to identify and fix the problem.
Creating Visuals for Presentations and Tutorials
Screenshots can be used to create visuals for presentations and tutorials, making it easier for you to communicate your message to others. With screenshots, you can illustrate step-by-step instructions or highlight key points in your presentation.
Taking a screenshot is a quick and easy way to capture your screen and document important information. In fact, research shows that visuals like images and videos are processed 60,000 times faster in the brain than text, making screenshots an effective tool for communication and comprehension.
Comparison of Different Screenshot Tools
There are many tools you can use to take screenshots on your PC. Here’s a comparison of some popular ones:
Windows Snipping Tool
Pros:
– Built-in app
– Easy to use
– Saves screenshots as image files
Cons:
– Limited features
– No built-in editor
ScreenHunter
Pros:
– Advanced features
– Timed screenshot options
– Built-in editor
Cons:
– Not available for Mac
– Paid software
– Steep learning curve
Snagit
Pros:
– Advanced features
– Customizable hotkeys
– Built-in editor with templates
Cons:
– Paid software
– Not available for Mac
Video Tutorial on Taking Screenshot
Here’s a video tutorial that demonstrates how to take a screenshot on a PC using different methods:
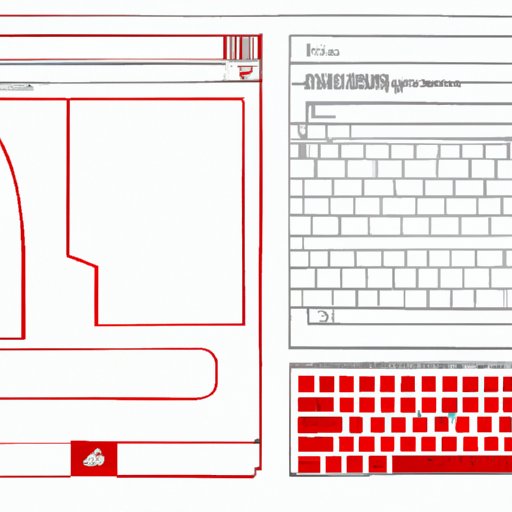
Infographic Guide on Taking Screenshot
Here’s an infographic that shows you how to take a screenshot on a PC using different methods:

Conclusion
Taking a screenshot is a useful skill that can make your life a lot easier. In this article, we’ve explored everything you need to know about taking a screenshot on a PC, including step-by-step instructions, different methods, key benefits, a comparison of different screenshot tools, a video tutorial, and an infographic guide. By taking advantage of these resources, you can become proficient in taking a screenshot and use it to your advantage in a variety of ways. So go ahead, take a screenshot, and see how it can improve your productivity and communication.