I. Introduction
Chromebooks are a great tool for productivity, but many users struggle with splitting their screen to work on multiple tasks at once. In this article, we will explore how to split screen on Chromebook in detail. We will provide a step-by-step guide, keyboard shortcuts, Chrome extensions, a video tutorial, and a comparison with other operating systems. By the end of this article, you will be a pro at multitasking on your Chromebook.
II. Step-by-step guide
The easiest way to split screen on Chromebook is to use the window snapping feature. To use this feature:
- Open the first app or website that you want to use
- Click and hold the Maximize button in the top right corner of the window
- Drag the window to either the left or right side of the screen
- Select the second app or website from the list of open windows that appears on the other side of the screen
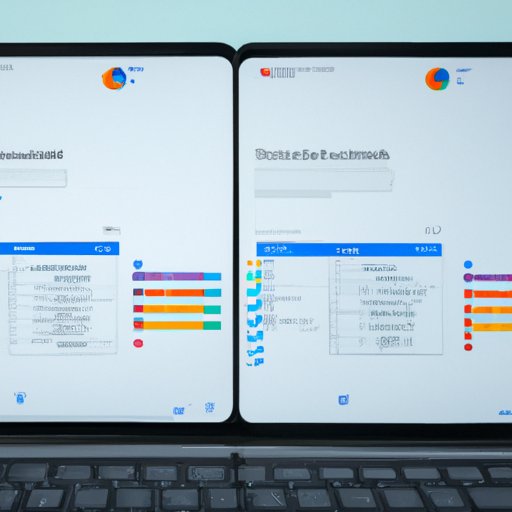
It’s that simple! See the screenshots below for a visual reference:


III. Keyboard shortcuts
If you prefer to use keyboard shortcuts, Chromebook has several options to split screen:
- Alt + [ to snap the current window to the left half
- Alt + ] to snap the current window to the right half
- Alt + [ + ] to exit split-screen mode
Using these shortcuts can help you split screen more quickly and efficiently.
IV. Multiple tasks on one screen
Split-screen mode on Chromebook is designed to help you multitask more easily by displaying multiple apps or websites on the same screen. This can be especially useful when you’re working on a research project or taking notes during class. To organize multiple tasks on one screen:
- Resize each window by dragging on the edges
- Use the overview mode (F5 key) to view all open windows and select the one you need
- Use the keyboard shortcuts (Alt + Tab) to quickly switch between open windows
By organizing your tasks effectively, you can save time and be more productive in your work.
V. Chrome extension solutions
If you want more advanced split-screen features on your Chromebook, you can use Chrome extensions. Some of the best extensions for split-screen mode are:
- Splitview – Allows you to split the screen into 2, 3, or 4 sections
- Tab Resize – Lets you split the screen with multiple tabs from the same window
- Panels – Enables you to create floating windows on your screen
Each extension has its own unique features that can enhance your split-screen experience.
VI. Video tutorial
If you prefer a visual explanation, check out the video tutorial below:
VII. Comparing split-screen mode with other operating systems
Split-screen mode is a popular feature on many operating systems, including Windows and Mac. However, the process of splitting screen can differ between systems. For example, Windows uses the snap feature, while Mac uses split view. But the benefits of using split-screen mode are universal – it can help you multitask more efficiently and stay focused on your work.
VIII. Conclusion
We hope that this comprehensive guide has helped you learn how to split screen on Chromebook effectively. By using the step-by-step guide, keyboard shortcuts, Chrome extensions, and video tutorial, you can customize your multitasking experience to meet your needs. Remember to experiment with different layouts and organization techniques to find the best setup for you.