The Ultimate Guide to Sharing Location on iPhone: Step-by-Step Guide, Tips, and Advanced Features
Do you ever find yourself lost in a new place or trying to direct friends to your location with no avail? No need to fret, sharing location on iPhone can easily solve these common frustrations. Sharing location on iPhone has several advantages, including finding lost iPhones, sharing your location with friends and family which can ease anxiety, and helping you navigate through new places easier. This guide serves as a comprehensive introduction to sharing location on iPhone, including step-by-step instructions, tips for advanced features, and troubleshooting to help you get the most out of your iPhone.
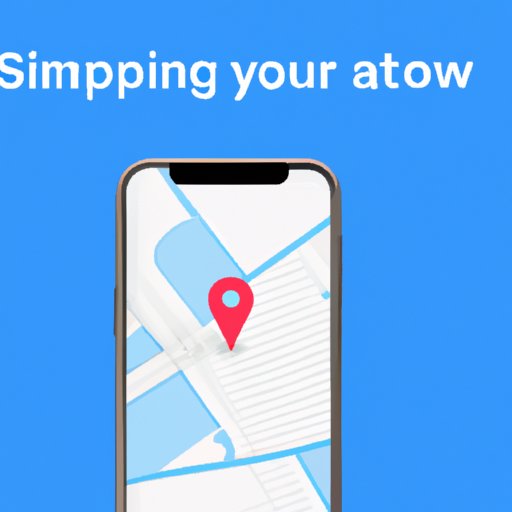
iPhone Location Sharing 101: An Introduction
Location sharing on iPhone is a feature that enables you to share your current location with others – be it friends, family, or emergency services – via iMessage or the Find My app. For location sharing to work, you will need a stable internet connection and location services enabled.
The benefits of location sharing go beyond the convenience of finding your friends in a crowd. By sharing your location in an emergency situation, first responders can quickly locate you. Moreover, parents can easily track their children’s location, ensuring their safety.
Location sharing on iPhone is a straightforward process. Apple prioritizes user privacy and has developed the feature to give users control over who can see their location, ensuring the user’s safety.
A Step-by-Step Guide to Sharing Your iPhone Location
Sharing your location on iPhone is a simple process that can be done in less than a minute. Here’s how:
- Open the “Settings” app on your iPhone
- Tap “Privacy”
- Select “Location Services”
- Ensure “Location Services” are activated by toggling the switch to green
- Scroll down to “Share My Location” and tap on it
- Activate “Share My Location”
- Select who you would like to share your location with
- You can now choose between sharing your location:
“For One Hour” - “Until End of Day”
- “Indefinitely”
We recommend choosing the option that suits your purpose, as this will automatically share your location for the selected duration. You will also receive a notification once the sharing period ends.
If you encounter any issues with the above steps, there are some common troubleshooting solutions to try:
- Make sure your internet connection is stable
- Ensure that the recipient has an active internet connection.
- Check if location access is enabled for the app
The Benefits of Sharing Your iPhone Location and How to Do It
The benefits of sharing your iPhone location go beyond convenience. For instance, if you lose your iPhone, you can use another Apple device signed in to iCloud.com to locate your missing device.
Here’s how you can locate your missing device:
- Visit icloud.com/find on your computer or another Apple device
- Sign in to your Apple ID
- Select the device you want to find
- You will be shown the precise location of the device on a map.
If you are sharing your location with friends and family, it can also be helpful in finding lost loved ones. Additionally, parents can make use of location sharing to track their children’s whereabouts and ensure their safety.
Mastering iPhone Location Sharing: Tips and Tricks
Location sharing on iPhone has several advanced features that can enhance your experience. Here are a few tips and tricks:
- Customize notification preferences for when someone shares their location with you.
- Use the “Notify When Left Behind” feature to prevent leaving your friends behind.
- If you’ll be out in areas with limited or no internet connectivity, share your location via Messages rather than Find My.
- You can also “Share indefinitely” with friends that you frequently meet up with.
By making use of these advanced features, your location sharing experience can be more personalized and tailored to your individual needs.
How to Adjust Your iPhone Settings for Better Location Sharing
In addition to learning how to share your location, it’s essential to know how to adjust your iPhone’s location services settings to prevent unnecessary sharing of your location.
- Open the Settings app on your iPhone
- Tap on “Privacy”
- Select “Location Services”
- You will see a list of all the apps that access your location
- You can individually manage location access for each app
- You may also consider turning off “Location Services” when not needed to conserve battery life.
By adjusting these settings, you can be sure that only necessary apps can access your location, ensuring your privacy and security.
Sharing Your iPhone Location with Specific People
It can be helpful to share your location with specific people rather than opening your location up to everyone. Doing so ensures your safety and privacy by allowing only selected people to view your location.
Here are the steps to share your location with specific people:
- Open the “Find My” app on your iPhone
- Select “People”
- Tap “Share My Location”
- Select which contacts you would like to share your location with
Once you complete these steps, you’ll have peace of mind knowing that only selected individuals can access your location.
Conclusion
Sharing location on iPhone may seem like a small feature, but it has several benefits that can simplify your daily life. This guide has provided a comprehensive introduction to sharing location on iPhone, including step-by-step instructions, advanced features, and troubleshooting. With this information, you can now confidently use location sharing to keep yourself and your loved ones better connected and more safe.