Introduction
Do you have a recent trip or event with your loved ones that you want to share with them? Or maybe you are working on a project with your team and need an easy way to share photos? Luckily, iPhone makes it effortless to send your favorite images to friends, family, and colleagues. In this article, we will guide you through the process of sharing albums on your iPhone. Whether you have a small or large group to share, we’ve got you covered.
Step-By-Step Guide to Sharing an Album on iPhone
Sharing an album on iPhone is an easy and straightforward process. Follow these simple steps:
Step 1: Add photos to an Album
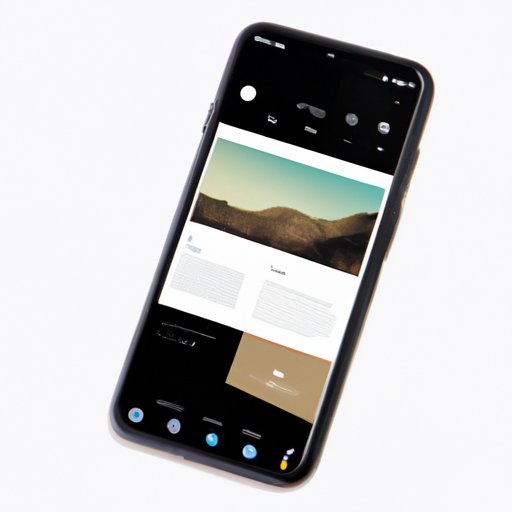
Open the Photos app on your iPhone, select the photos to include in your album, and then tap the “+” icon at the top left corner of the screen. Choose the option “New Album,” then name the album, and hit save.

Step 2: Select recipients
Next, tap on the “Select” option to highlight the album you want to share, then tap on the “Share” button (box with an upward arrow) at the bottom left corner of the screen. You can select the people you want to share the album with, either via AirDrop or Messages.

Step 3: Send the album
If you choose to share via messages, add a comment or description and tap send. If you use AirDrop, select the recipient and then tap on “Send.” The recipient will receive the invitation to view the shared album.
Exploring Shared Albums on iPhone
A shared album is a feature on iPhone that enables you to share a group of images with selected people. Only the people with access can view, like, or comment on the pictures. You can create a shared album and invite friends and family members to contribute their own photos. Here’s how to create and manage a shared album on your iPhone:
Creating a Shared Album
To create a shared album, open the Photos app, click on the “Shared” tab at the bottom of the screen, and then tap the “+” button at the top left corner to create a new album. Name your shared album, select the photos you want to add, and then invite people to contribute. When they accept, they can add photos, and you can see them in the shared album.

Managing a Shared Album
If you want to edit or remove any photos from an existing shared album, simply open the album and select “Edit” at the top right corner of the screen. You can add new photos, remove pictures, and delete comments. You can also change the sharing options and decide who can see, add or comment in the album.
Benefits of using Shared Albums
Shared albums are a great tool for various purposes:
- Sharing memories with family and friends, no matter where they are.
- Following up on events or special celebrations.
- Collaborating with colleagues and collecting photos for work-related projects.
- Sharing educational or artistic slidedecks to groups.
- Keeping a digital photo album with people geographically distant.
The Benefits of Sharing Albums on iPhone
Your iPhone has a camera that you can use anytime and anywhere. Taking pictures on your iPhone and sharing them with others can bring many benefits:
- Share your memories: You can share personal moments and experiences with family and friends, and keep your loved ones updated on your life activities.
- Collaborative projects: You can work on group projects with your colleagues, share photos, and make creative suggestions to produce better results.
- Keep your photos organized: you can keep your photos organized in one album, rather than having them scattered throughout your phone’s camera roll.
Tips for Creating a Shareable Album on iPhone
Here are some tips to create albums that are easy to share:
- Organize photos: Before creating an album, make sure you organize your photos so they are easy to find, and you don’t end up creating duplicates.
- Choose descriptive names: Pick names that accurately describe the content of your album, and make it easy for others to find it without any confusion.
- Adjust Privacy settings: Review privacy settings carefully and choose to share your albums only with people you trust and want to communicate with.
Sharing Albums with Non-iPhone Users
If you want to share your iPhone album with non-iPhone users, there is an option to export photos or send a link. You can send an email or a text message with a link to the album. They can then view the photos in a web browser. However, non-iPhone users cannot add photos or see comments.
Sharing Albums with a Limited Audience
You can share albums with a limited audience by sharing using iCloud and creating an album that only specific members can access. You can set this up in the sharing options “People” section. You can also disable comments or add restrictions on who can add photos.
Troubleshooting Common Issues with Sharing Albums on iPhone
If you face issues with sharing your iPhone albums, try these troubleshooting tips:
- Check your internet connection: Make sure you have a stable internet connection for efficient sharing.
- Check permissions: Ensure that you have allowed permission to share from your iPhone settings.
- Check iCloud settings: Make sure you have enabled iCloud sharing and that your shared album is not full as it has a 5,000 photos limit.
- Check your storage: If your phone is running out of storage space, iCloud sharing may not work correctly.
Conclusion
Sharing photos with others is an excellent way to stay connected and share memories, no matter where you are in the world. With your iPhone, you can easily create albums and share them with chosen people. By following the easy step-by-step guide we have provided, exploring shared albums and troubleshooting tips, you’ll never have to worry about sharing your memories again.