I. Introduction
If you’re a fan of cooking outdoors or craving the taste of restaurant-style meals at home, a blackstone griddle might be a perfect fit for you. Blackstone griddles are versatile cooking appliances that can make everything from steak to stir-fry to pancakes on its flat-top surface. To maintain its performance and longevity, seasoning is a crucial step. In this article, we’ll explore how to season a blackstone griddle from start to finish, offering handy tips and tricks to elevate your cooking game.
II. The Importance of Seasoning
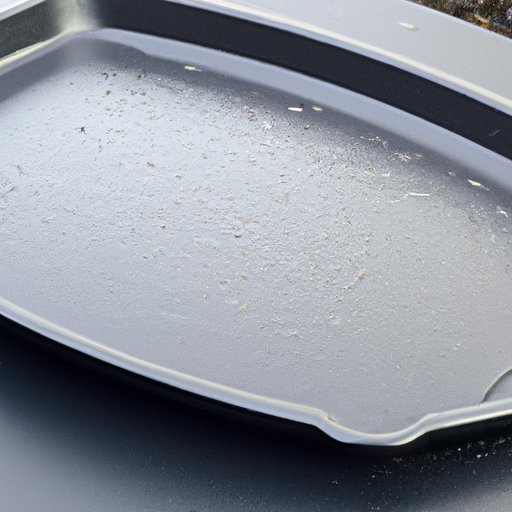
Seasoning is a process that is carried out before initial use or after cleaning the griddle surface. Its primary role is softening the hardened iron surface by introducing a layer of oil. It also forms a hard, non-stick layer that food won’t stick to. Proper seasoning protects the blackstone griddle against rust and corrosion. Any brownish-black residue that builds up over time is known as the seasoning layer. This layer prevents food from sticking and provides a natural non-stick surface.
Before seasoning, it’s important to clean the griddle to remove any dirt or debris that may have accumulated. Here’s how you can clean your blackstone griddle:
- Ensure the griddle is turned off before starting.
- Put some water on the griddle surface until it covers the majority of it.
- Heat the griddle to 325°F or until the steam starts to form on the surface.
- Turn off the griddle and, using a scraper, scrape off large debris from the edges and corners of the surface.
- Using a cloth or paper towel, wipe the surface to remove the remaining particles and moisture until the surface is dry.
III. Step-by-Step Guide to Seasoning
Now that you’ve cleaned your blackstone griddle, it’s time to season the surface. The following steps will guide you through the process:
- Begin by turning on your blackstone griddle to high heat. Let it warm up for around ten to fifteen minutes.
- Apply a thin layer of oil. Neutral oils, like canola, vegetable, or flaxseed oil, are the best options while seasoning your blackstone griddle.
- Spread the oil around the surface of the griddle using a paper towel. Make sure that every part of the surface is covered evenly.
- Leave the oil to cook for 15 to 20 minutes at high heat.
- After that, turn off the heat and let the griddle cool to a warm temperature.
- Using a cloth or paper towel, wipe the surface to remove any excess oil. Repeat the process as required
- This seasoning process must be repeated at least once before cooking your first dish.
IV. Tips and Tricks
Here are a few pro tips to optimize your seasoning process and maintain the coating on your blackstone griddle:
- Use the heat distribution on the surface to season it more evenly. By dividing the surface into parts, you can oil each part at a time, and it won’t dry out before you cover the entire surface.
- Always use a neutral, high-smoking point oil because the seasoning oil will smoke when the heat is on.
- Preheat the griddle evenly over high heat, guaranteeing that the oil spreads evenly over the surface.
To maintain your blackstone griddle, avoid cooking acidic foods such as tomatoes or vinegar-based dishes. Acidic substances can damage the seasoning and cause food to stick to the surface.
V. Seasoning Variations
If you want to try something different and personalize your blackstone griddle seasoning, try incorporating different oils into the process. The neutral oils are best for seasoning, but you can experiment with different oils to add new flavors to your dishes. For example, peanut oil and sesame oil will add a nuttier, richer flavor to your meals.
Another way to customize your seasoning is by incorporating different herbs or spices. When seasoning your griddle with oil, try adding some crushed garlic or rosemary. This will add a hint of flavor to the food cooked on the griddle’s surface.
VI. Recipes
A well-seasoned blackstone griddle can make a variety of dishes, from steak and hamburgers to stir-fry and breakfast favorites such as pancakes. Here are few recipes that will bring your blackstone griddle to life:
- Stir-Fry Vegetable and Chicken: Heat oil on the griddle and add diced chicken tenders. Cook until done, remove them from the griddle, add diced vegetables (mushrooms, peppers, onions, and broccoli), and a splash of soy sauce and spice of your preference. Cook for a few minutes until vegetables are cooked to your liking. Add the chicken back to the vegetables and cook for another minute; serve over rice or noodles.
- Fluffy Pancakes: Whip up your pancake batter and pour it onto the hot griddle. Cook until bubbles form on the surface, then flip it over; cook until the other side is golden brown.
- Juicy Steak: Season your steak with salt, pepper, and garlic powder. Preheat a thin layer of oil on the hot griddle. Lay the steak on the surface and cook to your preferred doneness.
VII. Benefits of Using a Well-Seasoned Griddle
Seasoning your blackstone griddle enables it to develop a natural non-stick surface, which makes flipping and turning food much more comfortable. It also prevents food from sticking to the surface, which makes it easier to cook and clean. Food cooked on a seasoned griddle has enhanced color and taste, and it reduces the chances of any health hazards due to rust or corrosion that could arise from an unseasoned surface.
VIII. Care and Maintenance
After every use, clean the blackstone griddle with a food-safe scraper and clean it while it’s still warm. To prevent rust formation, prevent moisture from accumulating on the surface, and bypass leaving any open cans or metal containers on the surface. Oiling the surface every few uses is a good idea, especially if your griddle isn’t in use regularly.
IX. Conclusion
Seasoning a blackstone griddle is a straightforward process that can enhance your cooking experience to the next level. By following the steps mentioned in this article, you will end up with a well-seasoned griddle that maximizes your cooking potential.