
How to Screenshot on MacBook Pro: A Complete Guide
Are you struggling to take screenshots on your MacBook Pro? Whether you want to share information with others, document issues, or save important information, knowing how to take a screenshot is essential. Fortunately, it’s a simple process, and there are various methods to accomplish it. In this article, we’ll provide step-by-step instructions and other helpful information that will teach you how to easily capture screenshots on a MacBook Pro.
5 Simple Steps to Take a Screenshot on Your Macbook Pro
If you want to take a simple screenshot of your MacBook Pro, here are the steps you need to follow:
- To capture the entire screen, press Command + Shift + 3
- To capture a specific window, press Command + Shift + 4 , then press the space bar and click on the window you want to capture.
- To capture a selected portion of the screen, press Command + Shift + 4 and drag the crosshairs over the portion of the screen you want to capture.
- Once the screenshot is taken, it will be saved on your desktop.
- To dismiss the screenshot without saving it, press Esc .
These simple steps can help you take a screenshot on your MacBook Pro efficiently. Now, let’s look at a simpler method that requires less memorization.
The Easiest Way to Capture Screenshots on Your Macbook Pro
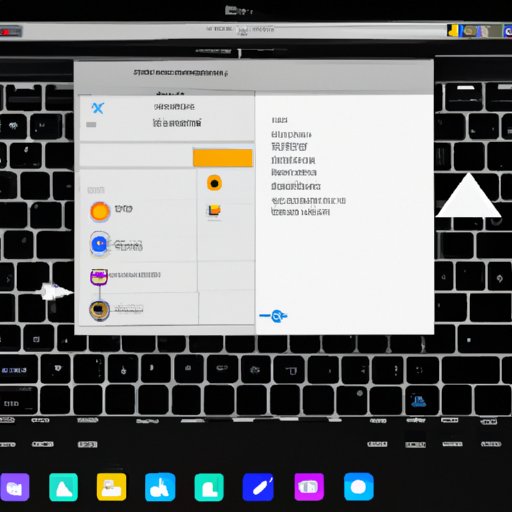
The easiest way to take screenshots on a MacBook Pro is to use the built-in screenshot feature. You can quickly access this feature using keyboard commands or the Touch Bar. The advantage is that this method automatically saves the screenshot into your designated folder, making it easier to retrieve later. Here’s how to use it:
- Press Command + Shift + 5 on your keyboard
- From the Screenshot toolbar, select the type of screenshot you want to take.
- When you’re ready, click on the “Capture” button
- The screenshot will automatically save onto your desktop as a .png file.
This method is straightforward and extremely convenient. However, what if you want to learn more advanced techniques for screenshotting?
Mastering the Art of Screenshotting on a Macbook Pro: A Comprehensive Guide
There are different ways of taking screenshots on a MacBook Pro beyond the basic methods. Here are some of the advanced ones:
- To capture an image of a menu, press Command + Shift + 4 , press Space Bar , then click on the menu.
- To capture a screenshot of a touch bar, press Command + Shift + 6.
- You can also set a timer for screen captures by adding a Control key.
- There are also third-party tools such as Snagit, Skitch, and Lightshot that can be used for more advanced tools.
With this knowledge, you can take a screenshot of almost anything on your MacBook Pro with ease. But what about editing them?
Learn How to Take Screenshots on a Macbook Pro and Edit Them with Ease
The ability to edit your screenshots is an important tool to have. Here’s how you can do it:
- Find the screenshot that needs to be edited and double-click on it.
- Select the Markup tool (it looks like a pencil), which will allow you to annotate and draw on the screenshot.
- Use the “+” symbol to create new elements such as text, shapes, or lines.
- Click on the “Done” button when you’re finished editing the screenshot.
Once you have saved an edited screenshot, you can add it to a document, presentation, email message, or any other project that requires visual aids.
Effortlessly Screenshotting on Your Macbook Pro: Tips and Tricks for Beginners
If you’re new to the world of Macbooks, taking a screenshot may seem like a daunting task. Here are some tips that can help you:
- Memorize shortcuts to save time and increase productivity.
- Use Grab, a built-in screenshot application on MacBook Pro, to generate high-resolution screenshots in other file formats.
- Remember that screenshots are saved in .png file format on MacBook Pro
With these tips and tricks, you can master the art of screenshotting and effortlessly take shots with maximum efficiency.
Conclusion
By now, we hope you’ve learned how to screenshot on MacBook Pro efficiently, from basic to advanced methods. With these tips and tricks, you’ll be screenshotting like a professional in no time. Practice this skill and master it – the more you screenshot, the more efficient you’ll become. Feel free to leave a comment in the section below, and let us know your thoughts on this article.