Introduction
If you are a DIY enthusiast, you know that dealing with stripped screws can be a frustrating experience. Stripped screws are a common problem that can delay a project and make you want to give up. However, there are simple solutions to get that pesky screw out and get your project back on track. This article aims to provide you with effective tips and tricks to remove stripped screws and avoid future incidents. So, let’s dive in!
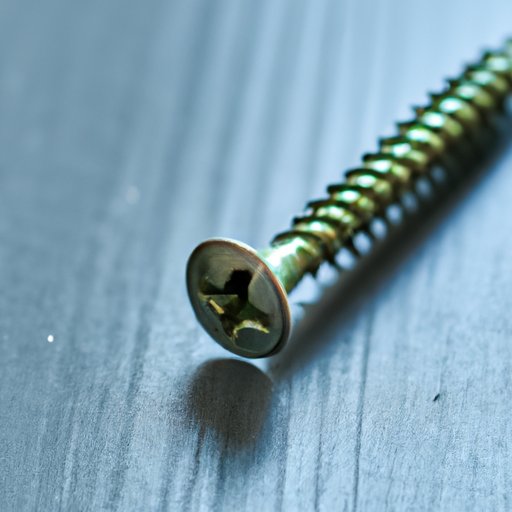
5 Easy Steps to Remove a Stripped Screw
The first solution for removing a stripped screw is to use basic tools and follow these five easy steps:
- Assess the situation. Determine what tools you need and the type of screw you are dealing with.
- Choose the right size screwdriver. Pick a screwdriver that fits the screw head snugly.
- Apply some pressure. Put the screwdriver in the screw head and apply pressure as you turn it clockwise and counterclockwise.
- Use pliers. If the screwdriver fails, grab the screw head with pliers and turn it counterclockwise until it comes out.
- Apply some force. If all else fails, use a hammer to tap the screwdriver into the stripped screw head and turn it counterclockwise with pliers.
By following these steps, you will likely be able to remove any stripped screw.
Reviving Rusty Screws: How to Remove a Stripped Screw with Household Items
Sometimes, you may not have access to the necessary tools to remove a stripped screw. But don’t worry; you can try some household items to revive rusty screws. Here are some options:
- Rubber Band: Place a rubber band over the stripped screw head and use a screwdriver on top of the rubber band, adding enough pressure to remove the screw.
- Pliers: Place the pliers over the screw head and use a screwdriver to turn the screw while pulling it counterclockwise with pliers.
- Paraffin Wax: Rub paraffin wax over the screw thread before reinserting it. This helps lubricate the thread and makes it easier to turn the screw.
- Hammer and Chisel: Use a hammer and chisel to make a slot in the screw head. Turn the screwdriver counterclockwise in the new slot.
These household items can serve as effective solutions when traditional tools are not available.
When in Doubt, Drill it Out: How to Remove a Stripped Screw with Power Tools
In some cases, you may need power tools to remove a stripped screw. Here are some options:
- Power Drill: Drill a small hole into the center of the stripped screw, making sure not to drill too deep. Insert a screw extractor and turn it counterclockwise.
- Screw Extractor: Use a screw extractor by drilling a small hole in the center of the screw head, then insert the extractor and turn it counterclockwise until the screw comes out.
These power tools can be helpful when a screw is badly damaged or solidly stuck.
DIY Disaster: What to Do When a Stripped Screw Derails Your Project
When a stripped screw messes up your DIY project, don’t panic. Here are some quick fixes to get your project back on track:
- Add extra screws: If one screw won’t hold, add more screws. This will distribute the pressure and hold everything in place.
- Use larger screws: A thicker screw can provide better grip, especially when there is no other option.
- Use glue: Apply a strong glue, such as epoxy, to secure the object in its intended position.
These quick fixes can keep your project on track and ensure that the damage caused by a stripped screw is minimal.
Prevention is Key: Tips for Avoiding Stripped Screws
Preventing stripped screws is essential to avoiding project delays and frustration. Here are some tips for avoiding stripped screws:
- Use the Right Tools: Use screwdrivers that fit the screw head tightly and apply pressure without slipping.
- Pre-drill Holes: Pre-drilling pilot holes can reduce the risk of stripping screws.
- Apply Lubrication: Apply lubricant to the screw thread to ease the screw-in process.
- Inspect Screws: Inspect the screws before use to ensure they are undamaged and suitable for the project.
By following these tips, you can save yourself the frustration of dealing with stripped screws.
Conclusion
Removing stripped screws can be a challenging task for DIYers, but with the right tools and these simple solutions, it doesn’t have to be. Whether you are using traditional tools, household items, or power tools, you can remove stripped screws and get back to your project in no time. Remember, prevention is key when it comes to avoiding stripped screws. By using the right tools, pre-drilling holes, and inspecting screws, you can save yourself frustration and time. Try these tips and get back to your DIY projects with confidence.