I. Introduction
A splinter is a common occurrence that can cause discomfort and pain if not handled properly. Splinters can be difficult to remove, often leading to infection or more significant health issues if not treated properly. This article will provide information on how to remove a splinter using various home remedies and first aid techniques, ensuring a pain-free removal process.
II. Using a sterilized tweezers to remove the splinter
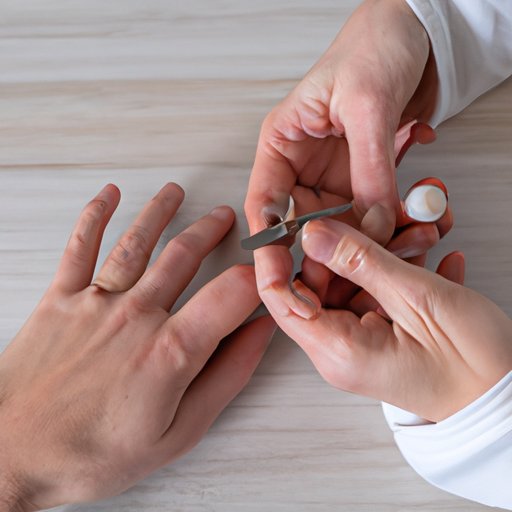
The most common method for removing a splinter involves tweezers. To use this method, it is essential to start by wearing gloves and making sure that the tweezers are sterilized. Once you have the proper equipment ready, locate the splinter’s position and pull it gently out of the skin with the tweezers. It is important to avoid squeezing too hard, as this can push the splinter deeper into the skin.
III. Covering the skin surrounding the splinter with gentle adhesive tape
If the splinter is not obtrusive, you can try covering the skin around it with gentle adhesive tape. By doing so, after a few minutes, the tape will have covered the skin and take the splinter out as you remove the tape. It is essential to apply the tape carefully for it to work adequately.
IV. Soaking the area with the splinter in warm water
Soaking the area with warm water refers to the process of submerging the affected area in warm water to soften the skin and gently dislodge the splinter. You can prepare the warm water by putting it in a bowl and adding some epsom salt if necessary. After soaking the area for 10-15 minutes, you can use a sterilized needle or pin to softly push the splinter out of the skin.
V. Making a paste with baking soda and water
Making a paste with baking soda and water involves mixing a small amount of baking soda with water until it forms a thick paste. Then, apply a small amount of paste to the affected area and cover it with a band-aid, leaving it for a few minutes. The splinter will come out on its own due to the paste’s effect on the skin. This is an effective method when the splinter is relatively shallow.
VI. Applying a poultice of bread and milk
Applying a poultice of bread and milk involves mixing bread crumbs with warm milk to form a thick paste, which you can apply to the affected area before going to bed. Cover the paste with band-aids, leaving it overnight. The poultice can extract the splinter and help bring down any inflammation in the area. This method is often recommended when dealing with obscure splinters, and it is ideal for those with sensitive skin.

VII. Applying a drop of vinegar to the splinter area
Applying a drop of vinegar to the splinter area is an old home remedy that has been practiced for centuries. Mince the area around the splinter with a sterile needle. Then, soak a piece of cloth or cotton ball with vinegar and place it over the area for 10 to 15 minutes to soften the skin around the splinter’s entry point. Lastly, you can remove the splinter gently using sterilized tweezers to avoid causing any further damage to the affected area.
VIII. Seeking medical advice
While home remedies are often effective, there are cases when you need to seek medical attention. If the splinter is difficult to remove, and there is a lot of swelling, it is essential to consult a healthcare provider. They may use special methods such as cutting the skin open to remove the splinter completely. This is often done in cases of essential objects that break-off within the skin.
IX. Conclusion
Removing a splinter can be a painful and challenging process; however, with the right approach, it can be done painlessly. From using tweezers to applying a drop of vinegar to the splinter area, these methods will help you safely and effectively remove a splinter from any affected area. Before seeking medical assistance, there are several home remedies available that are cost-effective and easy to access, allowing you to remove the splinter safely from home. By sharing this information, you can help others avoid splinter removal-related complications and pain.