Introduction
Drywall damage is a common occurrence in households, whether it’s caused by furniture scratches or doorknob dents. While it is frustrating to see your once-pristine walls defaced by unsightly marks, the good news is that you can easily fix these damages by patching up the drywall. This article is aimed at helping readers learn how to patch drywall effectively and efficiently.
Tips and Tricks for Patching Drywall
Before you start patching drywall, ensure that you have all the necessary tools, including a putty knife, sandpaper, spackling compound, drywall tape, and a utility knife. It is also essential to prepare the area before starting the repair process. This involves cleaning the damaged region, removing any loose materials, and sanding the surface to create a flat and smooth surface.
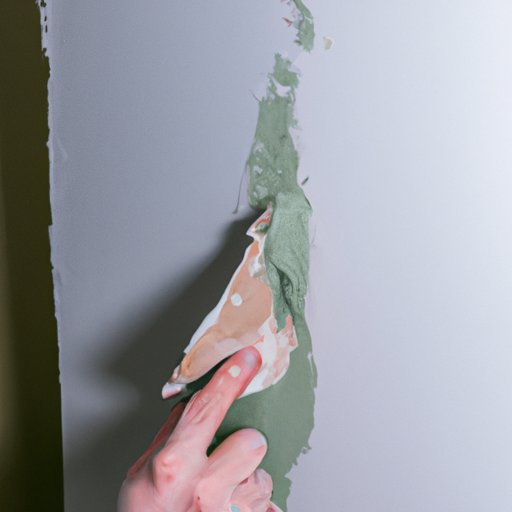
Next, use spackling compound to fill the hole or dent. Apply the compound in thin layers, ensuring that each layer is smooth and even. Using a putty knife, spread the compound over the damaged region and smooth it out. After each layer dries, use sandpaper to smooth the surface until there are no bumps or ridges, and repeat the process until the surface is level with the wall.
One of the most challenging aspects of patching drywall is achieving a smooth finish, as sanding can be time-consuming and messy. One trick to minimize sanding is to use a wet sponge to smooth out the surface after applying the compound. The moist sponge evens out the spackling compound and leaves a smooth, even surface.
Types of Drywall Patches and Their Usage
There are three types of drywall patches: mesh patch, self-adhesive patch, and traditional patch. Mesh patches are typically used for small holes that are less than two inches in diameter. Self-adhesive patches are ideal for medium-sized holes, while traditional patches are suitable for larger holes. Mesh patches are easy to install, while self-adhesive or traditional patches require more work.
Mesh patches consist of a piece of fiberglass mesh that adheres to the damage area with a layer of spackling compound. These types of patches are ideal for small holes and are straightforward to install. Self-adhesive patches have an adhesive backing that sticks to the damaged area, requiring minimal spackling compound to smooth out the surface. Traditional patches, on the other hand, require a backing board to be installed beneath the drywall before applying spackling compound.
DIY Guide to Patch Drywall
Patching drywall can be a daunting task, but with the right tools and techniques, it can be done quickly and efficiently. Here is a step-by-step guide to patch drywall:
Step 1: Cut out the damaged area
Use a utility knife to cut out the damaged area, ensuring that the edges are straight and even.
Step 2: Install backing board (if needed)
If you’re using a traditional patch, you’ll need to install a backing board behind the hole.
Step 3: Apply spackling compound
Using a putty knife, apply spackling compound in thin layers over the hole, making sure that each layer is smooth and even.
Step 4: Sand the surface
After each layer of spackling compound has dried, sand the surface using sandpaper until it is smooth and even.
Step 5: Repeat the process
Repeat steps 3 and 4 until the surface is level with the wall.
Step 6: Paint or texture the surface
Apply paint or texture the surface to match the existing wall.
Common Mistakes to Avoid While Patching Drywall
Patching drywall is not always a straightforward task, and it is common to make mistakes along the way. Here are some common mistakes to avoid when patching drywall:
Using too much spackling compound: Applying too much spackling compound can lead to uneven surfaces, which require extensive sanding to smooth out.
Only filling in low spots: Filling in only low spots will leave gaps on the surface, which will require extra coats of spackling compound to fix.
Not waiting for spackling compound to dry: Applying spackling compound to a damp surface can lead to shrinkage and cracking of the compound.
Not sanding the surface: Skipping the sanding process will result in a rough, uneven surface.
How to Update Your Wall After the Patch
One of the crucial aspects of patching drywall is matching the newly patched surface with the existing wall. Here are some tips and techniques for painting and texturing the patched area:
Choose a matching paint color: Find a paint color that matches your existing wall and apply it to the patched area.
Use the same texture: Mimic the texture of the existing wall to create a seamless finish.
Blend the new surface with the old: Use a paint roller or brush to blend the new surface with the old, following the grain of the existing wall.
Conclusion
Patching drywall is not a task you should fear. With the right tools and techniques, it can be done quickly and efficiently. Always remember to take your time, use the appropriate patch for the damage, and don’t rush the process. With these tips and tricks at your disposal, you’re well on your way to a smooth and seamless drywall repair.