Introduction
Rubber band bracelets are not only fun to make but also increasingly popular among all age groups. These bracelets have been around for quite some time, but their popularity only surged in recent times. Whether you are a beginner or an experienced crafter, making rubber band bracelets can be a great way to express your creativity. In this article, we will cover everything you need to know about making rubber band bracelets, from basic techniques to advanced designs.
The Ultimate Guide to Making Rubber Band Bracelets: A Step-by-Step Tutorial
To make rubber band bracelets, you don’t need much. Basic materials such as rubber bands, an S clip, and a loom board (if you want to use one) are required. Here’s how you can make a simple rubber band bracelet:
– Pick the rubber band color and place it on the loom board.
– Place another rubber band on top of the first one diagonally to make a figure eight.
– Create another figure eight with the third rubber band on top of the second one.
– Repeat this process until you reach your desired length.
– Connect the two ends using an S clip.
If you don’t have a loom board, you can use your fingers instead. Follow the same steps but wrap the rubber bands around your fingers instead of a loom board. Once finished, use the S clip to connect the two ends.
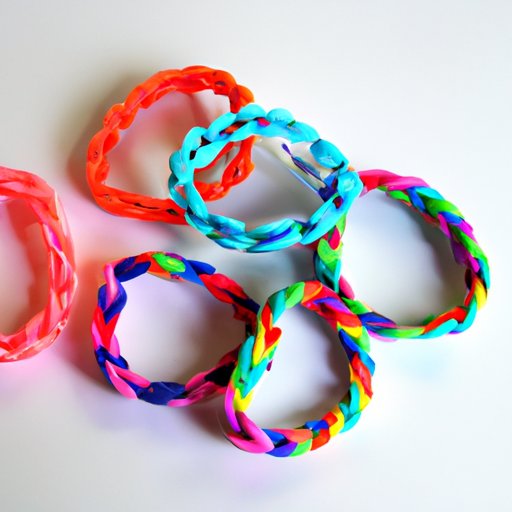
DIY Rubber Band Bracelets: 5 Easy Patterns to Try
Once you’ve mastered the basic rubber band bracelet, you can start experimenting with different patterns. Here are five easy patterns to try:
1. Single Chain: This is the simplest of all the patterns and requires only a single band.
2. Double Chain: Similar to the single chain pattern, this pattern utilizes two rubber bands instead of one.
3. Zigzag: An easy and fun pattern that involves alternating colors in a diagonal pattern.
4. Braid: A pattern that requires a bit more patience and skill, but the end result is worth it.
5. Beaded: A pattern that allows you to add beads to your bracelet for an added pop of color and personality.
From the Basics to Intricate Designs: Tips on Making Rubber Band Bracelets
Once you’ve mastered the basic patterns, it’s time to elevate your skills. Here are some tips to help you make more intricate designs:
– Use multiple colors of rubber bands to create patterns and designs.
– Create different shapes such as hearts, stars, and circles, by following patterns created with the loom board.
– Add beads, charms, and other accessories to make your bracelet unique.
– Experiment with different types of material such as silicone or latex rubber bands for different textures and stretch.
The Science Behind Rubber Band Bracelets: Exploring the Materials and Techniques Used
There is more to rubber band bracelets than just the fun designs. The materials used in making these bracelets play a significant role in their overall appearance and durability. Here’s what you need to know:
– Latex rubber bands are the most common material used in making rubber band bracelets. They are durable, strong, and come in a range of colors.
– Silicone rubber bands are a great alternative to latex if you have an allergy or sensitivity to latex. They are generally softer and more comfortable on the skin.
– Different techniques such as fishtail, hexafish, triple single, and diamond design require different techniques when using a loom board.
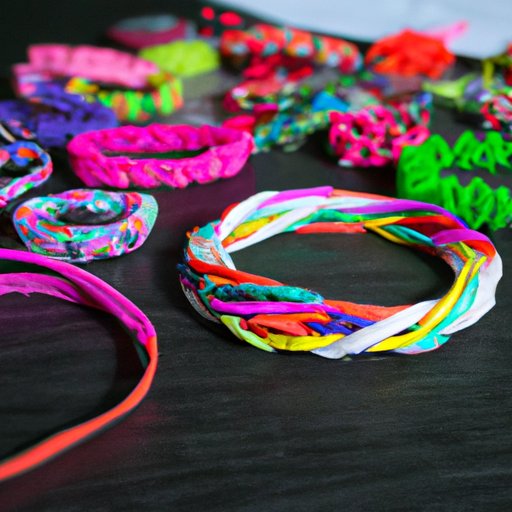
Creative Ideas for Personalizing Your Rubber Band Bracelets
Personalizing your rubber band bracelets can be a great way to make them unique. Here are some creative ideas you can try:
– Add charms or beads to your bracelet to make it your own. You can find these at your local craft store or online.
– Experiment with different color combinations for a truly custom look.
– Use alphabet beads to spell out your name or a special message.
– Create bracelets for special events such as weddings, birthdays, or holidays.
Rubber Band Bracelets: A Fun Group Activity for Kids and Adults
Making rubber band bracelets can be a great group activity. Here are some tips for making bracelets with a group:
– Have all the necessary materials ready ahead of time.
– Give each person their own set of materials and space to work.
– Set up challenges or contests to keep things fun and engaging.
Wear Your Heart on Your Wrist: Making Rubber Band Bracelets with Meaningful Colors and Charms
In addition to being a fun and creative activity, rubber band bracelets can also have special meanings. Here are some suggestions for making bracelets with special significance:
– Create bracelets in colors that support a particular cause or movement.
– Use charms or beads that represent something important to you, such as a hobby or interest.
– Make bracelets with special colors or symbols to represent different emotions such as happiness, love, or sadness.
Conclusion
In conclusion, making rubber band bracelets is a fun and creative activity that anyone can do. Whether you are a beginner or an experienced crafter, there are endless possibilities when it comes to designing and personalizing your bracelets. I encourage you to try out some of the techniques and patterns covered in this article and make them your own. Who knows, you may just discover your new favorite hobby.