Introduction
Rose water has been a popular ingredient in beauty and skincare products for centuries, prized for its soothing and moisturizing properties. As more people look for natural and DIY beauty alternatives, making your own rose water has become a popular trend. In this article, we’ll explore the benefits of making your rose water at home, share some DIY recipes, and offer tips for using rose water in your beauty routine.
The Ultimate Guide to Making Your Own Rose Water at Home
Making your own rose water can be a fun and cost-effective way to incorporate this natural ingredient into your beauty routine. Not only is it more affordable than buying store-bought rose water, but making it yourself also allows for greater customization and control over the ingredients used. However, some people may be hesitant to try DIY rose water due to concerns about safety and storage. Let’s address some of these common questions and concerns.
Firstly, it’s important to note that making rose water at home is generally considered safe, as long as you follow proper food handling and sanitation practices. This includes using clean utensils, containers, and surfaces, as well as washing your hands thoroughly before handling the roses and other ingredients.
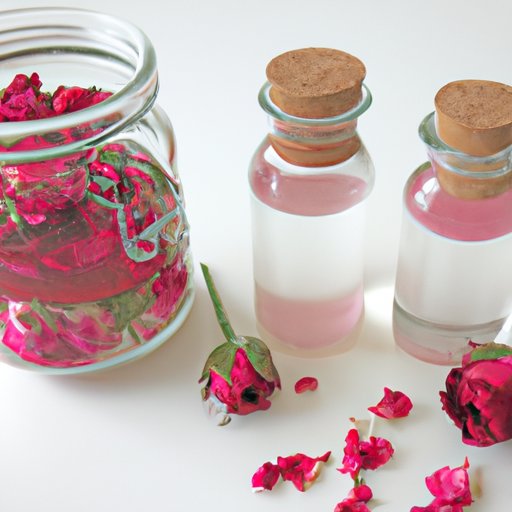
When it comes to storage, homemade rose water should be kept in a cool, dry place in an airtight container. It’s also a good idea to label the container with the date it was made, so you can track its freshness.
Discover the Benefits of Rose Water and Learn How to Make it Yourself
Before we dive into the DIY recipes, let’s explore some of the benefits associated with rose water. Rose water is rich in antioxidants and vitamins, making it a great natural ingredient for fighting off free radical damage and inflammation. It’s also known to be gentle on sensitive skin and can be used to help soothe skin irritation and redness.
When choosing roses for making rose water, it’s important to look for ones that are organic or pesticide-free. This ensures that you’re not exposing your skin to any harmful chemicals or additives.
So how do you make rose water at home? The basic process involves steeping fresh rose petals in water and then straining out the petals to collect the fragrant water. Let’s take a look at a simple DIY recipe.
An Easy DIY Recipe for Making Rose Water: A Step-by-Step Guide
Ingredients:
- 2 cups of water
- 2 cups of fresh rose petals
Instructions:
- Rinse the rose petals thoroughly to remove any dirt or debris.
- Place the petals in a saucepan and cover with water.
- Bring the water to a gentle boil, then reduce the heat and let the petals simmer for about 20-30 minutes, or until the petals lose their color.
- Remove from heat and let cool.
- Strain the water through a fine-mesh sieve or cheesecloth into a clean container.
- Discard the petals and store the rose water in an airtight container.
And voila, you now have your homemade rose water! This recipe can be adjusted depending on your preferences – feel free to experiment with quantities and ratios to achieve your desired fragrance and concentration.
Some tips for troubleshooting common issues during the rose water-making process:
- If your rose water has a strange odor, it may be because the petals were not rinsed properly, or they may not have been fully submerged in the water during the boiling process.
- If your rose water has a cloudy or murky appearance, it may be because the petals were overcooked.
The Traditional Method of Making Rose Water: Explained and Simplified
While the DIY recipe we just reviewed is a great option for those who want to try making their own rose water at home, there is also a traditional method that has been used for centuries. This traditional method has cultural and historical significance in many countries, including Iran and India.
The traditional method involves distilling rose petals using a special still, which extracts the fragrant oil from the petals and captures it in a distilled water solution. While this process can be time-consuming and requires specialized equipment, it can result in a more concentrated and potent rose water that is prized for its fragrance.
Ultimately, the method you choose will depend on factors such as your level of experience, the quantity of rose water you need, and your desired fragrance concentration.
How to Use Rose Water in Your Beauty Regimen: A Complete Tutorial Including the Recipe
Now that you have your homemade rose water, it’s time to put it to use! There are many different ways to incorporate rose water into your beauty routine, depending on your skin type and concerns. Here are a few ideas:
1. Facial Toner: Rose water can be used as a gentle, hydrating toner that helps to soothe and smooth skin. Simply dip a cotton ball or pad into the rose water and apply it to your face after cleansing.
2. Refreshing Mist: Rose water can also be used throughout the day as a refreshing face mist that helps to hydrate and energize tired skin. Simply pour some rose water into a spray bottle and mist your face as needed.
3. Hair Rinse: Rose water can be used as a final rinse for your hair after shampooing to help add shine and reduce frizz. Simply mix a few tablespoons of rose water into a cup of water, and pour it over your hair after shampooing. Leave it in for a few minutes, then rinse out with cool water.
Here’s a simple recipe for a refreshing rose water and glycerin facial mist:
Ingredients:
- 1/2 cup of rose water
- 1 tablespoon of glycerin
Instructions:
- Combine the rose water and glycerin in a small spray bottle.
- Shake well to mix the ingredients.
- Use as needed throughout the day to refresh and hydrate your skin.
Conclusion
Making your own rose water at home can be a fun and rewarding DIY project that offers many benefits for your skin and hair. By following these simple recipes and tips, you’ll be able to create your own fragrant and soothing rose water that can be used in a variety of ways. We encourage you to give it a try and see the results for yourself!
If you’re interested in learning more about natural and DIY beauty alternatives, be sure to check out our other articles and resources on this topic.