I. Introduction
Roblox is a massively popular online gaming platform that allows users to create their own virtual worlds and games, as well as play games created by other users. One of the perks of playing on Roblox is the ability to customize your avatar, which includes designing your own shirt. Creating your own shirt is not only a fun way to express your creativity, but it also gives you a chance to stand out from other users with your own unique design.
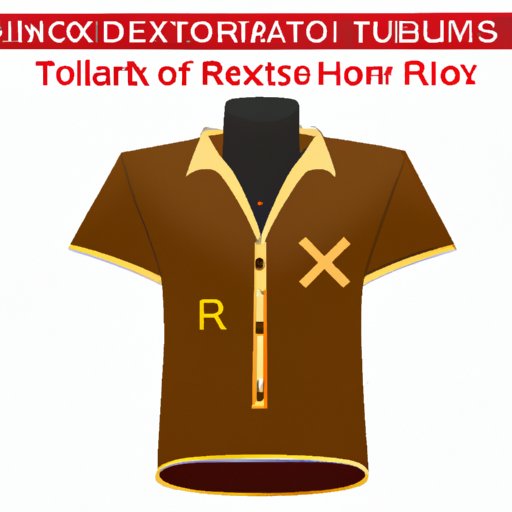
II. DIY Guide: Creating Your First Roblox Shirt
Before you can design your own shirt, you’ll need to have the necessary materials. This includes a computer with internet access and image editing software like Adobe Photoshop or GIMP. Once you have your materials, you can start creating your first Roblox shirt.
The process for creating a shirt involves designing an image file with the shirt’s design, uploading the image to the Roblox website, and then using the shirt in your avatar’s outfit. For those new to creating Roblox shirts, here’s a step-by-step guide:
- Design your shirt using image editing software, making sure to save it as a PNG file. The image should be 585×559 pixels in size.
- Log in to your Roblox account and go to the Develop tab.
- Select the ‘Shirts’ option and choose ‘Create Shirt’.
- Upload your PNG file and wait for it to load into the system.
- Save the shirt and it will be added to your avatar’s inventory. You can then use it in any of your avatar’s outfits.
III. Step-by-Step: Designing Your Own Roblox Shirt
Designing a shirt that will be popular with other users can be a challenge, but with some tips and tricks, you can create a shirt that will stand out from the crowd. One of the first decisions you’ll need to make is whether to use pre-made designs or custom designs.
Using pre-made designs can be a good option for those who are new to designing shirts or are not confident in their design skills. There are many resources online where you can find pre-made designs that you can use for your shirt. Examples include free design assets websites like Unsplash and Pexels or purchased model files from platforms like TurboSquid.
Custom designs are a good option for those who have design skills and want to create something unique. When designing your shirt, think about who the shirt is for and what types of designs that user group likes. You can find inspiration by looking at other users’ shirts and what’s currently trending on the platform.
Here are some tips for designing a shirt that will be popular with users:
- Use bright and bold colors that grab the user’s attention.
- Design around a popular theme or trend on the platform.
- Consider incorporating text or a logo into your design.
- Make sure your design is visually appealing and easy to see on an avatar.
IV. The Art of Making Custom Roblox Shirts
If you want to take your custom shirt designs to the next level, it’s important to understand the creative process. One of the first steps is to come up with a concept or idea for your design. This could be inspired by a popular trend on Roblox, a favorite game or character, or something totally unique.
Once you have your concept in mind, it’s time to start designing. One of the keys to creating a unique and eye-catching shirt is to experiment with different design elements, such as using different colors, patterns, or typography. You can also consider adding details like textures, shadows, and highlights to make your design stand out even more.
When designing your shirt, it’s important to keep in mind the other aspects of your avatar, such as hats, pants, and accessories. You want to make sure that your shirt design fits cohesively with these other elements to create a complete and polished look for your avatar.
V. Roblox Shirt Designer: Tips and Tricks
The built-in shirt designer tool on Roblox is a great resource for designing custom shirts. However, it can be challenging to navigate for those who are new to designing. Here are some tips and tricks for using the tool to create better designs:
- Use the guide lines to align your design elements and keep them centered.
- Use contrasting colors to make your design stand out and be easily viewable on an avatar.
- Experiment with different textures and patterns to create unique designs.
- Make sure your design is saved as a PNG file and is sized correctly before uploading to the platform.
Common issues that users encounter with the shirt designer tool include difficulty aligning design elements, differences in color appearance between the tool and the finished product, and size issues. If you run into any of these issues, be sure to consult the Roblox help center for troubleshooting solutions.
VI. From Concept to Creation: Crafting Your Roblox Shirt
Creating a custom shirt takes time and effort, but with the right planning and organization, you can take your design from concept to completion. Here are some steps for taking your shirt design from idea to finished product:
- Brainstorm shirt ideas and create a mood board for inspiration.
- Create a pencil sketch of your design and refine it until you’re happy with it.
- Finalize your design using image editing software.
- Upload your design to the Roblox shirt designer tool and make any necessary tweaks or revisions.
- Save your shirt design and test it out on your avatar with different outfits and accessories.
Once you’re happy with your design, you can upload it to the platform and start showing it off to other users.
VII. Customizing Your Avatar: How to Make Your Own Roblox Shirt
Customizing your avatar is a big part of the Roblox experience, and creating your own shirt is just one way to do this. When designing your shirt, it’s important to think about how it fits into your overall strategy for your avatar. You want to make sure that your shirt design complements the other aspects of your avatar, such as hats, pants, and accessories.
Here are some tips for customizing your avatar with your own Roblox shirt:
- Match the color scheme of your shirt with the other items in your outfit.
- Try to create a cohesive look by using similar styles or design elements in your shirt, hats, and pants.
- Make sure that your shirt design doesn’t clash with other users’ designs, especially if you plan on wearing your shirt in group games or events.
VIII. Conclusion
Designing your own Roblox shirt is a great way to express your creativity and stand out from the crowd. Using the built-in designer tool or creating your own custom designs, you can take your shirt from concept to completion and create a cohesive look with your avatar.
Remember to experiment with different design elements, keep your avatar’s overall look in mind when designing, and always make sure your design is saved as a PNG file and sized correctly before uploading to the platform. With these tips in mind, you’ll be well on your way to creating your own successful Roblox shirt designs.