I. Introduction
If you’re looking for a fun, creative project to do at home, making clay from scratch is a great option! Not only is it easy to do, but you can also customize your clay to suit your needs and preferences. In this article, we’ll guide you through the process of making clay, offer various recipes, tips and tricks for working with clay, and suggest some creative DIY projects to get you started.
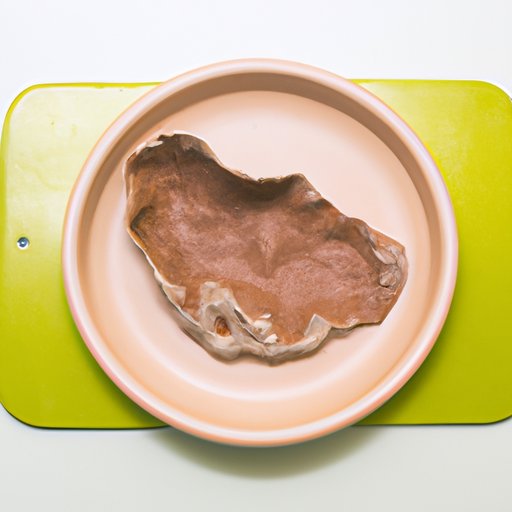
II. Step-by-step instructions
Before you start making clay, it’s essential to gather all the necessary materials. These may include flour, salt, water, food coloring (optional), and a mixing bowl. Start by combining the flour and salt in a bowl. Slowly add in the water, stirring consistently until the mixture forms a dough. Knead the dough until it becomes smooth and then shape it into the desired form. If you want to add color to the clay, mix in a few drops of food coloring into the dough before kneading it.
Remember to store your clay in an airtight container or wrap it in plastic to prevent it from drying out.
III. DIY clay recipes
If you’re interested in experimenting with different types of clay, here are some recipes you can try:
Air-drying clay recipe:
– 2 cups of baking soda
– 1 cup of cornstarch
– 1 1/4 cups of water
Mix all the ingredients in a saucepan and cook over medium heat, stirring constantly until the mixture becomes thick. Remove from heat and let the clay cool before shaping or molding it.
Oven-baked clay recipe:
– 2 cups of all-purpose flour
– 1 cup of salt
– 1 cup of water
Combine the flour and salt in a bowl before gradually adding the water, mixing well until the dough is smooth. Sculpt the clay into your desired shapes before baking it in a preheated oven at 250°F for approximately 2 hours. Make sure to check the clay every 30 minutes to ensure it doesn’t crack or burn.
Polymer clay recipe:
– 2 oz of polymer clay
– Food coloring (optional)
Start by kneading the polymer clay with your hands until it becomes soft and pliable. If desired, add in a few drops of food coloring to give the clay some color. You can then shape the clay into your preferred design. Polymer clay can either be air-dried or baked in the oven according to the manufacturer’s instructions.
IV. Tips and tricks for working with clay
To ensure you get the best results when working with clay, here are some insider tips:
- Before starting, make sure to read the recipe instructions thoroughly and gather all the necessary materials.
- When mixing ingredients, add them gradually and stir consistently until the mixture becomes smooth and consistent.
- To achieve the perfect texture, knead the dough continuously until it becomes soft and pliable.
- To prevent cracks and other issues, make sure to store your clay properly in an airtight container or wrap it in plastic film.
- When working with clay, it’s always best to start with small projects and gradually work your way up.
- Invest in a few essential tools like rolling pins, cookie cutters, and sculpting tools to make your clay projects easier and more precise.
V. A history of clay
Clay has been used for various purposes throughout history. From ancient civilizations to modern-day art and pottery, clay has always played a significant role in human creativity. In fact, some of the earliest known pottery dates back to 25,000 BCE and was discovered in modern-day Czech Republic.
Cultural significance has often been attached to clay, as it has been used to create various objects from statues of deities to everyday household items. For example, in certain cultures, clay pots have been used for cooking, water storage, and even religious rituals.
VI. Clay-based DIY projects
Now that you know how to make clay and work with it effectively, it’s time to get creative! Here are some ideas for DIY projects you can try:
Jewelry dishes:
To create a jewelry dish, start by molding the clay to the desired shape and size. You can then add textured details or paint the dish before letting it air-dry or baking it in the oven at a low temperature. Once the dish is cool, you can add decorative elements like glitter or beads.
Plant pots:
With clay, it’s also possible to make your own plant pots and add a personal touch to your home decor. To make a clay plant pot, start by rolling out a flat sheet of clay. After that, mold the clay into a pot shape, smoothing out the surface as you go. Finally, you can decorate the pot or add drainage holes before letting it dry or baking it in the oven at a low temperature.
Face masks:
Clay is a key ingredient in many skincare products, particularly face masks. To make a clay face mask, mix your homemade clay with a few other natural ingredients, like honey or coconut oil. You can then apply the mask to your face and leave it on for 10-15 minutes before rinsing it off with warm water.
VIII. Conclusion
Making clay from scratch is a fun, creative project that anyone can try. Whether you’re a novice or an experienced ceramicist or potter, there are endless possibilities when it comes to working with clay. With our guide, you can learn how to make clay, experiment with different types of recipes, and get creative with clay-based DIY projects.