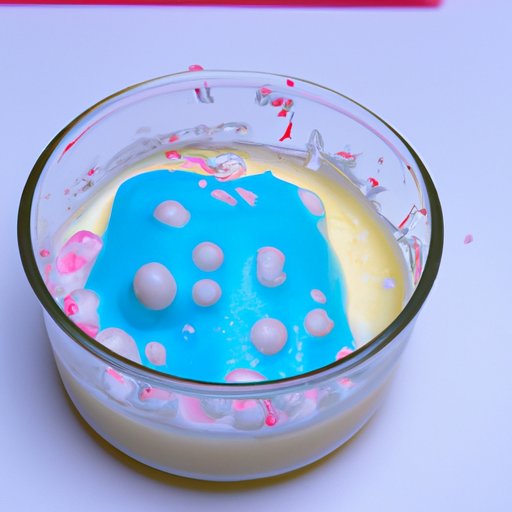
How to Make Butter Slime: A Fun and Relaxing DIY Activity
Slime-making has become a popular DIY activity in recent years, providing hours of fun and entertainment for people of all ages. One of the most beloved types of slime is butter slime, known for its unique texture and calming properties. In this article, we’ll explore the benefits of making butter slime, the materials needed, a step-by-step guide, and even a featured recipe to get you started. By the end of this article, you’ll be ready to make your own butter slime and enjoy its many benefits.
Benefits of Butter Slime
Butter slime stands out from other types of slime because of its soft and stretchy texture. It’s less sticky than other types of slime, making it easier to handle and play with. Additionally, the ingredients used in butter slime often include lotion or oil, which adds a moisturizing quality to the slime that can be soothing to the skin and senses.
Aside from its unique texture, butter slime is also renowned for its stress-relieving properties. Like other types of slime, playing with butter slime can help calm the mind and alleviate anxiety. Children with ADHD, autism, or anxiety often find sensory activities like playing with slime to be soothing and helpful for their emotional regulation.
Materials Needed
The materials needed to make butter slime are relatively simple and easy to find. Here’s what you’ll need:
- White glue
- Shaving cream
- Lotion or baby oil
- Contact lens solution
- Modeling clay (optional, for color and texture variations)
When choosing your materials, it’s important to note that some brands work better than others. For example, Elmer’s Glue is a popular choice among slime enthusiasts due to its consistency and reliability. Additionally, some people prefer to use unscented lotion or oil to avoid any overwhelming fragrances.
Step-by-Step Guide
Making butter slime is a simple process that can be broken down into these easy-to-follow steps:
- In a large bowl, mix together equal parts white glue and shaving cream. Stir until well combined.
- Add a few pumps of lotion or drops of baby oil to the bowl, depending on your personal preference for texture. Mix well.
- Slowly add contact lens solution to the mixture, stirring continuously, until the slime starts to form. This usually requires around 2-3 tablespoons of solution.
- Knead the slime with your hands until it reaches the desired consistency and texture. If the slime is too sticky, add a bit more contact lens solution. If it’s too firm, add a bit more lotion or oil.
- Optionally, add small amounts of modeling clay for color and texture variations. Knead until the clay is fully incorporated.
It’s important to note that the contact lens solution acts as an activator for the slime mixture. Therefore, it’s important to add it slowly and mix continuously to avoid over-activating the slime and making it too firm.
DIY Activities
Slime-making is just one of many fun and relaxing DIY activities that can help people tap into their creativity. If you’re looking for other ideas, consider trying rock painting or flower pressing. These activities can help children develop fine motor skills, spark imagination, and foster a sense of accomplishment and pride in their creations.
What’s great about these DIY activities is that they allow room for personalization and experimentation. Children can choose their own colors, patterns, and materials to create something that is uniquely theirs.
Featured Recipe
If you’re looking for a specific recipe to try, here’s one that we love:
Butter Slime Recipe:
- 1/2 cup white glue
- 1/2 cup shaving cream
- 2-3 tablespoons lotion or baby oil
- 2-3 tablespoons contact lens solution
- Mix together the white glue and shaving cream in a large bowl.
- Add the lotion or baby oil to the mixture and stir until well combined.
- Slowly add the contact lens solution to the bowl, stirring continuously, until the slime starts to form.
- Knead the slime with your hands until it reaches the desired texture and consistency.
Make it Personal
Personally, I love making butter slime because it’s such a relaxing, sensory experience. Whenever I’m feeling stressed or anxious, I know I can turn to my slime and let my mind wander as I stretch and squish it. I also love experimenting with different colors and textures, like adding glitter or clay to the mix.
If you’re new to slime-making, don’t be afraid to get creative and try different things. You might discover a unique variation that you absolutely adore!
Conclusion
Butter slime is a fun, easy, and rewarding DIY activity that can provide endless hours of entertainment and relaxation. Whether you’re looking to combat stress or encourage sensory development in children, butter slime is a great option to consider. By following this guide, you’ll have everything you need to make your own butter slime at home.