I. Introduction
Are you tired of using the traditional nether portal and want to try something new in Minecraft? Building an Enderman portal is the solution for you! Not only is it a fun project to complete, but it also transports you to the End dimension, where you can battle the Ender Dragon. This article will guide you through the process of making an Enderman portal using simple instructions and creative variations.
II. Step-by-Step Guide
Building an Enderman portal requires certain steps to be followed in order. But, with basic materials and some effort, constructing an Enderman portal is quite easy.
Step 1: Preparing the ground
The first step is finding a flat area where you want to build your portal. You can use your house or any other flat area with enough space to allow the dimensions of the frame of the portal to fit. Clear off any blocks on the ground in this area as they will interfere with the portal creation.
Step 2: Building the frame
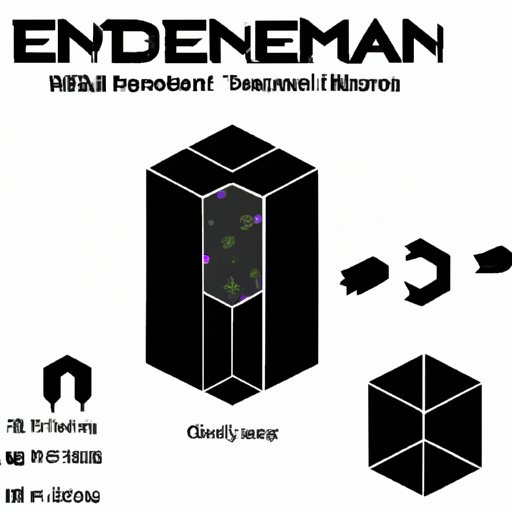
Build the frame of the portal using obsidian blocks of 3 blocks tall and 2 blocks wide on both sides. The frame should be constructed in a square, with dimensions of 5×5 or 3×3. You can use a variety of methods to make the construction process easier, including making a square of non-flammable blocks and using water to place the obsidian.
Step 3: Activating the portal with Ender Pearls
Place the Eyes of Ender in the frame by right-clicking on each piece of obsidian. This will turn each block into an End Portal frame block. Once the frame is complete, stand inside the portal and throw Ender Pearls into each frame block through the portal area. After a couple of tries, the portal will activate.
III. Video Tutorial
For those who prefer to visually learn, check out this tutorial video on how to create an Enderman portal: (Link to a detailed video tutorial)
IV. Creative Variations
Why stick to traditional design when you can add some pizzazz to your portal? After all, the fun in creating new portals is to see variations and explore different designs. Here are some creative ideas to spice things up:
1. Themed Portals
Creating a portal that matches your base’s theme is a great way to personalize it. For a nautical theme, use prismarine bricks and sea lanterns, and for a medieval theme, use stone bricks and stained glass.
2. Multilayered Portals
Add layers to your portal to make it more impressive. Stack the frames, overlap them, and even create side portals to other dimensions in each of the layers.
3. Portals with Obstacles
Adding obstacles such as parkour jumps or puzzles to solve can increase the difficulty of accessing the portal, making it fun for players to reach the end.
V. Different Materials
Obsidian is the traditional material for building a portal, but there are other materials that can be used instead, including purpur, nether brick, and end stone bricks.
1. Purpur
Purpur blocks can be found in the End biome. Use them to build your portal, and it will have a unique, purple color, making it stand out from the traditional obsidian portals.
2. Nether Brick
Nether Brick blocks can be found in the Nether biome. Build your portal with these, and the red-and-black color scheme will add a unique twist to your portal’s design.
3. End Stone Brick
End Stone Brick blocks can be found in the End biome. Using them creates an all-yellow portal that matches the End’s overall yellow color scheme.
VI. Tools Required
To build an Enderman portal, you’ll need several essential tools to complete the construction process, including:
1. Diamond Pickaxe
Obsidian can only be mined with a diamond pickaxe, so having one is essential in gathering the necessary materials for construction.
2. Water Buckets
You can use water to place the obsidian and make it flow so that it doesn’t take longer to place the blocks.
3. Ender Pearls
Ender Pearls are essential for activating the portal. Make sure you have enough before starting, as you’ll need around 12-15 to activate the portal.
VII. Tips and Tricks
1. Gather Extra Materials
Make sure to gather extra materials in case you make a mistake. You never know if you’ll break a couple of the blocks by accident during construction, and it is better to have extra materials than to leave a broken-looking portal.
2. Set up a Water Bucket Placement System
Use a water bucket to place blocks in a line. Place a block by a water source to avoid them from getting clogged, and use the water to move the block in the direction you want it to go.
VIII. Common Mistakes to Avoid
1. Misplacing the Obsidian Blocks
If you misplace any of the obsidian blocks in the frame, it will not activate the portal. Check your pattern constantly while constructing the portal to avoid this error.
2. Using the Eyes of Ender incorrectly
Placing the Eyes of Ender in incorrectly can harm the portal. The eye must be placed with an open slot, or it will not activate once thrown. To place the eyes, hold the eye to interact with the block you want to place it on.
IX. Conclusion
Congratulations on creating your own Enderman portal! Hopefully, you followed this guide and built one with perfection. Remember, portals can be customized to fit your needs, so have fun trying out different textures to find one that suits you the best. With the tips and tricks discussed, you are prepared for any issues that can occur during the build process. Overall, with persistence, preparation, and patience, creating an Enderman portal is a fulfilling task to complete in Minecraft.