Introduction
Building a volcano at home can be a fun and educational activity for families and children. It allows for a hands-on experience in science and creates an opportunity for creativity and imagination. This article will provide a step-by-step guide for building and erupting a volcano at home, as well as information on the science and history behind volcanoes.
A Step-by-Step Guide to Building Your Own Volcano at Home
To build a volcano from scratch, you will need:
- Newspaper
- Plastic bottle
- Cardboard
- Flour
- Water
- Baking soda
- Vinegar
- Red food coloring (optional)
Follow these steps:
- Crumple up 3 to 4 sheets of newspaper and mold them around the plastic bottle to create the shape of your volcano. The bottle should be upside down with the top of the bottle cut off.
- Cut a square piece of cardboard larger than the base of your volcano and place the volcano on top of it.
- Mix 6 cups of flour and 2 cups of water until you have a doughy consistency.
- Cover the newspaper structure with the flour mixture, leaving a hole at the top for the reaction to take place.
- Let the mixture dry overnight.
- Once dry, paint or decorate your volcano as desired.
Science Experiment for Kids: How to Make a Volcano Erupt
Now that you have built your volcano, it is time to make it erupt. You will need:
- Baking soda
- Vinegar
- Red food coloring (optional)
Follow these steps:
- Add 1-2 tablespoons of baking soda to the inside of your volcano.
- Mix 1/4 cup of vinegar with a few drops of red food coloring.
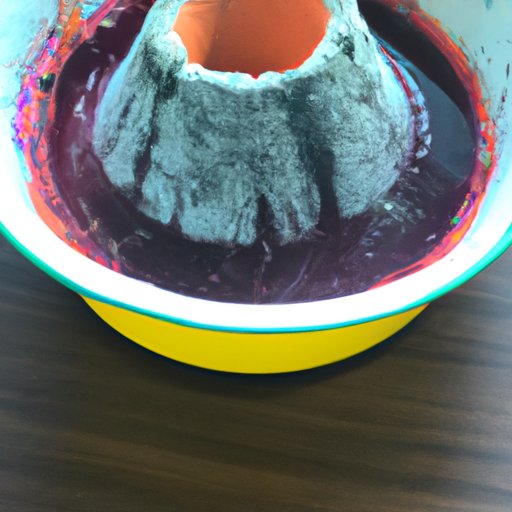
- Pour the vinegar mixture into the volcano and watch it erupt!
The reaction between the baking soda and vinegar creates carbon dioxide gas, which causes the eruption.
10 Materials You Need to Make a Volcano at Home
Here is a list of materials you will need to make a volcano at home:
- Newspaper
- Plastic bottle
- Cardboard
- Flour
- Water
- Baking soda
- Vinegar
- Red food coloring (optional)
- Paint or decorations (optional)
- Small figurines or toys to place around the volcano for added effect (optional)
Each material is essential in creating a volcano that looks realistic and can erupt properly.
The Chemistry Behind Erupting Volcanoes and How to Recreate it
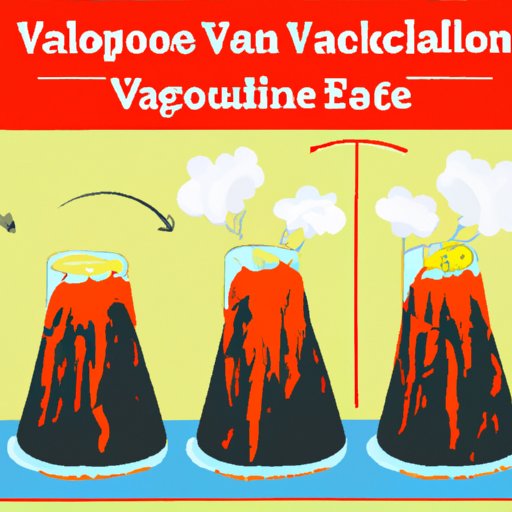
Volcanic eruptions release gases and lava from the Earth’s crust. The chemical reaction that occurs during an eruption is a result of magma rising through the Earth’s surface.
You can recreate this chemical reaction at home by adding baking soda (a base) to vinegar (an acid). This creates a reaction that releases carbon dioxide gas, causing the eruption.
Creating a Volcano with Household Items: An Easy DIY
If you don’t have all the materials needed to build a volcano from scratch, you can still create a volcano using just household items.
You will need:
- A small plastic cup or water bottle
- Baking soda
- Vinegar
- Red food coloring (optional)
Follow these steps:
- Pour 1-2 tablespoons of baking soda into the plastic cup or water bottle.
- Add a few drops of red food coloring.
- Pour 1/4 cup of vinegar over the baking soda and watch it erupt!
The History and Significance of Volcanoes: How to Make a Simulation
Volcanoes can have a significant impact on the environment and history of a region. They have shaped landscapes and influenced cultures throughout history. You can make a simulation of a volcano to demonstrate these effects.
To make a volcano simulation, you will need:
- A large tray or basin
- Sand or dirt
- Small figurines or buildings to represent the area surrounding the volcano
- Food coloring (optional)
Follow these steps:
- Fill the tray or basin with sand or dirt.
- Place small figurines or buildings around the sand to represent a community.
- Create a hole in the sand and place a small container inside it.
- Add 2-3 drops of food coloring to the container (this will represent magma).
- Add 1-2 tablespoons of baking soda to the container.
- Pour vinegar into the container and watch as the simulation erupts, covering the surrounding area with “lava”.
Making a Volcano Model: Tips and Tricks for a Realistic Effect
If you want to create a volcano model that looks as realistic as possible, here are a few tips:
- Add details to the volcano, such as crevices and cracks, to make it look more realistic.
- Use paint to create textures and colors that mimic an actual volcano.
- After painting, use small brushes to add shading and highlights for a more realistic effect.
- Use figurines or small toys to create a scene around the volcano, such as trees or animals.
- Add a layer of “ash” around the base of the volcano using flour or powdered sugar.
Conclusion
Building and erupting a volcano at home can be a fun and educational experience for the entire family. By following the step-by-step guide provided, you can create a volcano that looks realistic and can erupt properly. Experimenting with the chemical reaction that occurs during an eruption can also provide a learning opportunity for children.