Introduction
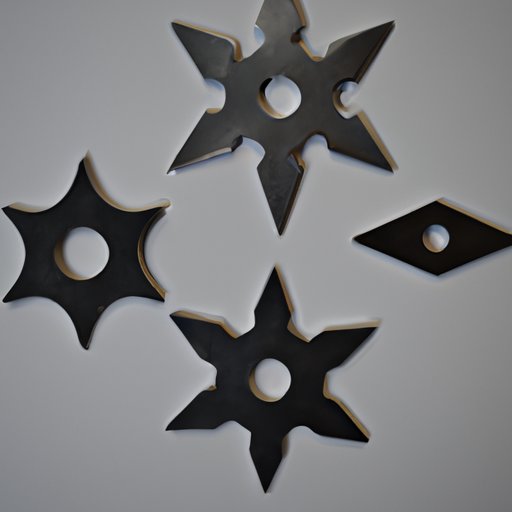
If you’ve always been fascinated by ninja culture and weaponry, you may have wondered at some point how to make a ninja star, or shuriken. This iconic weapon can be a fun DIY project, and it can also serve as a decoration or accessory for various purposes. In this article, we’ll take you through the process of making a ninja star step by step, and also explain the history and creative uses of this ubiquitous object.
Step-by-Step Instructions
The first thing you’ll need to make a ninja star is a square piece of paper. You can use origami paper, printer paper, or any other kind that you have handy, as long as it’s not too thick. Here are the steps:
1. Fold the paper in half diagonally, resulting in a triangle.
2. Unfold the triangle and fold the other side diagonally, so that you have two creases forming an X in the middle of the paper.
3. Fold the paper in half horizontally, resulting in a rectangle that has a cross in the middle.
4. Fold the paper diagonally again, so that you have a smaller triangle that’s also a right angle.
5. Fold the two ends of the triangle upwards, parallel to the first diagonal fold you made. The resulting shape should look like a trapezoid.
6. Fold the trapezoid in half horizontally, so that the triangle parts stick out.
7. Fold the two smaller triangles in half towards the center line of the model, then unfold them.
8. Take one of the smaller triangles and fold it along the crease you just created, so that it forms a crease running parallel to the diagonal fold on the large triangle. Do the same with the other triangle.
9. Take one of the corners created by the smaller triangles and fold it inside the model, along the crease you just made. Do the same with the other corner.
10. Repeat steps 7 to 9 on the other side of the model.
11. Take the top layer of one of the flaps you just folded and fold it towards the center. Do the same with the other flap on that side.
12. Repeat step 11 on the other side of the model.
13. Fold the model in half vertically, then unfold it again.
14. Open up the pockets created by the flaps and tuck in the tips of the other flaps.
15. Do the same with the other side of the model. You should now have a ninja star!
Infographic
If you prefer a visual aid to the step-by-step instructions, check out our infographic below. It shows the same process as the previous section, but with clear illustrations that make everything easier to understand.
[insert infographic here]
Video Tutorial
If you’re a more audio-visual learner, you may find it helpful to watch a video tutorial on making ninja stars. In this tutorial, we’ll walk you through the process, giving you verbal explanations, showing you the materials and tools you need, and demonstrating each step.
[insert video here]
History of the Ninja Star
Now that you know how to make a ninja star, you may be curious about its history and significance. According to historical records, shuriken were originally developed in Japan during the Middle Ages and were primarily used as a last resort weapon when other tactics failed. The ninja, who were specialized in covert operations and espionage, often carried shuriken with them as a tool that they could use to distract or disable their enemies.
As Japan’s isolationist policies started to fade in the late 1800s and 1900s, Western visitors to Japan became more interested in the weapons and tools of the country’s martial arts. This led to an increased popularity of shuriken, and eventually, they became an iconic symbol of ninja culture in Western media.
Creative Uses for Ninja Stars
Although ninja stars are most often associated with martial arts and weapons, they can also serve as a fun and versatile decorative item or accessory. Here are some creative uses of ninja stars that you might want to explore:
1. DIY Christmas ornaments: Use small ninja stars as a base for homemade Christmas tree ornaments. You can decorate them with glitter, paint, or ribbon to match your holiday theme.
2. Fidget toy: If you’re someone who likes to keep your hands busy, a ninja star can be a fun little fidget toy to play with when you’re bored or anxious.
3. Wall art: Create a series of ninja stars in different colors and sizes and use them to create a striking display on a blank wall.
4. Pin for clothing: Attach a small ninja star to a shirt collar or jacket lapel for a unique, edgy look.
5. Throwing practice: If you’re interested in martial arts or knife throwing, you can use your homemade ninja stars for practice. Just make sure to start with a safe target and work on your technique before attempting anything too advanced.
Conclusion
Learning how to make a ninja star is a fun and rewarding DIY project that can result in a practical weapon, a decorative item, or a playful fidget toy. Whether you prefer step-by-step instructions, infographics, or video tutorials, we hope this guide has helped you master the art of ninja star-making.