I. Introduction
Have you ever wanted to make a unique and fun paper hat? You’re in luck! In this article, we will walk you through the step-by-step process of making your own custom paper hat. Additionally, we will explore different types of paper fit for the job, offer creative ways to decorate your paper hats, give tips for making different types of hats beyond the traditional design, and provide ideas for making paper hats for children.
II. Walk through the step-by-step process of creating a paper hat
The essential materials needed for making a paper hat are paper, scissors, and glue. You can use regular printer paper, colored paper, or even newspaper for your paper hat project.
To start, fold the paper in half lengthwise, and crease along the fold. Unfold the paper, and fold the top corners down to meet in the middle crease. Then, fold the top of the paper into a triangle, flipping it up and folding it in half again. Fold the sides towards the center, and crease tightly. Next, fold the bottom up and tuck it into the folded sides. Flip the hat over and voila!
Remember, it’s essential to fold and crease tightly, so the hat is sturdy and holds its shape. Pictures, diagrams, or videos are helpful to display the process, so you can check your progress along the way. If you find that the hat is not holding its shape, you may need to reinforce your folds for added stability.
III. Compare different types of paper for making a hat
Various types of paper can be used for making a hat, based on preference and availability.
Copy paper is the most widely available and commonly used for paper hats. It is lightweight, easy to fold, and comes in a variety of colors. Construction paper is thicker and comes in vibrant shades, making it perfect for a party hat. Newspaper is cost-effective, and the large sheet size allows for a more oversized hat.
When considering paper quality, thickness, and texture are crucial factors. The ideal dimensions for paper needed for a traditional sailor’s hat would be 8.5x11inch, but different designs require different sizes. Experiment with various kinds of paper to find what works best for you.
IV. Highlight creative ways of decorating a paper hat
Consider adding your creative touch to your paper hat once it’s made, either for aesthetic or practical purposes. The following are creative ways to decorate your paper hats:
- Painting: use acrylic paint to add colors, patterns, or even write a name on the hat!
- Using fabric: glue fabric, ribbon or lace to the edge of the hat’s brim, or use a glue gun to attach large flowers or other decorations made of fabric.
- Add beads: use a needle and thread to attach beads for added embellishment to the hat.
- Draw designs: use pens, markers, or metallic paints to inscribe intricate designs or details onto the hat’s surface.
Get crafty with your decorating techniques! The sky’s the limit with your imagination, so have fun and let your creativity fly!
V. Write an article on how to make different types of paper hats
Now that you’ve developed some foundational skills by making a traditional paper hat, it’s time to try more non-traditional designs! Let’s explore how to make different types of paper hats:
- Straw hats: cut strips of construction paper and weave them together, just like traditional straw hats.
- Bucket hats: Use a larger sheet of paper, follow the original hat-making process, and fold down the sides of the hat.
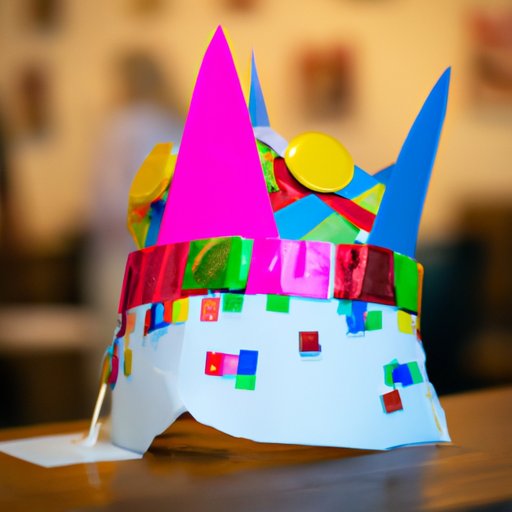
- Party hats: Take a cone-shaped piece of paper, use glue to attach ribbons and tassels, and personalize the hat using markers or paint.
If unfamiliar with structures, you may try these designs a couple of times before feeling confident in the final product.
VI. Offer tips for making paper hats for younger children
Children love to create, and using paper hats is an excellent tool for arts and crafts! Here are some tips for making paper hats for children:
- Prepare all crafting materials ahead of time, so there’s less mess and confusion.
- Set up craft stations for the children, so they have a comfortable work area with the necessary materials and tools.
- Provide pre-cut shapes using stencils, so younger children do not have to tackle intricate designs by themselves
- Use lightweight and nontoxic materials compatible for children.
- Consider creating themes among your crafts, such as creating paper hats for the seasons, holidays, or characters.
VII. Conclusion
With this guide, you have learned various techniques for making paper hats.As you explore multiple types of paper, unique decoration methods, and non-traditional designs, you’ll be able to let your creativity shine through.
We hope that you will find pleasure in this DIY project and enjoy exploring all the possibilities that come with paper hat making.