I. Introduction
Bows are an essential part of gift wrapping, fashion accessories, and event decorations. Whether it’s a simple hair bow or an elaborate wedding bow, a well-made bow is sure to add that extra charm and elegance to any occasion. In this article, we will provide a comprehensive guide on how to make a bow, along with useful tips and tricks to ensure an excellent result every time!
II. Step-by-Step Guide
Making a basic bow may seem intimidating at first, but with a little practice and patience, anyone can create a beautiful bow. Here’s a step-by-step guide:
- First, start by placing the ribbon horizontally and making a loop in the center of the ribbon.
- Hold the loop between your thumb and forefinger, making sure the ribbon’s patterned side is facing outwards.
- Next, make an identical loop on the other side to form an X shape.
- Take the loop on the right side, and bring it to the center of the X. Keep your fingers on the center of the X to secure the ribbon in place.
- Repeat the previous step with the left loop, making sure that it crosses over the right loop.
- Adjust the loops, making sure that each side is symmetrical. Once you’re satisfied, hold the bow tightly in the center using one hand, and pull the ribbon tails with another.
- Cut the ribbon tails at an angle, making sure that both tails are of equal length.
For a more thorough visual guide, check out our video tutorial:
III. Materials Needed
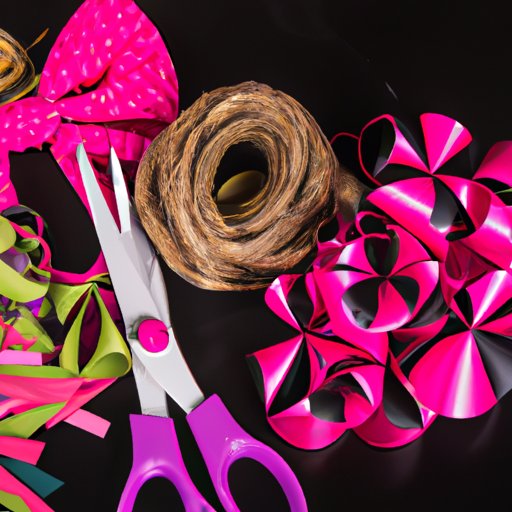
The materials needed to make a bow are relatively simple and easily accessible. Here’s a list of everything you’ll need:
- Ribbon
- Scissors
- Wire
- Glue gun
- Embellishments (optional)
When choosing ribbons, keep in mind the color, width, and design to ensure they’re appropriate for the occasion. There are various brands and types of ribbons available, ranging from satin to grosgrain, and each has its unique advantages and disadvantages.
IV. Different Bow Types
There are various types of bows, each with its unique characteristics and uses. Here are some of the most common types:
Hair Bows
Hair bows are an easy and stylish way to add a pop of color to any outfit. To make a hair bow, use a thin ribbon and follow the same steps as a basic bow. Trim the ribbon tails and attach a hair clip to the back of the bow.
Gift Bows
Gift bows are a great way to enhance the look of a present. A traditional gift bow is made using a thicker ribbon, which can be manipulated to create various shapes and sizes.
Wedding Bows
Wedding bows are usually larger and more elaborate than other bow types. They often consist of multiple layers of ribbon and incorporate various embellishments such as flowers, beads, pearls, and crystals.
V. Bow-Specific Occasions
The style and color of a bow play a significant role in the success of an occasion. Here are some tips on how to choose the right type of bow based on the event:
Birthdays
When making a bow for a birthday, make sure to choose bright colors and incorporate an element that relates to the birthday person’s hobbies or interests.
Graduation
For graduation bows, use school colors and incorporate an element that relates to the graduate’s major.
Weddings
For weddings, bows can be made using satin or organza fabric and decorated with embellishments such as flowers, crystals, or pearls. The colors chosen should complement the wedding theme and the bride’s gown.
VI. Recipe-like Instructions
If you prefer a recipe-like format, here’s a list of instructions:
How to Make a Basic Bow
- Place the ribbon horizontally on a flat surface.
- Make a loop in the center of the ribbon with the patterned side facing outwards.
- Make an identical loop on the opposite side to form an X shape.
- Take the loop on the right side, bringing it to the center of the X, and hold it in place.
- Repeat the last step with the left loop, making sure it crosses over the right loop and holds it in place.
- Adjust the loops, making sure they’re symmetrical.
- Hold the bow tightly in the center using one hand, and pull the ribbon tails using another hand.
- Cut the ribbon tails at an angle, making sure they’re of even length.
VII. Bow Decoration Ideas
Here are some creative ideas to decorate your bows:
- Add glitter to the tips of the ribbon tails.
- Attach rhinestones or sequins to the center of the bow.
- Use small silk flowers or beads to add a decorative element.
Don’t be afraid to experiment with different designs and embellishments to create unique and personalized bows.
VIII. Conclusion
In conclusion, making a bow is a simple yet beautiful way to add a touch of elegance and creativity to your gift wrapping, event decorations, and fashion accessories. With this step-by-step guide, you’ll be able to create stunning bows and experiment with different types and decorations.