Introduction
Have you ever struggled to make a bow for your wreath, resulting in a less-than-perfect decoration? A beautiful bow is a centerpiece of any wreath, but creating one might seem daunting at first. This article will provide you with a step-by-step guide, tips and tricks, and creative bow designs to help you make a perfect bow for your wreath.
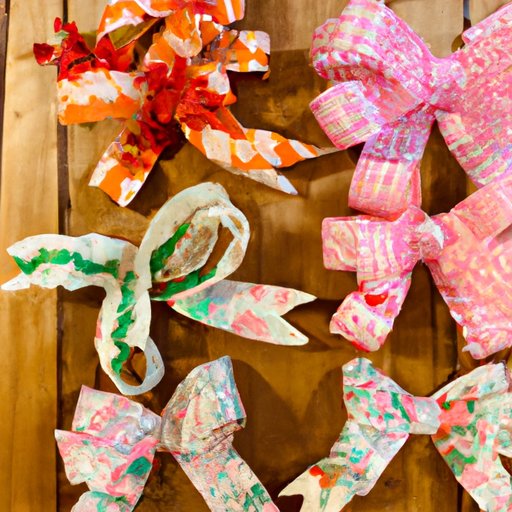
Step-by-Step Guide with Pictures
Before starting, the materials required for making the bow are a wired ribbon, scissors, and a wreath. First, fold the ribbon in a simple pattern and move on to creating loops by keeping equal lengths from the center crease. Pinching the ribbon in the middle allows you to create loops by folding the ribbon over itself. A minimum of four loops and a maximum of eight loops can be created, depending on the size of the half bow that you aim to create. One can alternate the loops to create a more interesting bow shape. After the loops are created, tie a knot around the center of the bow using the excess ribbon. To keep everything in place, tie a knot as tightly as possible and trim the excess ribbon.
It is common to face mistakes while creating a bow. One useful tip is to use a wired ribbon that will hold its shape. Another mistake is creating unequal loops, which can make the bow look uneven. While trimming the ends, be careful not to cut into the loops. Pinching and tying the center tightly will ensure that the bow does not come apart.
Video Tutorial
Watch this video tutorial carefully to visualize all the steps mentioned above
Follow along with a video tutorial for best results.
Tips and Tricks for the Perfect Bow
The following tips can help you create the perfect bow that will be an amazing center for your wreath:
- Choose the right ribbon – Choose a quality wired ribbon that holds its shape for a better result. The ribbon should be wide enough to make noticeable loops.
- Right size – The size of the bow should be proportional to the size of the wreath. Larger bows work well on larger wreaths while smaller bows for narrower wreaths
- Knotting Techniques – The classic knot is the easiest but for a more professional look, try a florist knot or a twisted knot.
- Common mistakes – Mistakes include improper positioning of loops, uneven loops, and not tightening the knot well.
Creative Bow Designs
Bows come in different styles to suit different occasions. A few styles that one can try are:
- Floral Bow – Adding a bouquet to the center of the bow can be used for a summer or spring wreath.
- Classic Bow – A classic bow with trailing ribbons can be perfect for an elegant and timeless look for a wreath.
- Holiday-themed Bow – Add a festive effect by using holiday-themed ribbons with specific colors and patterns.
Expert Advice from a Famous Wreath Maker
Wreath making is an art, and Brandy Smith is a master at the craft. Brandy is the owner of Wreath Whisperer and hosts workshops worldwide. She suggests that individualization of the bow to suit one’s wreath with the right color and pattern can bring out a whole new feel to the wreath. To make your bow centerpiece look irresistible and full, Brandy suggests aiming for having a minimum of four loops. Using floral wire between the loop can add perfect structure to the bow.
More than Bows
Other than traditional bows, one can add garlands, ornaments, seasonal decor to wreaths. Incorporating greenery in a wreath will result in a beautiful and natural look. The materials for a wreath do not have to be limited to just ribbon.
Conclusion
Now that you have all the information and tips, go ahead and try making a bow for your wreath. Even if it does not come out perfect the first time, practice makes perfect, and the end product will be beautiful. Decorating a wreath for an occasion or season adds a personal touch to any porch or door.