I. Introduction
There’s nothing quite like the aroma and taste of fresh bread, and learning how to knead dough is an essential part of making perfect loaves at home. If you’ve ever tried your hand at baking and found your bread dense or uneven, chances are you need to improve your kneading technique. This article will guide you through everything you need to know to knead dough like a pro.
II. The Art of Kneading Dough: Tips and Techniques for Perfect Bakes
Kneading dough is the process of working the dough by hand to develop gluten, a protein that gives bread its structure. When gluten is developed properly, bread rises and bakes evenly, resulting in a light, fluffy texture.
To knead dough by hand, start with a clean, floured surface. Use the heels of your palms to push the dough away from you, then fold it back onto itself and give it a quarter turn. Repeat this process for 8-10 minutes, or until the dough is smooth and elastic. If the dough is sticky, add flour a little at a time to keep it from sticking to your hands or the surface.
For best results, use a dough scraper to help lift and fold the dough. The scraper will also help prevent the dough from sticking to the surface and make it easier to shape the dough into loaves or rolls.
If you’re having trouble getting the hang of kneading, there are a few troubleshooting tips that can help. If the dough is tearing, it may need more kneading time to develop the gluten. If the dough is too dry, add water a little at a time until it becomes more pliable. And if the dough is too wet, add flour a little at a time to achieve the right consistency.
Recipes that work well with kneaded dough include classic bread, rolls, and pizza dough. Experiment with different types of flour, like whole wheat, rye, or spelt, to create different textures and flavors.
III. The Science Behind Kneading Dough: Understanding the Chemical Reactions for Better Baking
Kneading dough also affects the chemical reactions that take place during the bread-making process. As the dough is worked, gluten strands form and begin to trap carbon dioxide, which is produced by yeast or baking powder. This creates little pockets of gas that expand during baking, causing the bread to rise.
The more gluten that is developed, the more carbon dioxide can be trapped, resulting in a higher rise and lighter texture. However, over-kneading can cause the gluten to break down and release the trapped air, leading to a dense, heavy texture.
To optimize kneading for different types of dough, adjust your technique and timing accordingly. For example, high-gluten flours like bread flour need more kneading time to develop their full potential, while lower-gluten flours like cake flour should be kneaded less to avoid toughness.
IV. Alternative Ways to Knead Dough: No-Knead and Mixer Methods
If you don’t have the time or energy to knead dough by hand, there are alternative methods that can produce similar results. No-knead methods involve simply mixing all the ingredients together and letting the dough rise slowly over a long period of time. This allows the gluten to develop naturally, without the need for kneading.
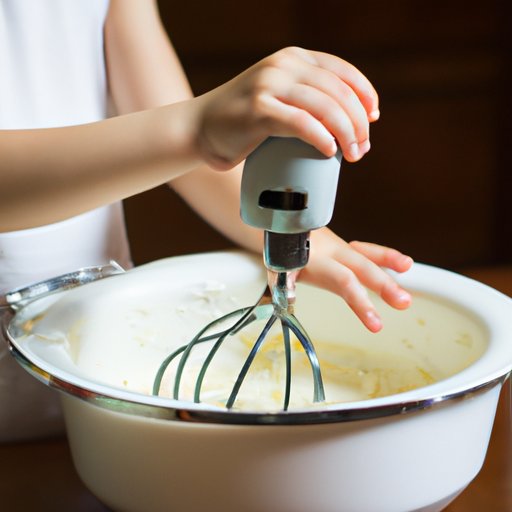
Mixers, like stand mixers or food processors, can also be used to knead dough. These machines use a dough hook attachment to simulate the hand-kneading process, and are a good option for anyone with limited mobility or strength. However, be careful not to overwork the dough, as mixers can be more aggressive than hand kneading and can cause overdevelopment of the gluten.
No-knead methods and mixers can work well for bread, pizza dough, and other baked goods. However, more delicate items, like pastry or some types of cakes, may still benefit from gentle hand kneading.
V. Kneading Dough with Kids: A Fun and Educational Activity for All Ages
Kneading dough is a great activity to share with kids, as it’s fun, messy, and educational. The tactile experience of working with the dough helps children develop fine motor skills, and they can learn about the science behind the bread-making process as they knead.
Start with an easy recipe, like basic bread or pizza dough, and let kids take turns kneading. Encourage them to experiment with different shapes and sizes, and let them decorate their creations with toppings and sauces.
To keep kids engaged, try adding educational elements to the activity. For example, you can talk about the history of bread and how it was once a staple food for people all over the world. You can also discuss the chemistry of baking and how different ingredients play a role in the final product.
VI. Perfecting Your Kneading Technique: Expert Tips and Tricks for Flawless Bread
If you’re an experienced baker looking to take your bread to the next level, there are a few expert tips that can help you perfect your kneading technique.
First, pay attention to the temperature of your dough and the area where you’re kneading. The ideal temperature for dough is between 72-85 degrees Fahrenheit, as this allows the yeast to activate and the gluten to develop properly. If your dough is too cold, it will rise too slowly or not at all, while if it’s too warm, it will rise too quickly and will be less flavorful.
Second, experiment with different kneading methods. Some bakers prefer to use a folding technique, where the dough is lifted and folded onto itself repeatedly, instead of traditional pushing and pulling. Others use a rolling technique with a rolling pin to develop the gluten. Try a few different techniques to see which works best for you.
Finally, pay attention to the hydration level of your dough. Different types of flour will absorb different amounts of water, so it’s important to adjust accordingly. If your dough is too dry, add water a little at a time until it becomes more pliable. If it’s too wet, add more flour until you achieve the right consistency.
VII. Conclusion
Kneading dough may seem like a simple process, but it’s an important step in creating perfect bread and other baked goods. Whether you’re new to baking or an experienced pro, these tips and techniques will help you improve your kneading skills and create delicious treats for yourself and your loved ones.
Remember to adjust your technique and timing for different types of dough, and don’t be afraid to experiment with different flours and recipes. With a little practice and patience, you’ll soon be kneading dough like a pro.