Introduction
Iron-on patches are becoming increasingly popular as they are a fun and easy way to add personality and style to clothing and accessories. Whether you want to express your individuality or add a fun twist to your outfit, patches are an excellent option. They are versatile and can be used to fix holes or tears in clothing, or even to personalize bags, hats, and other items. In this article, we’ll discuss everything you need to know about ironing on patches, from materials needed to step-by-step instructions.
Benefits of Iron-On Patches
Iron-on patches allow you to express your personal style without breaking the bank. Not only are they affordable, but they are also easy to apply and remove. Unlike sewn-on patches, there is no need for needles, threads, or any other special tools. Iron-on patches are also easy to customize. If you want a unique patch for yourself or a group, all you have to do is design it yourself or hire a professional to create one for you. Additionally, if you change your mind about the location of your patch, it can be easily removed without any leftover traces.
Materials Needed
Before you start ironing on patches, you’ll need to gather a few materials. You’ll need the iron-on patch you want to apply, an iron, a soft cloth, and the item you’ll be applying the patch to. Typically, cotton and denim fabrics work best for iron-on patches. Ensure that the item to which you are attaching the patch does not melt under high heat or hyper-sensitive to iron pressure.
Preparation
Before you start ironing, make sure that both the fabric and the patch are clean and dry. If there are any creases on the item, smooth them out with your iron before applying the patch. Additionally, it is best to preheat your iron to the temperature suggested for the patch. Most patches should be ironed on at a medium-high heat setting. For safety purposes, ensure you have a flat ironing board or any other smooth surface with enough space while ironing your materials.
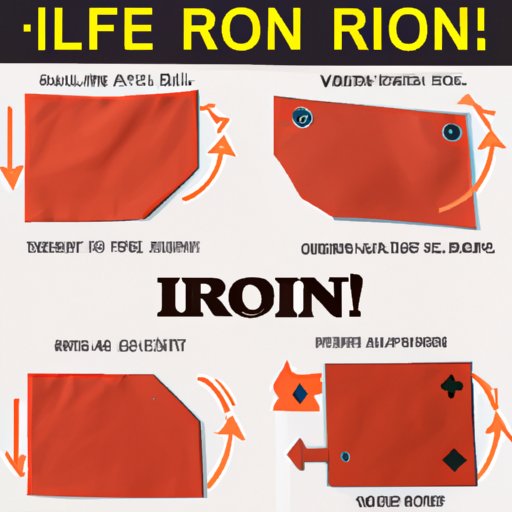
Step-by-Step Instructions
Ready to iron on your patch? Here are a few simple steps:
- Place the garment on a flat surface, with the side that you will be ironing facing up.
- Ensure that your patch is correctly located over the area, preferably on the top side of your material to avoid pressing down the art.
- Place a soft fabric like a towel or a piece of cloth over the patch.
- Press down the iron firmly over the patch and the fabric for 30-40 seconds depending on the size of the patch.
- Check to ensure that the patch has completely adhered to the material by gently pulling a loose edge of the patch.
- Place the garment upside down on a flat surface, and iron the backside of the patch and the fabric for an additional 20-30 seconds.
- Allow the garment to cool before wearing it.
Once you’ve ironed on your patch, you’ll want to take care of it to maintain its appearance. To prevent it from cracking or peeling, avoid washing the garment too frequently and using high heat in the dryer. It is also best to place the item inside out when washing, ironing the backside if needed.
Style Tips
Iron-on patches offer a plethora of styling possibilities. There are various types of patches that you can use to express your style, from cartoon characters to sports logos, and everything in between. If you want to add edginess to your outfit, try ironing on patches to a denim jacket or vest. Or if you want to customize your backpack or tote bag, add a few patches that show off your vast interests or favorite icons.
Conclusion
Iron-on patches are an excellent way to spice up your wardrobe, customize your belongings, and even hide small blemishes on fabrics. They are easy to apply, affordable, and low-maintenance. Remember to prepare the fabric and patch beforehand, follow the simple instructions, and care for your patch as required.