I. Introduction
Welcome to the complete guide on how to install a Nest thermostat. This article is aimed at beginners who want to save money on their energy bill and enjoy the comfort of a well-regulated home. We will provide you with all of the information you need to install your Nest thermostat on your own.
II. Step-by-Step Guide to Installing Your Nest Thermostat: A Beginner’s Tutorial
Nest thermostat is a state-of-the-art device designed to learn about your heating and cooling habits, and adjust the temperature accordingly. Before you start with the installation, you will need some tools and materials, including a screwdriver, drill, level, and wire stripper. Once you have all of those handy, just follow these simple steps:
- Step 1: Shut off power to the HVAC system
- Step 2: Remove the old thermostat
- Step 3: Install the Nest base
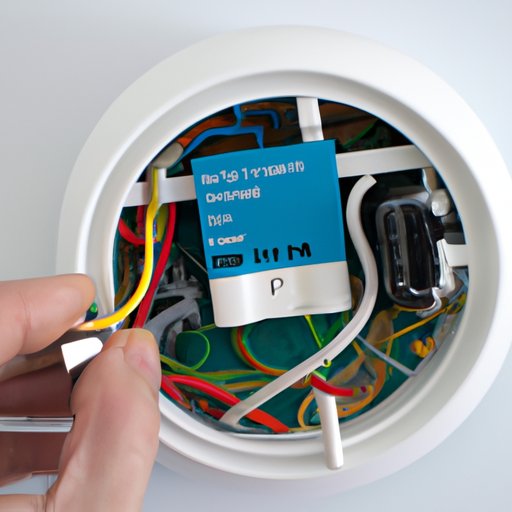
- Step 4: Connect the wires
- Step 5: Attach the Nest display
- Step 6: Connect to Wi-Fi and start using
Don’t forget to refer to the Nest installation guide that comes with your device for a more detailed explanation of each step.
III. DIY Genius: How to Save Money by Installing Your Own Nest Thermostat
Installing a Nest thermostat can save you money on your energy bills. By regulating your home’s temperature based on your previous habits, the Nest helps you avoid costly heating or cooling runtimes when no one is home. Hiring a professional can be expensive. Upon installation by the homeowner, you’ll save a considerable amount of money. Just remember to be careful and install the device safely and correctly.
IV. Nest Thermostat Installation: A Comprehensive Overview for Homeowners
To ensure your device functions optimally, it is important to install your Nest thermostat correctly. In addition, improper installation may cause more problems, resulting in an even larger bill. Therefore, we recommend that you follow the steps we’ve outlined above. Always check if the wires are in the right place, and make a note of where they belong if you need to remove them for any reason.
V. No-Fuss Installation: How to Install Your Nest Thermostat in Under 30 Minutes
Installing a Nest thermostat is very straightforward and shouldn’t take longer than 30 minutes. Just follow our step-by-step guide, and you’ll be able to enjoy the benefits of a more energy-friendly home in no time. Additionally, check out the instructional videos from Nest or online forums to find more tips and tricks.
VI. The Ultimate Guide to Nest Thermostat Installation: Tips and Tricks
For those who want to go beyond the basic installation, Nest offers some great advanced features such as “Home/Away Assist,” and “Eco Temperature.” With “Home/Away Assist,” the device will detect if you are home or not, and adjust accordingly. In addition, “Eco Temperature” helps you save even more by detecting changes in weather patterns.
VII. The Do’s and Don’ts of Installing Your Nest Thermostat: A Safety Guide
When it comes to installing your Nest thermostat, it’s important that you put your safety first. Here are some of the do’s and don’ts when installing your device:
- Do shut off the power when installing the thermostat
- Do read the installation guide carefully before starting
- Do refer to wiring diagrams when needed
- Do consider hiring a professional if you have any doubts
- Don’t touch wires that you’re not familiar with
- Don’t force the device if you’re having difficulty installing it
- Don’t forget to test your device after installation
Please be mindful of these tips to ensure safe and successful installation.
VIII. Conclusion
We hope you enjoyed our comprehensive guide on how to install a Nest thermostat. By following these simple steps, you will be able to install a device designed to save you money and save energy. Remember, always practice safety first, refer to instruction manuals when needed, and experiment with Nest’s advanced features when you’re ready.