Introduction
For many people, self-tanner can be a great way to get that sun-kissed glow without risking damage from UV rays. However, self-tanning products can be tricky to apply and difficult to remove. Whether you’ve made a mistake during application or you are simply ready to go back to your natural skin tone, this guide will provide some helpful tips and tricks for removing self-tanner safely and effectively.
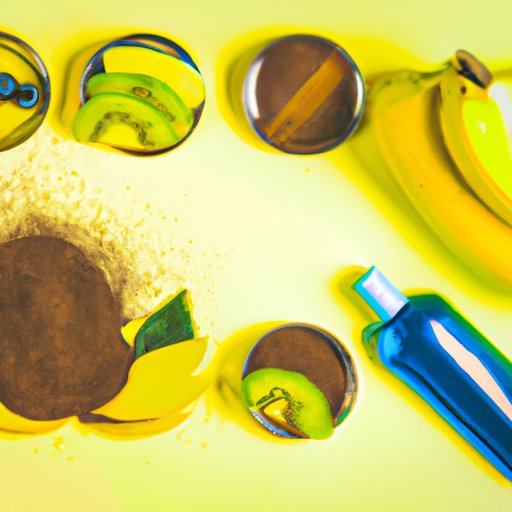
Exfoliating with Natural Ingredients
If you’re looking for a natural way to remove self-tanner, exfoliating with sugar or coffee grounds can be a great option. Here’s how:
- Mix equal parts sugar or coffee grounds with a moisturizing lotion or oil to create a scrub.
- Massage the scrub onto your skin, focusing on the areas where you want to remove the self-tanner.
- Rinse off the scrub with warm water.
This method can be used multiple times a week until the self-tanner has faded. However, if your skin is sensitive, you may want to be cautious about how frequently you exfoliate. In addition, be sure to moisturize your skin well after exfoliating to prevent dryness or irritation.
Specific Products or Tools
There are many products and tools on the market that can help remove self-tanner. Here are a few to consider:
- Exfoliating mitts: These are specially designed gloves that help remove dead skin and self-tanner. Simply put the mitt on and rub it against your skin in circular motions. Be sure to wet the mitt first and use it on damp skin. Pros: Easy to use, can be reused multiple times. Cons: May be too harsh for sensitive skin.
- Chemical peels: These products contain ingredients like glycolic acid or lactic acid that help break down self-tanner. Follow the instructions on the product carefully and be sure to patch test first if you have sensitive skin. Pros: Can be effective, especially for stubborn self-tanner. Cons: Can be harsh on the skin and may cause irritation or dryness.
- Baking soda and lemon juice: This is a natural alternative to chemical peels. Mix equal parts baking soda and lemon juice to create a paste, then apply it to your skin and let it sit for a few minutes before rinsing off. Pros: Cheap and easy to make at home. Cons: May be too harsh for some skin types and can cause irritation.
When using any of these methods, be sure to follow the instructions carefully and take precautions if you have sensitive skin. It’s also a good idea to moisturize your skin well after using them to prevent dryness.
Avoiding Mishaps
Even if you follow all the tips for removing self-tanner, sometimes things can go wrong. Here are some tips for avoiding self-tanner mishaps:
- Choose the right formula: If you’re new to self-tanning, start with a light formula to avoid mistakes. Gradually build up to a darker tan once you’ve mastered the application process.
- Get a professional spray tan: If you’re nervous about applying self-tanner at home, consider going to a professional. A spray tan can give you a beautiful, even tan without the hassle of self-tanning at home.
- Apply the product evenly: Be sure to apply self-tanner evenly to avoid streaks and splotches. Use a mitt or brush to help distribute the product evenly.
- Avoid common mistakes: Many self-tanning mishaps happen because people rush through the application process or forget to exfoliate beforehand. Take your time and follow all instructions carefully.
Personal Anecdotes
If you’ve ever had a self-tanning disaster, you’re not alone! Here are some common issues and how to fix them:
- Streaks and splotches: If you notice streaks or splotches after applying self-tanner, don’t panic. Use an exfoliating mitt or scrub to remove the excess and blend the color. Be sure to moisturize your skin well afterward.
- Self-tanner on clothing: If you accidentally get self-tanner on your clothes, act quickly. Use a stain remover and follow the instructions carefully. If the stain has already set, try a fabric bleach or take the clothing to a professional cleaner.
- Orange or unnatural color: If your self-tanner has left you with an orange or unnatural color, try a color-correcting product or exfoliate well to remove the excess. Be sure to moisturize well afterward to keep your skin healthy and hydrated.
Maintaining an Even, Glowing Tan
Once you’ve removed your self-tanner, you may be wondering how to maintain an even, glowing tan without it. Here are some tips:
- Get a natural tan: Spending time in the sun can give you a natural tan without the use of self-tanner. Be sure to wear sunscreen and limit your exposure to avoid damage from UV rays.
- Choose the right sunscreen: When you are spending time in the sun, be sure to choose a sunscreen that protects against both UVA and UVB rays. Look for a broad-spectrum sunscreen with an SPF of at least 30.
- Enhance skin health: A healthy diet and regular exercise can help keep your skin glowing from the inside out. Be sure to eat plenty of fruits and vegetables and drink plenty of water to keep your skin looking its best.
Conclusion
Removing self-tanner can feel daunting at first, but with the right tools and techniques, you can get back to your natural skin tone safely and effectively. Remember to be patient, follow all instructions carefully, and take care of your skin throughout the process.