Introduction
French braiding is a classic and versatile hairstyle that has stood the test of time. It is a popular choice among people of all ages and cultures and can be worn for any occasion. In this article, we will provide a step-by-step guide to help you learn how to french braid your own hair. Whether you are looking for a new hairstyle to try or simply want to master a new skill, we’ve got you covered.
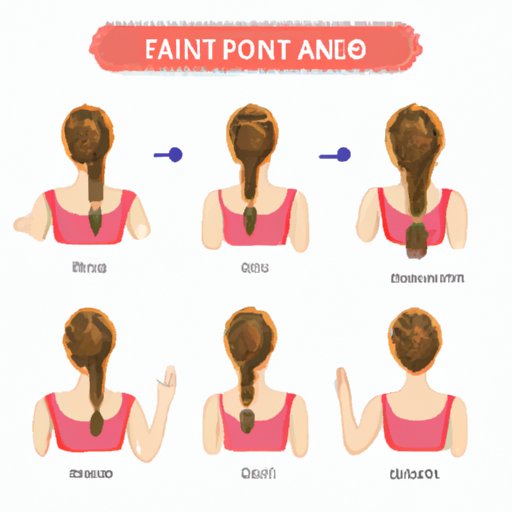
Step-by-Step Photo Tutorial
The first step in french braiding is to section off the hair into three parts, left, right and center. Start by crossing the right section over the center section and then the left section over the center section. Repeat this pattern, adding a small amount of hair to each section before crossing it over. Continue braiding in this way until all hair is incorporated and secure at the bottom with a hair tie.
Refer to the photos below for a visual guide.
As you braid, make sure to keep the sections tight and to cross them over each other in an alternating pattern. Remember to take breaks as needed and to use a mirror or a friend to help you see all angles of your head.
Video Tutorial
If you are looking for a more in-depth tutorial, we recommend checking out the video below. It will walk you through all the steps and provide additional tips and tricks for mastering the french braid.
Tips and Mistakes to Avoid
Like any skill, french braiding takes practice to master. Here are some common mistakes to avoid:
- Don’t pull the sections too tight, or you may end up with hair breakage.
- Don’t lose track of the pattern, or you may end up with a messy braid.
- Don’t forget to secure the braid properly, or it may unravel and fall apart.
If you find yourself making any of these mistakes, don’t worry. Here are some solutions:
- Loosen the hair slightly to prevent breakage.
- Practice the pattern before starting the braid.
- Use bobby pins or clips to hold the braid in place.
Additionally, here are some tips for making the process easier:
- Use a wide-toothed comb to detangle the hair.
- Use hair spray or gel to add texture and hold.
- Take breaks as needed to prevent fatigue or discomfort.
Different Hairstyles
French braids can be used to create a variety of hairstyles. Here are a few examples:
Crown Braid
To create a crown braid, start by french braiding two sections of hair, one on either side of the head. Then, twist the ends of the braids together at the back of the head and secure with bobby pins.
Messy Bun with Braided Sections
To create a messy bun with braided sections, start by french braiding two sections of hair, one on either side of the head. Then, gather all hair into a bun at the back of the head, leaving the braids loose. Secure with bobby pins, and pull out some strands to create a messy, undone look.
Half-Up, Half-Down Style with Braided Headband
To create a half-up, half-down style with a braided headband, start by french braiding a small section of hair above one ear. Secure the end with a hair tie, and repeat on the other side. Then, gather the remaining hair into a half ponytail, and secure with a hair tie.
Tools and Products Needed
To make french braiding easier, you may want to invest in the following tools and products:
- Good quality hairbrush or comb
- Hair ties
- Bobby pins
- Hair spray or gel
- Accessories like flowers, beads, or ribbons
If you are unsure where to purchase these items, we recommend checking out beauty supply stores or online retailers such as Amazon.
Conclusion
Learning how to french braid your hair can open up a world of styling possibilities. With practice and the right tools, you can achieve a variety of looks that range from casual to elegant. Don’t be afraid to experiment and try new styles. Who knows? You may end up with a signature look that sets you apart from the rest.
If you found this article helpful, we encourage you to share it with others who may be interested in learning how to french braid.