Introduction
If you’re looking to improve your drawing skills or simply want to learn how to draw roses, this article is for you. Roses are a popular subject for artists because of their beauty and intricate details. Whether you’re a beginner or an experienced artist, this article will provide you with tips and techniques for drawing roses.
Step-by-Step Tutorial
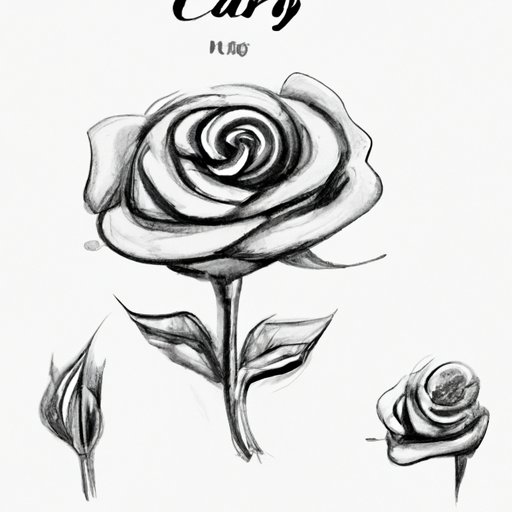
To begin, start with a light sketch of the basic shape of the rose using a pencil. Then, draw the petals of the rose one at a time, paying attention to their shape and size. Don’t forget to add the small details like the ridges and creases of the petals.
Use shading techniques to give your rose depth and dimension. You can also use different hues of color to create a more realistic effect. Take your time and be patient, and soon you will have a beautiful rose drawing.
Beginner’s Guide
If you’re a beginner, it can be overwhelming to know where to start with drawing a rose. One important technique to master is proportion. Pay attention to the size and shape of the petals in relation to each other and the center of the rose.
Another important technique is shading. Practice shading your rose from light to dark, and use different pressures to create depth and texture. Sketching the basic shapes of the rose can also help you get a better idea of its structure and form.
Focus on Different Styles
Roses can be drawn in many different styles, from realistic to abstract. Realistic roses require attention to detail and accurate proportions, while abstract roses rely on creative interpretation and artistic license.
Fantasy-style roses allow for even more creativity, with the addition of surreal elements like glitter or whimsical shapes. Experiment with different styles to find the one that suits your taste and skill level.
Color Theory
When drawing roses, color choice is essential. Choose colors that complement each other and the rose’s overall color scheme, such as reds, pinks, and greens. For a more realistic effect, use different shades and hues of the same color to give depth and texture.
Blending colors is also important to create a more natural look. Start with lighter colors and gradually add darker shades, blending as you go. Don’t forget to use highlights and shadows to further enhance your rose drawing.
Common Mistakes
One common mistake beginners make is not paying attention to proportions, resulting in an unnatural and unrealistic-looking rose. Another mistake is not taking the time to add the small details, like the ridges on the petals or the center of the rose.
Another common mistake is using too much pressure with your pencil, resulting in harsh lines and uneven shading. Remember to take your time and use a light touch, gradually building up the shading and details.
Using Different Mediums
There are many different mediums you can use to draw a rose, each with its own unique qualities. Watercolors create a soft and romantic effect, while ink allows for bold lines and contrasting shades.
Colored pencils are great for creating depth and texture, while markers create a smooth and polished look. Experiment with different mediums to find the one that suits your style and preferences.
Conclusion
Drawing roses can be a challenging but rewarding experience for artists of all skill levels. Remember to pay attention to proportions, shading, and details, and don’t be afraid to experiment with different styles and mediums.
With practice and patience, you can create beautiful rose drawings that will impress yourself and others. Keep practicing, and before long, you’ll be creating stunning rose art with ease.