Introduction
Disney’s Mickey Mouse is a beloved character that has been entertaining the world for decades. Drawing this iconic cartoon character can be a fun-filled activity for people of all ages. Not only does it bring back fond memories of childhood, but it’s also a great way to improve hand-eye coordination and develop artistic skills. This article will cover everything you need to know about drawing Mickey Mouse – from the necessary materials to step-by-step guides and sketching techniques.
Step-by-Step Tutorial
To begin with, you will need a few basic materials. You will need a pencil, an eraser, a piece of paper, and black ink pens of various thicknesses to outline the design. Next, follow these simple steps:
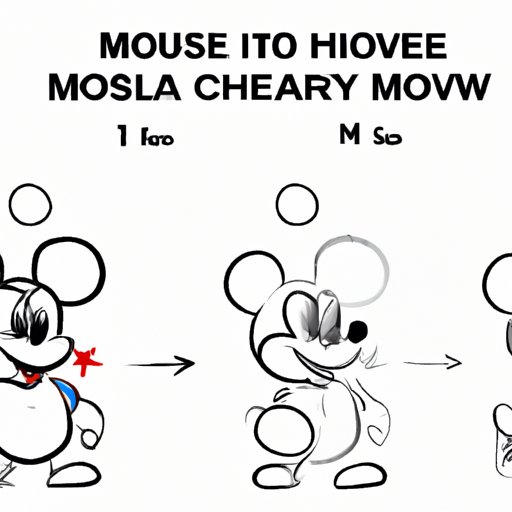
- Draw a large circle in the middle of the page for Mickey’s head.
- On the bottom half of the circle, draw a curved line for his mouth. Then, add two smaller circles on top of the curved line for his eyes.
- Draw two smaller circles inside his eyes with black ink pens, leaving some white space for the reflection of light in his eyes.
- For his nose, draw a small, curved line between his eyes.
- Draw two round ears on the top of his head with the same width as his head circle.
- Draw a vertical curved line from his nose to the middle of the mouth, this will be his face line.
- Sketch the shape of his body, taking care to exaggerate the size of his hands and feet.
- Finally, add his iconic red shorts, gloves and shoes, and outline the whole design with a black ink pen.
Video Tutorial
Some people may find it easier to follow video tutorials. Look for a video that covers Mickey Mouse drawing, and watch it alongside reading this article. This can help you gain a better understanding of the process and see exactly how it’s done.
Embed video tutorial here:
Tips for Beginners
If you’re new to drawing and are trying to learn how to draw Mickey Mouse, here are some useful tips:
- Start by drawing simple shapes such as circles, triangles and squares to practice and build your skills.
- Do not worry too much about details at first. Instead, focus on the overall shape and proportions of the character.
- Draw light, initial lines to make corrections easier rather than drawing final lines from the start.
- Use smooth, long strokes rather than shaky, short lines for a more professional look.
- Visualize the shapes in 3 dimensions and use shading and line weight to bring the drawing to life.
Detailed Breakdown
Before starting your drawing, it can be helpful to break down Mickey Mouse into individual shapes. This will make it easier to fit the pieces together to create the finished image.
To begin, draw a large circle in the middle of your paper, which will be Mickey’s head. Divide it into two equal parts horizontally and vertically for guidance. Draw the mouth line with a curved shape and two small circles for his eyes. Next, draw his nose, which should be a smaller curve in the center. Add two circles to represent his ears. Finally, sketch the outline of Mickey’s body and limbs, remembering to keep them oversized in comparison to his head.
Simple and Cute
If you’re drawing with young children, a simplified version of Mickey Mouse may be more suitable. This is also a great starting point for beginners who want to practice before attempting the more detailed version. To draw a cute Mickey Mouse, use the following steps:
- Draw a larger circle for his head and two smaller circles above it for his ears.
- Add a smaller, curved line below the circle for his mouth. Then add two small circles inside the big circle for his eyes.
- Draw two semi-circles on the top of each eye for his eyebrows.
- Add a tiny circle inside of each eye for the pupils and then draw a small nose.
- Draw a large, curved line at the bottom of the circle for his chest.
- Finally, add his shirt and red shorts.
Sketching Techniques
Sketching is an essential skill for any artist, and it’s essential to learn how to do it right. There are many benefits to mastering this technique. For one, it can help improve your hand-eye coordination and give you a better understanding of form, shading, and perspective. Here are a few ways to help you improve your sketching abilities:
- Start by practicing basic shapes such as circles, squares, and triangles so you can get comfortable with drawing freehand lines.
- Practice sketching the simple Mickey Mouse design multiple times, using different angles, poses and expressions.
- Use reference photos to improve your skills and better understand the character’s proportions.
Alternative Approaches
If you prefer a different approach to drawing, you may want to take advantage of the latest digital options. There are many free computer programs, such as Paint 3D and Sketchpad, that offer a user-friendly platform for drawing. You may find it easier to draw and manipulate shapes and colors on their screens rather than trying to master the physical skills of drawing with pencil and paper.
Another alternative approach is to personalize the design. Begin with Mickey’s basic shape but make him a unique character by adding new details. This is a great way to unleash your creativity and imagination and create something entirely new.
Conclusion
Mickey Mouse is an iconic and beloved character that has been delighting people of all ages for decades. Drawing him can be a fun and relaxing activity that can help improve your artistic abilities. By following the step-by-step tutorial and using the tips and techniques provided within this article, you’ll be able to create your very own Mickey Mouse drawing in no time.
So grab your pencil and paper, and let your creativity take over! With practice and patience, you’ll develop drawing skills that will last a lifetime.