Introduction
If you’re a fan of the Mario franchise, you may have always wondered how to draw Mario. Luckily, it’s not as difficult as it may seem. This article will provide you with a step-by-step tutorial on how to draw Mario, whether you prefer a more cartoonish or realistic style. We will also discuss the anatomy of Mario, the tools required, different poses you can draw him in, and tips and tricks to perfect your artwork. By the end of this tutorial, you’ll be able to draw the iconic plumber with ease!
Step-by-Step Tutorial
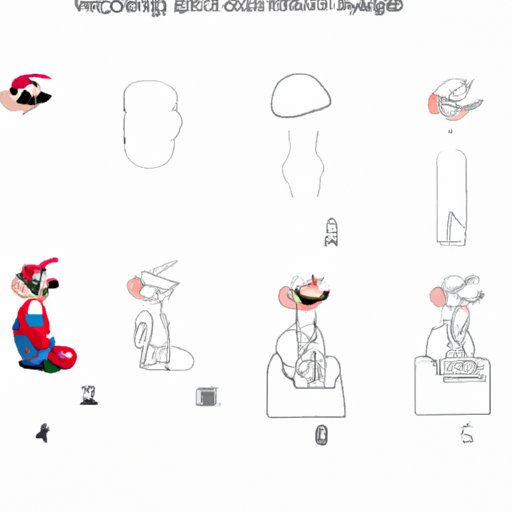
To start off, draw a circular shape for Mario’s head. Next, draw two lines coming down from the head for his body. Draw his arms and legs by sketching basic cylindrical shapes. From here, draw Mario’s hands and feet, then his overalls and shirt. Add details like his buttons and his gloves. Lastly, sketch his famous hat and mustache. Refer to video tutorials or images for more guidance on each step.
Cartoon Mario or Realistic Mario?
When it comes to drawing Mario, there are two main styles you can choose from. Cartoon-style allows for a simpler, more exaggerated look, while realistic-style aims for a more accurate representation of the character. The pros of cartoon style are that it allows more freedom and creativity, while realistic style provides a more accurate portrayal of Mario. The con of cartoon style is that it may not be as challenging, while the con of realistic style is that it may be more difficult. Depending on your skills and preference, choose whichever style suits you best.
The Anatomy of Mario
Mario’s anatomy may seem simple, but it’s important to get his features right. Start with his head, which is a basic circle shape. Add his mustache, which can be drawn as two inverted ‘Y’s. His hat should also be a circle, with a curved bill. Mario’s overalls consist of two rectangular pieces, and his shirt is a simple undershirt. Draw his arms as two cylindrical shapes, with circles for hands. His legs should also be two cylindrical shapes, with larger circles for feet. Don’t forget his signature gloves and shoes!
Tools of The Trade
It’s important to have the right kit when drawing Mario. You’ll need a few basic supplies such as pencils, erasers, and a good sketch pad. The most important tool when drawing Mario is the pencil. Make sure to invest in a good set of pencils, from a 6H (hard) to a 4B (soft) so that you can achieve varying shades and lines. Good quality paper will also make a big difference in the finished product. Use an eraser to correct mistakes and a fine-tipped pen to add detail.
Drawing Mario in Different Poses
Set your imagination free with different poses for Mario. Draw him jumping for joy with his hand in the air. Draw him running, with his legs and arms extended. Add some action to your Mario by drawing him in action poses, with fists clenched or feet together in a kicking stance. Think about where his arms and legs are and how they work in tandem. Observing his movements in games or videos can be helpful in imagining and drawing your poses.
Tips and Tricks for Drawing Mario
Specific tricks to enhance Mario’s portrayal are needed for effective artwork. Give Mario’s ears a slight inward curve so that they lie flat against his head. When coloring his hat, add some light shading to create depth. Additionally, use shadows to emphasize important features, such as his nose, mustache, and body details. Lastly, always remember to draw lightly in the beginning and gradually add darker shading as you become more confident in your sketch.
Create Your Own Mario
After mastering the steps to draw a traditional Mario, challenge yourself and create different variations. Experiment with new outfits and color schemes or the addition of Mario’s cast of characters. What if Mario was drawn in a different style or had alternate costume designs? There are endless possibilities to how you can uniquely portray this classic character.
Conclusion
Drawing Mario may seem intimidating at first, but with a bit of guidance, anyone can create a masterpiece. Use this step-by-step guide to get started on drawing this iconic character and challenge yourself to create different variations. With time and practice, you’ll be able to enhance your artistic skills.