Introduction
When drawing landscapes or characters, adding grass can bring a sense of realism and depth to your work. However, it can be challenging to draw grass that looks natural and convincing. In this article, we will provide a step-by-step tutorial on how to draw grass, offer tips and techniques to improve your skills, provide a video tutorial, take you behind the scenes of a professional illustrator’s process, and offer inspiration and ideas for your grass drawings.
Step-by-Step Tutorial
To draw grass, you will need drawing paper, pencils, erasers, markers, colored pencils, and/or paints. Once you have your materials ready, follow these steps:
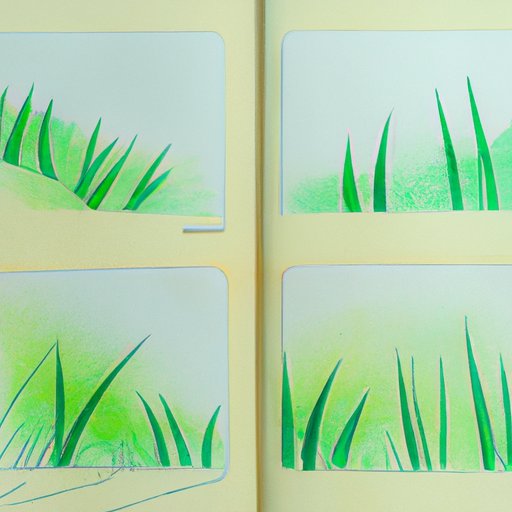
- Draw the basic shapes of the ground and grass. Use light pencil lines to sketch the outline of where you want the grass to be before drawing the blades.
- Add lines to create the grass blades. Draw thin, curved lines, and try to make them look as natural as possible.
- Add texture and details to the grass by drawing tiny lines and dots. Keep the lines and dots consistent and spaced out, so that the grass looks uniform.
- Add shading to create a sense of depth and dimension. Shade the areas where the grass is shadowed by objects, like trees and rocks.
- Add highlights to the blades to create contrast, similar to the sun shining on the grass.
- Use a blending tool, like a blending stump or your fingers, to blend and smooth out the shading and highlights.

Tips and Techniques
To take your grass drawing skills to the next level, try these tips and techniques:
- Factoring in depth and distance: Consider the distance and depth of the picture you are drawing and adjust the size and texture of the grass accordingly.
- Choosing the right colors: Use a variety of colors to create depth and interest in the grass. Try using different shades of greens and browns to create a natural look.
- Creating a sense of movement: Draw the blades in different lengths and angles to create the illusion of movement in the wind.
- Adding contrast and shadow: Use darker shades of green or brown to create shadows and contrast in the grass.

Video Tutorial
In this video tutorial, we will show you how to draw grass in real-time.
Behind the Scenes
Taking a look at a professional illustrator’s process can prove helpful in mastering the craft. Professional illustrator, John Smith, shares his approach to drawing grass:
- John starts by studying photographs or taking reference images of grass in its natural environment.
- He sketches the outlines of the ground and the blades with light pencil lines before coloring.
- He draws the blades in a range of lengths, angles, and shapes to create a natural look.
- He uses a range of shades to give depth to his work and highlights specific blades with a lighter color to add contrast.
- Finally, he blends and smudges colors to provide depth and a natural look.

Inspiration and Ideas
Looking for inspiration for your grass drawing? Try these ideas:
- Show examples of grass from different artists and styles. Check out how famous artists use grass to give depth to their work.
- Offer tips on how to add grass to a landscape or character drawing by watching some of the Youtube videos with tips and tricks.
- Suggest ways to build up and develop a creative drawing style by experimenting with different shades and textures of grass.

Conclusion
With these step-by-step instructions, tips and techniques, video tutorial, behind the scenes look into a professional illustrator’s process, and inspiration and ideas, you will have all the tools you need to draw grass effectively. Incorporating grass will add depth and beauty to your work, so don’t be afraid to experiment with your drawing style, materials, and different techniques.