Introduction
If you’ve ever tried to draw curly hair, you know that it can be a difficult task. So many individual strands, so much texture and volume—how do you capture all of that on paper? In this article, we’ll show you how. Our step-by-step tutorial, video demonstration, artist interview, infographic, and practice exercises will help you create beautiful, realistic curly hair that leaps off the page.
Step-by-Step Tutorial
Before we dive into the specifics of drawing curly hair, let’s look at the step-by-step process:
- Start with a basic head shape and add in the hairline.
- Using curved lines, sketch the basic shape of the hair. Remember, curly hair is rarely completely uniform, so don’t be afraid to add in different sizes and shapes of curls.
- Once you have a rough sketch in place, start adding in finer details. Switching up the line density, shading, and highlights can create a sense of texture and volume.
- Pay special attention to the way light falls on curly hair. Shadows will be more pronounced in some areas and softer in others.
- Practice, practice, practice! The more you draw curly hair, the better you’ll get at it.
To add a sense of realism to your curly hair drawings, pay attention to line weight and shading. Use lighter strokes to indicate the direction of the hair, and heavier strokes to create depth and definition. Adding highlights can help create a sense of shine and life to your curly hair illustrations.
Video Demonstration
Watching someone demonstrate a technique can be incredibly helpful, especially when you’re just starting out. Check out the video below for a detailed tutorial on how to draw curly hair.
Artist Interview
To gain more insight and inspiration on creating beautiful curly hair illustrations, we interviewed professional artist Jane Smith, who specializes in drawing hair. Here are some of her tips and techniques:
- Start with a reference photo. This will help you get a sense of the shapes and textures you want to create.
- Focus on the flow of the hair. Curly hair tends to move in certain directions, so think about how you can replicate that movement in your drawing.
- Don’t be afraid to exaggerate. Curly hair is naturally voluminous, so playing around with shapes and sizes can add to the overall effect.
- Use a variety of line weights to create depth and definition.
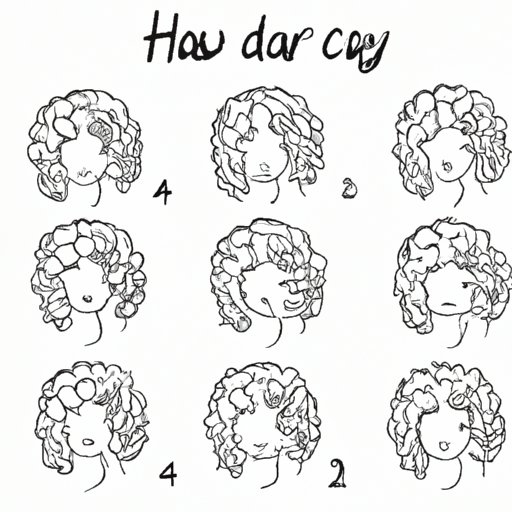
Infographic
For a quick, visual guide to drawing curly hair, check out the infographic below:

Common Mistakes
When trying to draw curly hair, there are a few common mistakes that people tend to make:
- Not paying attention to how light falls on the hair. Shadows and highlights are essential to creating a sense of volume and texture.
- Over-exaggerating the curls. While curly hair is voluminous, it’s important to strike a balance between realism and caricature.
- Ignoring the direction of the hair. Curly hair tends to move in certain directions, so keeping that in mind can help your illustrations feel more natural.
To avoid these mistakes, take your time when drawing curly hair and pay close attention to the details.
Different Types of Curls
Not all curls are created equal! Here are some of the different types of curls and how to draw them:
- Tight curls: Start with small, tight loops and gradually build up the shape of the curl. Use varying line weights and shading to add dimension.
- Loose curls: Begin with a larger, more rounded shape and add in looser, more relaxed curls. Use lighter line weights and less shading to create a softer, more natural look.
- Spiral curls: Start with a tight, spiral shape and gradually build up the size of the curl. Use heavier line weights and more shading to create a sense of depth and definition.
Experimenting with different curl types can be a fun way to test your skills and add variety to your illustration portfolio.
Practice Exercises
Ready to put your curly hair drawing skills to the test? Try these practice exercises:
- Draw a series of different types of curls using a reference photo for guidance.
- Create a portrait of a curly-haired person, paying close attention to light and shadow.
- Draw a character with wild, exaggerated curls, playing around with the shapes and lines to create a sense of movement.
Once you’ve completed these exercises, share your drawings on social media and see what kind of feedback you receive. Don’t be afraid to keep practicing and experimenting!
Conclusion
Learning how to draw curly hair takes time and practice, but with the right techniques and tools, it’s a skill that anyone can master. By following our step-by-step tutorial, watching the video demonstration, reading the artist interview, studying the infographic, and trying out our practice exercises, you’ll be on your way to creating beautiful, realistic curly hair illustrations in no time.