Introduction
Drawing arms can be challenging, especially for beginners. However, understanding arm anatomy and movement can greatly improve the accuracy and precision of your art. In this article, we will provide a step-by-step guide for drawing arms as well as tips for visualizing different angles and movements. By the end of this article, readers will have a better understanding of how to customize arm lengths, add shading and texture, and utilize reference materials.
Step-by-Step Guide
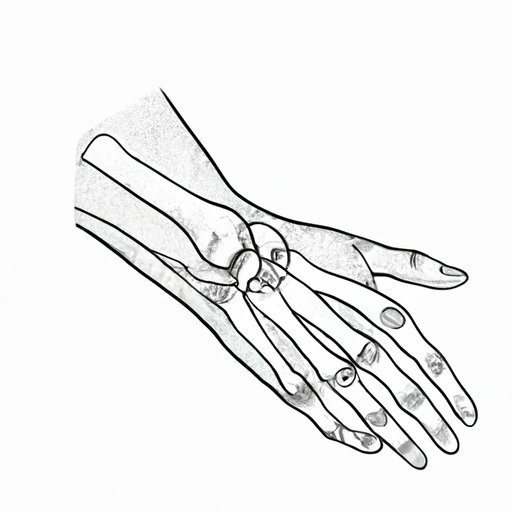
First, start by drawing the basic shape of the arm using simple shapes such as a cylinder or rectangle to guide the form. Next, refine the shapes to create more complex shapes that reflect the anatomy of the arm. Then, add details such as joints, muscles, and bone structure to give the arm a realistic look. Finally, add shading and texture to create depth and dimensionality in your drawing.
Focusing on the Anatomy
Understanding the anatomy of the arm is crucial for drawing with accuracy and precision. The arm is made up of the upper arm bone, the forearm bones, and the hand bones. The bicep and tricep muscles control the pivoting motion of the arm, while the forearm muscles control the wrist and finger movements. By focusing on the specific shape and structure of these muscles, you can better capture the movement and form of the arm in your drawings.
Utilizing Visual Aids
Visualizing different angles of the arm can be challenging, but there are many tools and resources available to make the learning process easier. Photographs, videos, and 3D models can be used to help you better understand the anatomy and movement of the arm. Additionally, drawing from life or using mirrors to create your own reference material can also be helpful.
Comparing Movements
Different movements of the arm can provide inspiration for creating dynamic poses. Comparing the movements of one arm to another can help you better understand how to capture movement and form. By adjusting the proportions and angles of the arm, you can create more complex poses while still maintaining accuracy and precision.
Drawing Different Arm Lengths
It’s important to remember that not all arms are the same length. When drawing different arm lengths, start by drawing the basic structure of the arm and then adjust the length and proportions accordingly. Use reference materials to help you better understand the anatomy and movement of different arm lengths. With practice, you’ll become more comfortable with drawing arms of different lengths and shapes.
Adding Shading and Texture
Shading and texture can greatly enhance the realism and dimensionality of your drawing. Use different shading techniques such as cross-hatching, stippling, and blending to add depth and dimensionality to different areas of the arm. Focus on capturing the effects of light and shadow to create the illusion of a three-dimensional object on a two-dimensional surface.
Utilizing Existing References
There are many reference materials available for artists who want to continue learning on their own. Online tutorials, drawing books, and art classes can all be helpful resources for improving your arm drawing skills. Additionally, try creating your own reference materials by drawing from life or taking photographs of different arm poses.
Conclusion
Drawing arms can be a challenge, but by understanding the anatomy and movement of the arm, utilizing visual aids, and practicing different shading and texture techniques, you can greatly improve the accuracy and realism of your drawings. We encourage readers to continue practicing and exploring different arm lengths and poses to improve their skills and create dynamic and realistic art.