Introduction
Drawing an apple may seem like a simple task at first, but it can be challenging for people who are new to the craft. There are lots of factors to consider when learning how to draw an apple, such as its shape, texture, and shading. But don’t worry, with the right guidance and a little bit of practice, anyone can learn how to draw an apple. In this article, we will provide a step-by-step tutorial on how to draw an apple, as well as tips and techniques to make your apple drawing stand out.
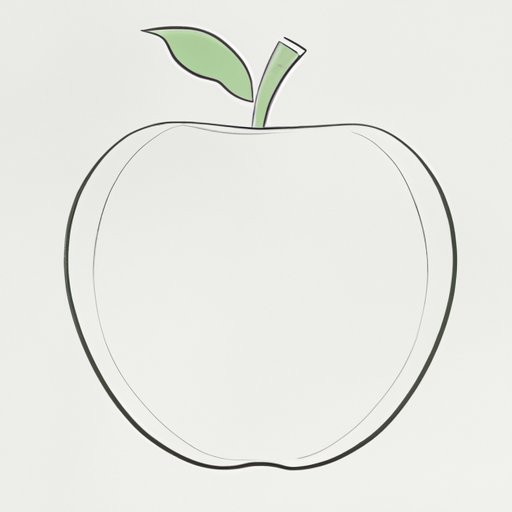
Step-by-Step Tutorial
The first step to drawing an apple is to understand its basic shape. Start by drawing a circle, which will serve as the apple’s core. Next, draw a shape that mimics the shape of the apple. This shape can vary depending on the type of apple you are drawing. For example, a green apple might have a more elongated shape than a red apple. Remember to keep your lines light and faint so that you can easily make adjustments later on. Once you have the basic shape down, you can start adding details such as the stem and the leaf. You can add shading to create depth and texture, and highlight details with an eraser.
Emphasizing the Shape
The shape of an apple is crucial when it comes to creating a realistic drawing. The top of the apple is usually smaller and more elongated than the bottom. This is an important detail to keep in mind when you’re sketching the apple and adding details. Take some time to observe the apple from different angles to get a better understanding of its curvature. Once you have a good handle on the general shape of the apple, practice drawing it over and over until you feel comfortable with the process. Try using tracing paper to practice drawing the apple from different angles. This will help you fine-tune your skills and understand the shape better.
Observational Exercises
One of the best ways to improve your apple drawing skills is to practice drawing from real life. It’s essential to understand how light and shadow work when drawing an apple, and you can learn a lot by observing the fruit in person. To set up a still life, simply choose an apple and place it on a table or any other surface where it will be well-lit. Experiment with different angles and lighting conditions to create a variety of scenes. Take some time to study the apple and look for unique details that you can incorporate into your drawing.
Different Techniques
There are a variety of techniques that you can use to create a successful apple drawing. Crosshatching, stippling, and shading are all popular approaches. Crosshatching is the process of drawing multiple layers of lines to create a sense of depth, while stippling involves using dots to create shading. Shading involves filling in areas with a series of back-and-forth or circular motions to create a sense of texture. Each technique produces a different look and feel, and it’s up to you to decide which one works best for your drawing.
Add Visual Appeal
Once you have the basics down and feel comfortable with the shape and texture of the apple, consider adding some visual appeal to your drawing. This can be done by incorporating different materials and techniques, such as color pencils, watercolors, acrylics, or markers. Experimenting with color and texture can help elevate your apple drawing and make it more visually engaging.
Share Examples
Finally, take some time to look at other artists’ apple drawings and try to incorporate elements of their style into your own work. Pay attention to details like shading, texture, and line weight, and think about how you can use those elements in your own apple drawing. Remember to give yourself time to experiment with different techniques and materials, and don’t get discouraged if your first few attempts don’t turn out how you want them to.
Conclusion
Drawing an apple is a fun and rewarding activity that anyone can learn. By following the steps outlined in this article, you should have no trouble creating your own apple drawing.