Introduction
Have you ever wanted to create a beautiful drawing of a turkey but didn’t know where to begin? Drawing a turkey can seem daunting, but it is actually quite easy if you follow the steps and tips in this article. The purpose of this article is to provide you with a step-by-step guide on how to draw a turkey. Specifically, we will cover the following topics:
- Step-by-Step Guide
- Video Tutorial
- Infographic
- Historical Context
- Kids’ Corner
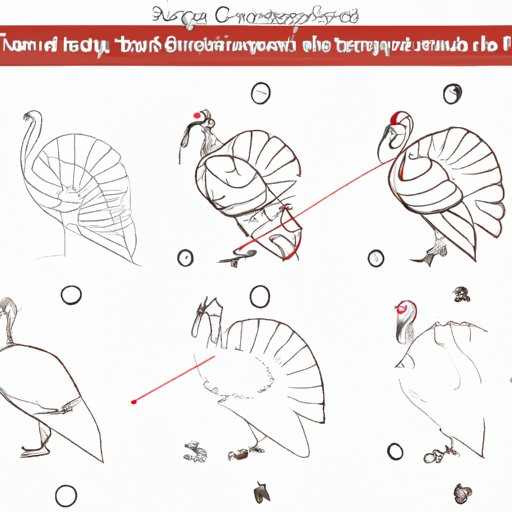
Step-by-Step Guide
To begin drawing a turkey, start with a basic body outline. You can use a pencil or a pen to create this outline.
First, draw a small circle near the top of your paper. This circle will become the turkey’s head.
Next, draw a larger oval shape below the circle as the turkey’s main body. The oval should be wider at the bottom than it is at the top.
Draw two small circles above the oval for the turkey’s eyes.
Add the beak by drawing a small triangle shape below the eyes.
Next, add the feathers by drawing a series of curved lines from the back of the turkey’s head to the top of the oval. Continue drawing the feathers to cover the entire body of the turkey.
To draw the legs, add two long thin oval shapes below the body of the turkey, towards the bottom.
Finally, add the turkey’s feet by drawing two curved lines at the bottom of each leg.
Tips: Use light strokes for the initial outline. You can erase any mistakes once you have completed the turkey’s final shape. If you are having trouble with the proportions of the turkey, try drawing a basic framework of circles and ovals before adding the details.
Video Tutorial
If you prefer a more visual guide to drawing a turkey, check out this video tutorial. This video breaks down the process into manageable steps and uses visual aids to help guide viewers. The narration or the text that explains each step can be helpful for those who are visual learners.
Consider sharing this video on your social media platforms to inspire others to take up the challenge of drawing turkeys.
Infographic
For those who are more visually inclined, an infographic can be a great tool to follow the steps of how to draw a turkey. Create a visual sequence depicting the steps of how to draw a turkey using icons, graphics or symbols. A properly created infographic can be visually appealing and easy to read. Highlight important tips and tricks that make the drawing process easier.
Historical Context
While turkeys are commonly associated with Thanksgiving, they have a rich historical significance that extends beyond the holiday. In this section, we will provide a brief overview of the history of turkeys and how they have been represented in art throughout the years.
The turkey is native to North America and has been an important food source for Indigenous peoples for thousands of years. In the 1500s, turkeys were brought to Europe and became popular among the wealthy. In fact, Benjamin Franklin once suggested that the turkey should be the national bird of the United States instead of the bald eagle!
Today, turkeys are often depicted in art as part of Thanksgiving celebrations. However, they can also be used in other forms of art such as painting, sculpture, and even photography. The unique physical features of turkeys, such as their feathers and colored wattle, make them a visually interesting subject for artists.
To integrate tips for drawing turkeys into the historical context, observe the physical features of turkeys, and practice drawing them. With a bit of practice, you can improve your skills with drawing and take pride in the artistic endeavors of representing turkeys.
Kids’ Corner
Drawing can be a fun and educational activity for children. In this section, we will provide a simplified version of how to draw a turkey intended for the kids’ comprehension.
Begin by drawing a large circle for the turkey’s body. Add a small head with an eye and a beak at the top. Draw two small circles for the turkey’s wings and two longer ovals for its legs. Add the feet by drawing two curvy lines at the bottom of each leg.
Tips: Use simple shapes as the building blocks of your turkey. Make sure that the steps are easy to follow and the images are colorful.
Conclusion
In conclusion, drawing a turkey is a fun and easy way to improve your artistic skills. This article has covered a five-part guide to drawing a turkey which includes the step-by-step guide, video tutorial, infographic, historical context, and kids’ corner.
We encourage you to try out each of the methods and discover which one suits you the best. Remember to practice regularly and take pride in your artistic achievements. Drawing can be a great way to relax and unleash your creativity.