I. Introduction
Drawing sponges may seem like an easy task, but it can be challenging for beginners who don’t know where to start. Fortunately, with some guidance and practice, anyone can learn how to draw a sponge that looks lifelike and realistic. In this tutorial, we’ll take you through each step of the process, providing tips and advice along the way. Whether you’re a total beginner or an experienced artist, you’re sure to learn something new.
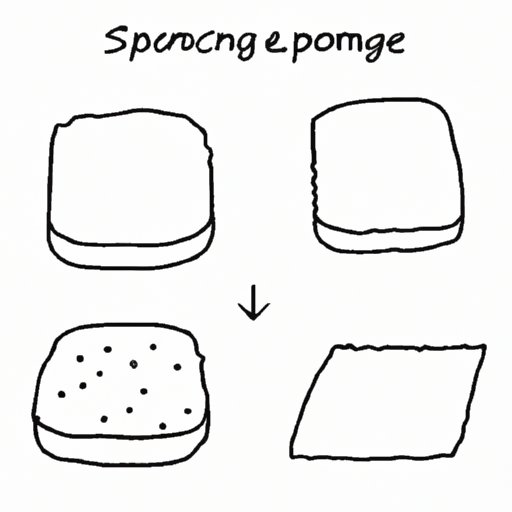
II. Step-by-Step Tutorial: Learn How to Draw a Sponge from Scratch
The first step in drawing a sponge is to sketch out the basic shape. Start by drawing a rough outline of the sponge’s overall shape. Once you have the basic shape in place, you can start adding details. Use different line weights to create texture and depth.
Next, use shading and color to add more depth to your drawing. Pay attention to the details of the sponge, such as its pores and texture. Finally, add highlights and shadows to enhance the 3D effect of your drawing.
III. Mastering the Art of Sponge Drawing: Tips and Tricks for Beginners
If you’re new to sponge drawing, it’s important to start with the basics. Observe real sponges to get a sense of their shapes and textures. Practice drawing various types of sponges to develop your skills. Be patient and persistent, and don’t be afraid to experiment with different techniques and tools.
When drawing a sponge, it’s important to focus on the details that make it unique. Pay attention to its pore size, texture, and overall shape. Use shading to create depth and dimensionality. Don’t be afraid to make mistakes; they’re a valuable part of the learning process.
IV. Drawing Sponges Made Easy: A Guide for All Skill Levels
There are many different types of sponges that can be drawn, each with their unique shapes and textures. To draw a sponge successfully, it’s essential to have a good understanding of its features and characteristics. Some types of sponges are easier to draw than others, so it’s important to start with the basics and work your way up.
One of the keys to success when it comes to sponge drawing is to practice regularly. Start with simple designs and gradually work your way up to more complex ones. Remember to be patient and persistent, and don’t be afraid to experiment with different techniques and styles.
V. Unleashing Your Creativity: Drawing Different Types of Sponges
While sponges are often associated with cleaning, they can also be used in art to create a range of interesting effects. Experiment with different types of sponges and techniques to create your unique style. Don’t be afraid to mix and match colors, textures, and drawing utensils to get the desired effect.
Sponges can be used in many different ways, such as creating background textures, adding depth and dimensionality to drawings, or adding texture to landscapes and objects. Use your imagination and let your creativity run wild.
VI. Drawing the Perfect Kitchen Sponge: A Detailed How-to Guide
When drawing a kitchen sponge, it’s important to pay attention to the finer details. Look closely at a real sponge and identify the features that make it stand out. Focus on creating texture and depth, using shading and highlighting to create a 3D effect.
One thing to keep in mind when drawing a kitchen sponge is the difference between a new sponge and a used one. A new sponge will have sharper edges and a tighter texture, while an old sponge will be worn down and have a softer texture. Pay attention to the differences in texture and adjust your drawing accordingly.
VII. The Science of Sponge Drawing: Understanding Shapes, Shading, and Texture
Shapes, shading, and texture are the key elements of drawing a realistic sponge. Shapes help to define the sponge’s overall structure, while shading and texture give it depth and dimensionality. Understanding how these elements work together is the key to creating a successful sponge drawing.
When drawing a sponge, start by identifying its basic shape. Next, focus on adding texture and detail to create depth and dimensionality. Finally, use shading to enhance the 3D effect of your drawing.
VIII. From Paper to Life-Like: Techniques for Realistic Sponge Drawing
To take your sponge drawing to the next level, experiment with different materials and techniques. Use different pencils, pens, and paintbrushes to create different textures and effects. Try mixing colors to create interesting color gradients, or use different papers to create unique backgrounds.
To make your sponge drawing more lifelike, focus on creating depth and dimensionality. Use shadows and highlights to contrast the sponge’s texture and create a more 3D look.
IX. Conclusion
Drawing sponges is a fun and rewarding activity that anyone can learn. Start by observing real sponges and practicing basic shapes and textures. With time, patience, and persistence, you’ll develop the skills needed to create detailed and realistic sponge drawings.