Learn How to Draw a Spider: A Comprehensive Guide for Beginners
If you’re a beginner trying to draw a spider, it can be quite daunting. With their eight legs and intricate designs, drawing a spider might seem like a difficult task. However, with the right technique and guidance, drawing a spider is easy and fun. In this guide, we’ll go through the step-by-step process of drawing a spider, the materials and techniques you’ll need, and tips for adding details to your spider drawings.
Step-by-Step Guide
Before you begin drawing your spider, it’s important to have a clear image in your mind of what your spider will look like. With this image in mind, you’ll be able to easily follow the steps to create your very own spider drawing.
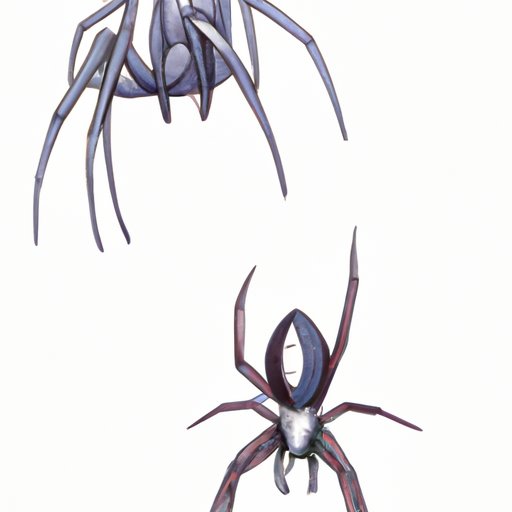
Step 1: Draw a circle: Start by drawing a small circle in the center of your paper. This will be the spider’s body.
Step 2: Add the legs: Draw four pairs of lines extending outwards from the spider’s body. Each leg should be slightly curved and come to a point at the end.
Step 3: Add the details: Starting with the spider’s eyes, draw two small circles at the top of its body. Then, add the spider’s fangs and other small details to complete your spider drawing.
Remember to take your time with each step, and don’t worry if it’s not perfect on the first try. Practice makes perfect!
Materials and Techniques
The materials and techniques you use can greatly impact the outcome of your spider drawing. Here are some things to keep in mind:
Materials: To draw a spider, you’ll need pencils, erasers, and paper. Consider using different grades of pencils to create different levels of shading.
Techniques: Experiment with different techniques to create different types of spider drawings. Shading, for instance, can be used to add depth to your drawing, while cross-hatching can create interesting patterns.
Spider Anatomy
Understanding the anatomy of a spider is important when drawing an accurate representation. Here are some key things to keep in mind:
Physical Characteristics: Spiders are small, eight-legged, arachnids. They have two main body parts: the cephalothorax and the abdomen.
Spider Legs: Spider legs are long and slender, and generally segmented into seven parts. Remember, each spider has eight legs.
Spider Eyes: Spiders can have anywhere between two and eight eyes, depending on the species. Typically, spiders have eight eyes arranged in two rows.
Adding Details
Once you have the basics of the spider drawn, adding details can really bring your drawing to life. Here’s what to keep in mind when adding details:
Eyes: Eyes are a crucial part of the spider, so it’s important to get them right. Depending on the type of spider you’re drawing, you’ll need to decide on the number of eyes and their placement.
Legs: Spider legs can be tricky. Remember to include all eight legs, segment them correctly, and add tiny hooks on the tips of their legs to give them the appearance of claws.
Shading: Shading is an important technique that can add depth and dimensionality to your spider. Experiment with different shading techniques to create a realistic, three-dimensional spider drawing.
Different Spider Types
Now that you know how to draw a basic spider, why not try drawing different types of spiders? Here are some popular types of spiders to try drawing:
Black Widow: Recognizable by its black body and distinctive red hourglass marking on its abdomen.
Jumping Spider: Known for their impressive jumping ability, these spiders have large eyes and are often brightly colored.
Tarantula: These large, hairy spiders can be intimidating to draw, but their unique shape and size make them interesting to depict.
Conclusion
{The article has provided you with a detailed step-by-step guide to drawing a spider, the materials and techniques you’ll need, tips for adding details to your spider drawing, a basic understanding of spider anatomy, and inspiration for different types of spider drawings. Keep practicing, and don’t be afraid to experiment with different techniques and materials.