How to Draw a Skeleton: From Framework to Realism
Learning to draw a skeleton is an essential skill for artists interested in creating anatomically accurate figures in all genres of art, from medical illustrations to comic books. Whether you’re just starting out or looking to improve your existing drawing skills, following a few simple steps can help you create a realistic and well-proportioned skeleton. This article will outline the materials you need and the step-by-step process for capturing the structural basics, and adding detail and texture to your skeleton drawing.
Gathering Supplies
The first step to drawing a skeleton is to gather the necessary materials. You will need a few sheets of paper, a variety of pencils ranging from 2H to 6B, and a good eraser. Additionally, you will need reference materials, such as anatomical sketches or photographs of real skeletons to help you create the most accurate and detailed drawing possible.
Sketching the Framework
Start by lightly sketching the basic framework of the skeleton. Draw a rough outline for the skull, torso, and limbs using simple shapes. For the skull, you will want to start with a circle for the cranium and a triangle for the lower jaw. Connect these shapes with simple lines to define the face and neck. For the torso, draw a rectangle for the ribcage and a smaller rectangle for the pelvis. Finally, draw simple shapes for the limbs, taking care to define the joints and basic placement.
Once you have a rough framework sketched, you can begin adjusting the shapes to better fit different poses or angles. Draw lines and curves to refine the skeleton’s shape, and keep in mind how each bone connects and moves with the joints. This is also a good time to adjust the size and proportions of each part of the skeleton until it looks balanced and accurate.
Adding Detail to the Bones
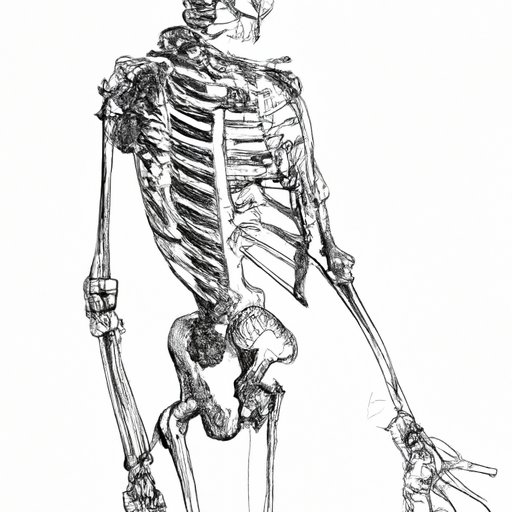
With the basic shapes in place, you can add more detail to the bones. Sketch in the actual shape of each bone in more detail, paying close attention to the curves and lines that define the contour. Be aware of how the bones are angled and connected at the joints. Remember to observe and draw the details, such as the “bumps” and “dips,” which indicate important features such as joints. Consider the effects of perspective and foreshortening to achieve the most realistic bone representation possible.
Shading to Create Depth
To create a 3D effect and make the skeleton appear more lifelike, shading is necessary. Imagine where the light source is supposed to be coming from, and where shadows will fall as a result. Be sure to use different levels of pressure to get different shades of gray or darker lines look for the various bones, such as the pelvis or humerus, and always follow the natural curves or angles of the bone. For the more delicate areas, such as the skull, use softer pencils to avoid adding too much extra texture and depth that’s unrealistic.
Adding More Realism Through Textures and Accents
Adding textures and accents to the skeleton’s bones enhances realism. A good artist should know how to add details such as the skull’s teeth or the lines on the fingers to make the skeleton more human-like. Rough surfaces can be created by adding cross-hatching or scribbles. Additionally, using this technique can create an effect of cloth, metal, wood-grain, or other textures to accentuate the appearance of different bones or surfaces.
Conclusion
With these simple steps, you can create your own anatomically accurate and detailed drawing of a skeleton. Remember to keep practicing and experimenting with different poses and techniques to continue improving your skills. With time and effort, you will become more confident in your abilities to create beautiful and realistic skeleton drawings.